How to Make a Unique Vintage Plate Gallery Wall
BEFORE
AFTER
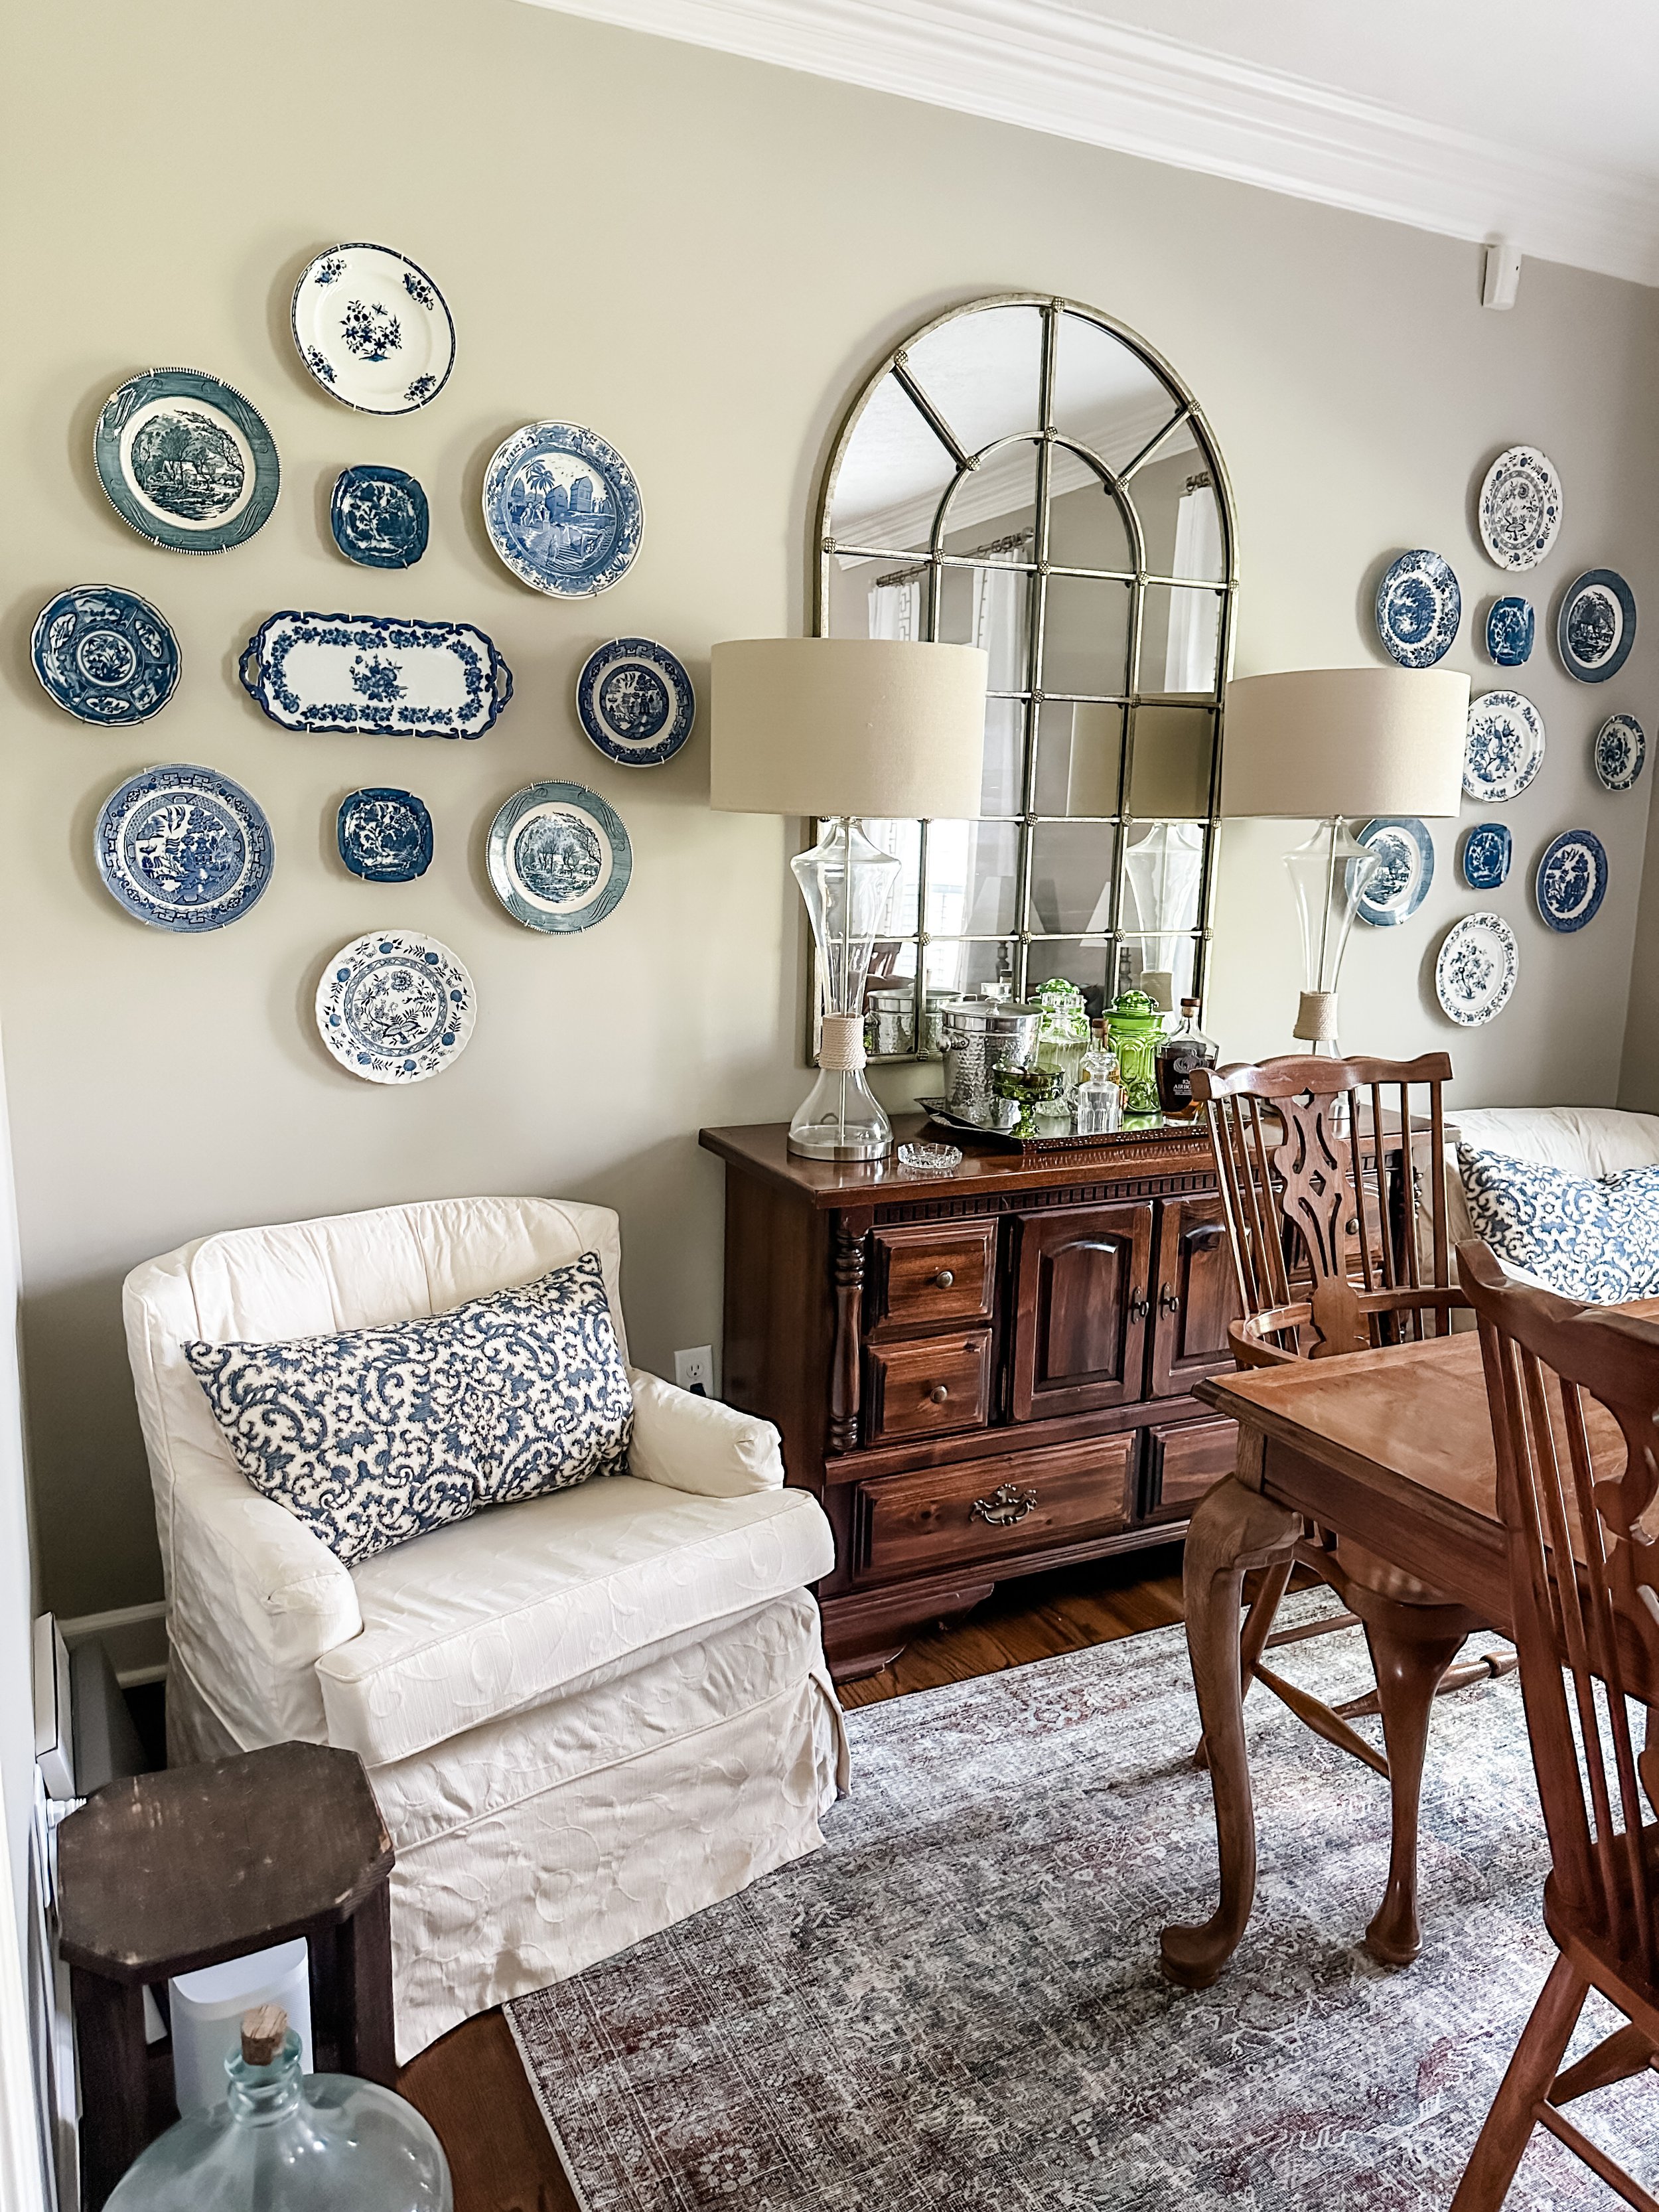
I have been dreaming of displaying my collection of blue and white plates for quite some time.
I’ve been collecting forever and I’m so excited to finally have this collection displayed in such an artistic way. The fall before the pandemic, we had all of the common areas painted the very calming and neutral color called Accessible Beige by Sherwin Williams. Once we did that, I really wanted to display my collection of blue plates. I’ve been collecting for years, since my Mama gave me my very first blue and white plate from her first set of dishes. These are the dishes I grew up using and let me just tell you, that my Mama served up love in every bite of food that was on those plates.
Here’s the original plate that started it all. My mom gave me a plate and a bowl to put in my hope chest for when I started my own home. Does anyone do that anymore? I had a small collection of household items in a trunk that were special to me. I remember eating grits out of that little bowl on school days and loved getting to the bottom of the bowl so I could see those cute little children playing on the fence. 😊
After I got married and we moved to Hawaii, I found myself drawn to blue and white dishes when we would go antiquing. Doug and I have always had a love of thrifting and antiquing. I was so excited when I found a Delft platter at one of the stores there. I was homesick and it made me feel like I had another little piece of home with me. Throughout the years I’ve continued to pick up blue and white plates on our travels. I now have such a collection that I was determined to display them in an artistic way that would showcase them all.
One of the challenges I had was deciding which wall I wanted them on. I kind of wanted them between the two windows so I could see them from the kitchen. But then I realized that I actually had enough plates and platters to put them on the big wall that can be seen from the entryway and the living room. I decided I wanted to do a diamond pattern on either side of the mirror and when my sister came to visit me this past spring, we decided it was time to put it together. We almost always go and do a little antiquing and thrifting when we are together. So, before we headed out to shop, I pulled out my entire collection and we laid it out on the dining room table to see if I needed to pick up anything new. In order to have balance on both sides of the mirror, I needed to find a few more plates that were predominantly white with blue accents. With that in mind we headed to Bright’s Antiques in Franklin, Kentucky.
When we got back, we laid out each side and measured how wide and how tall the design should be on each side of the mirror. My sister advised that it would look really great if the size of the design would vertically match the mirror. Sadly, she had to go home before we could hang the plates together so I had to come up with a system of how to put this dream into a reality by my lonesome.
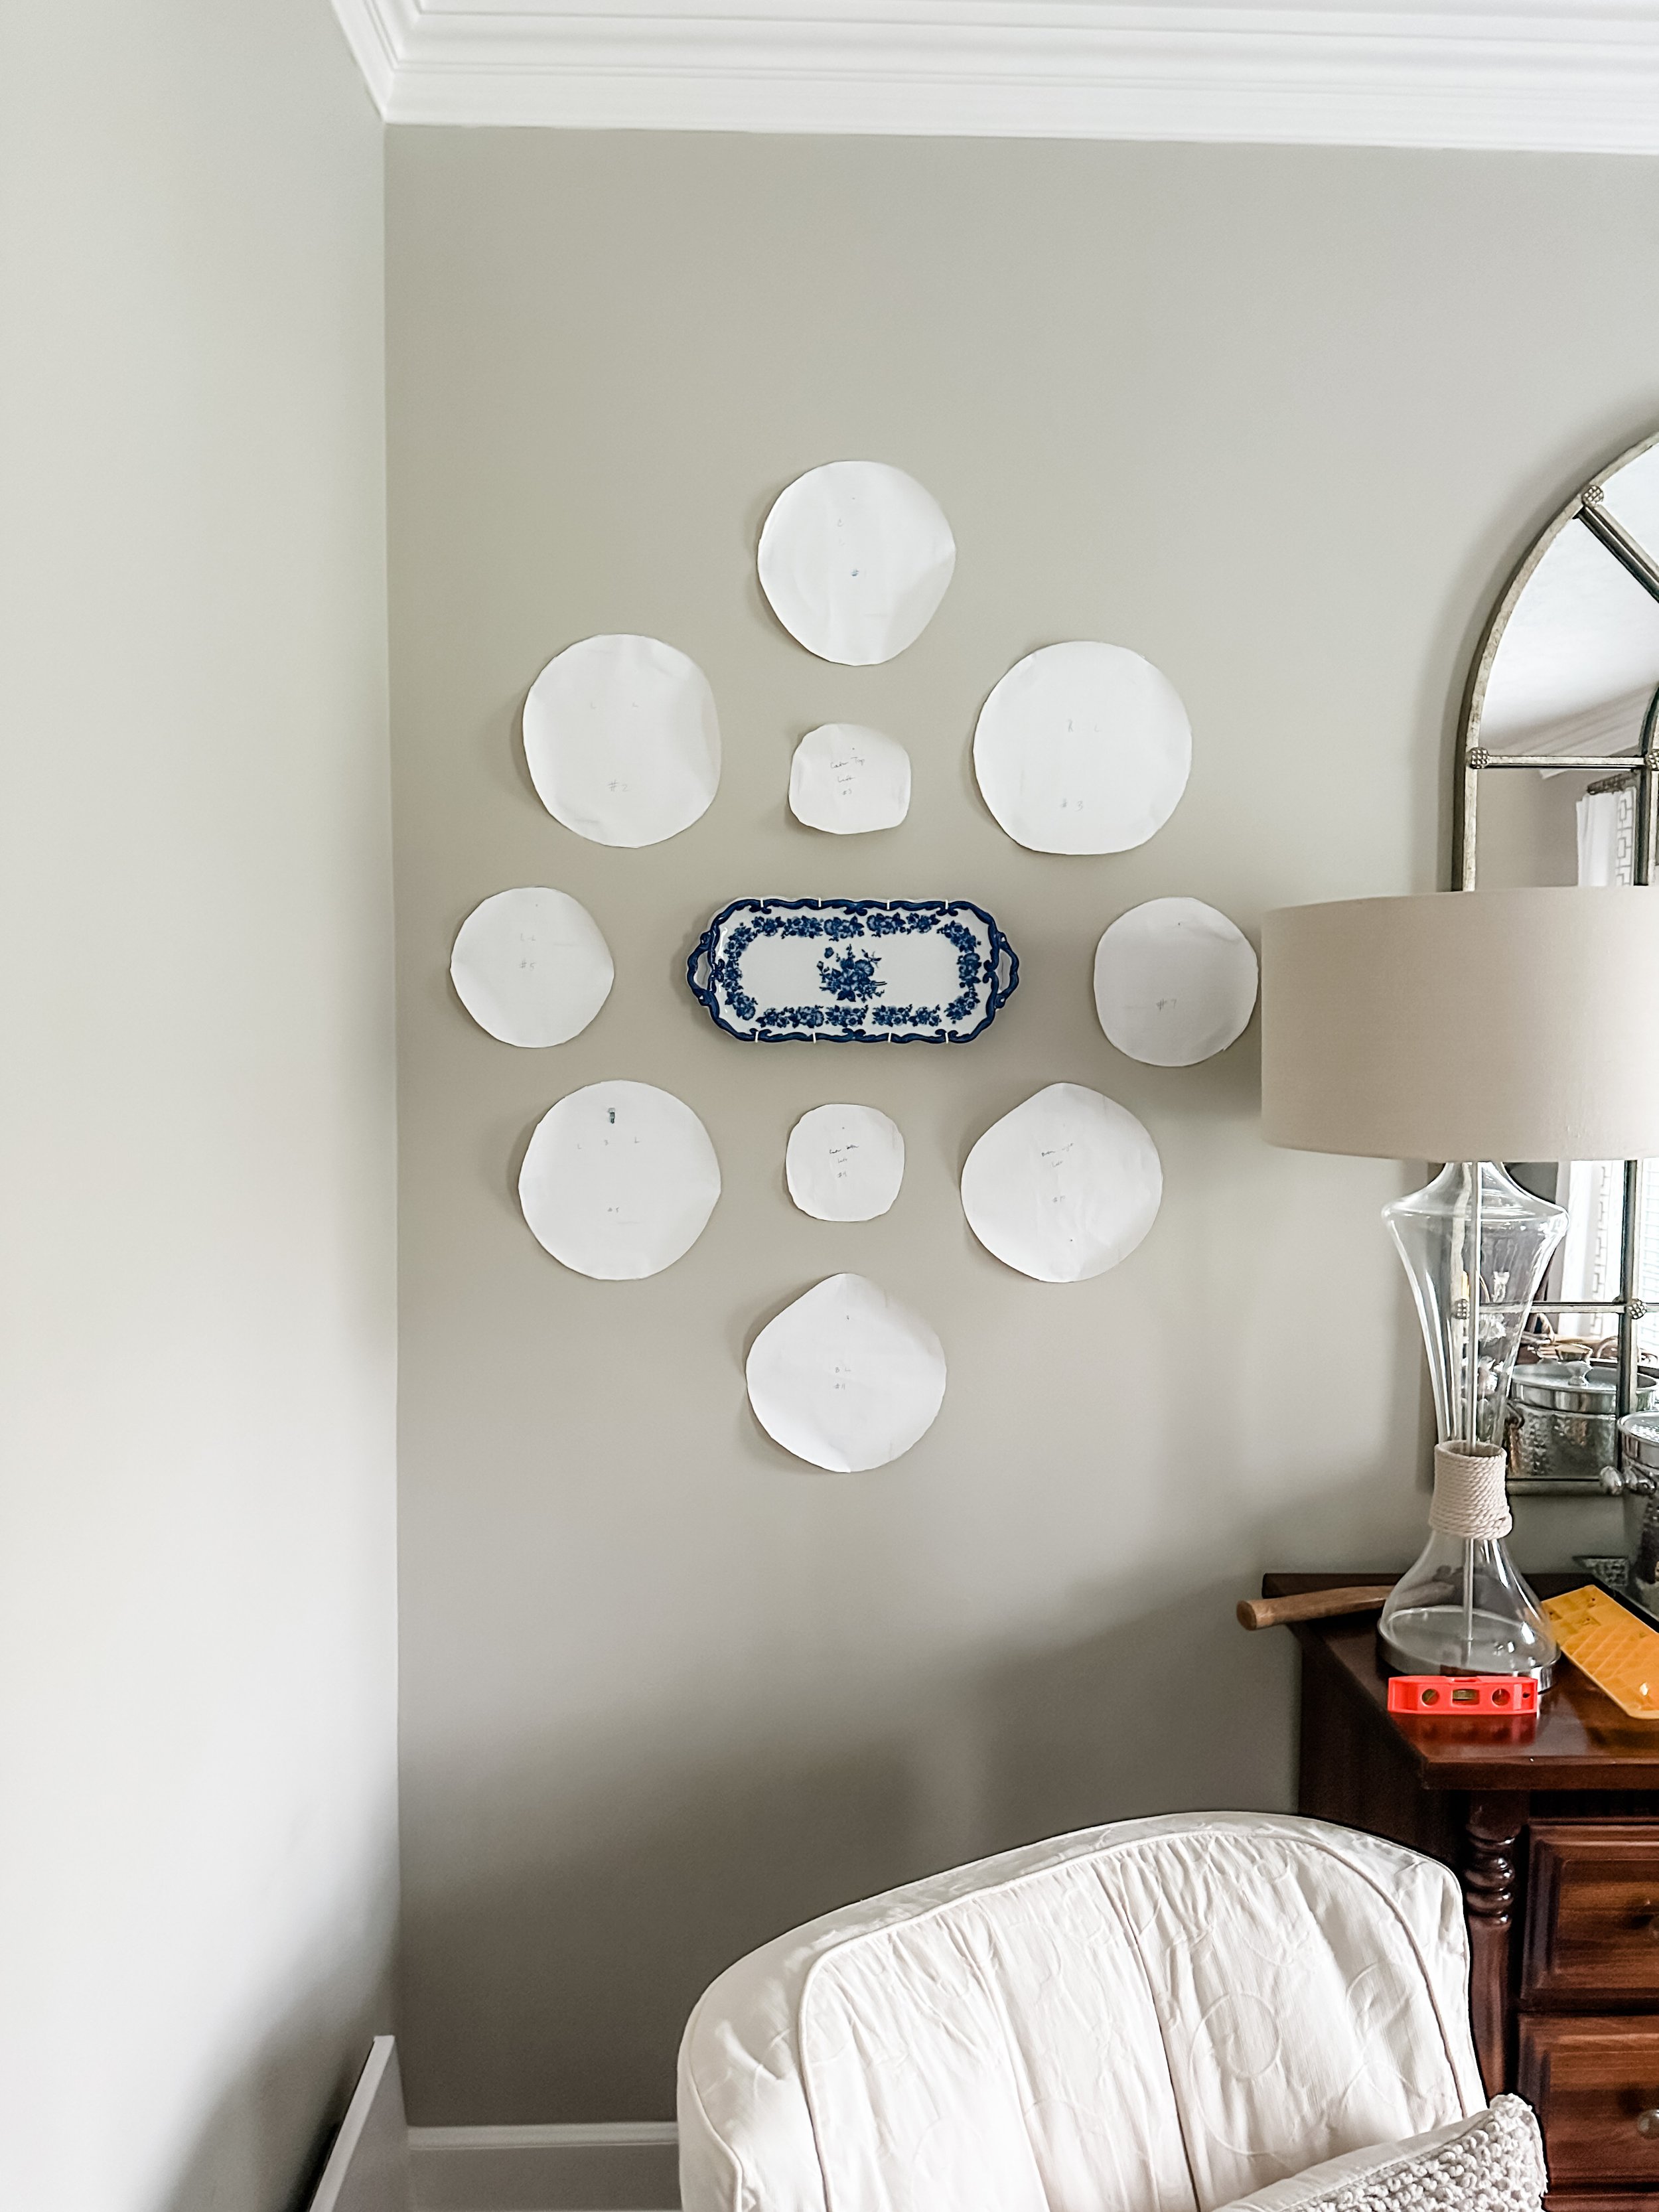
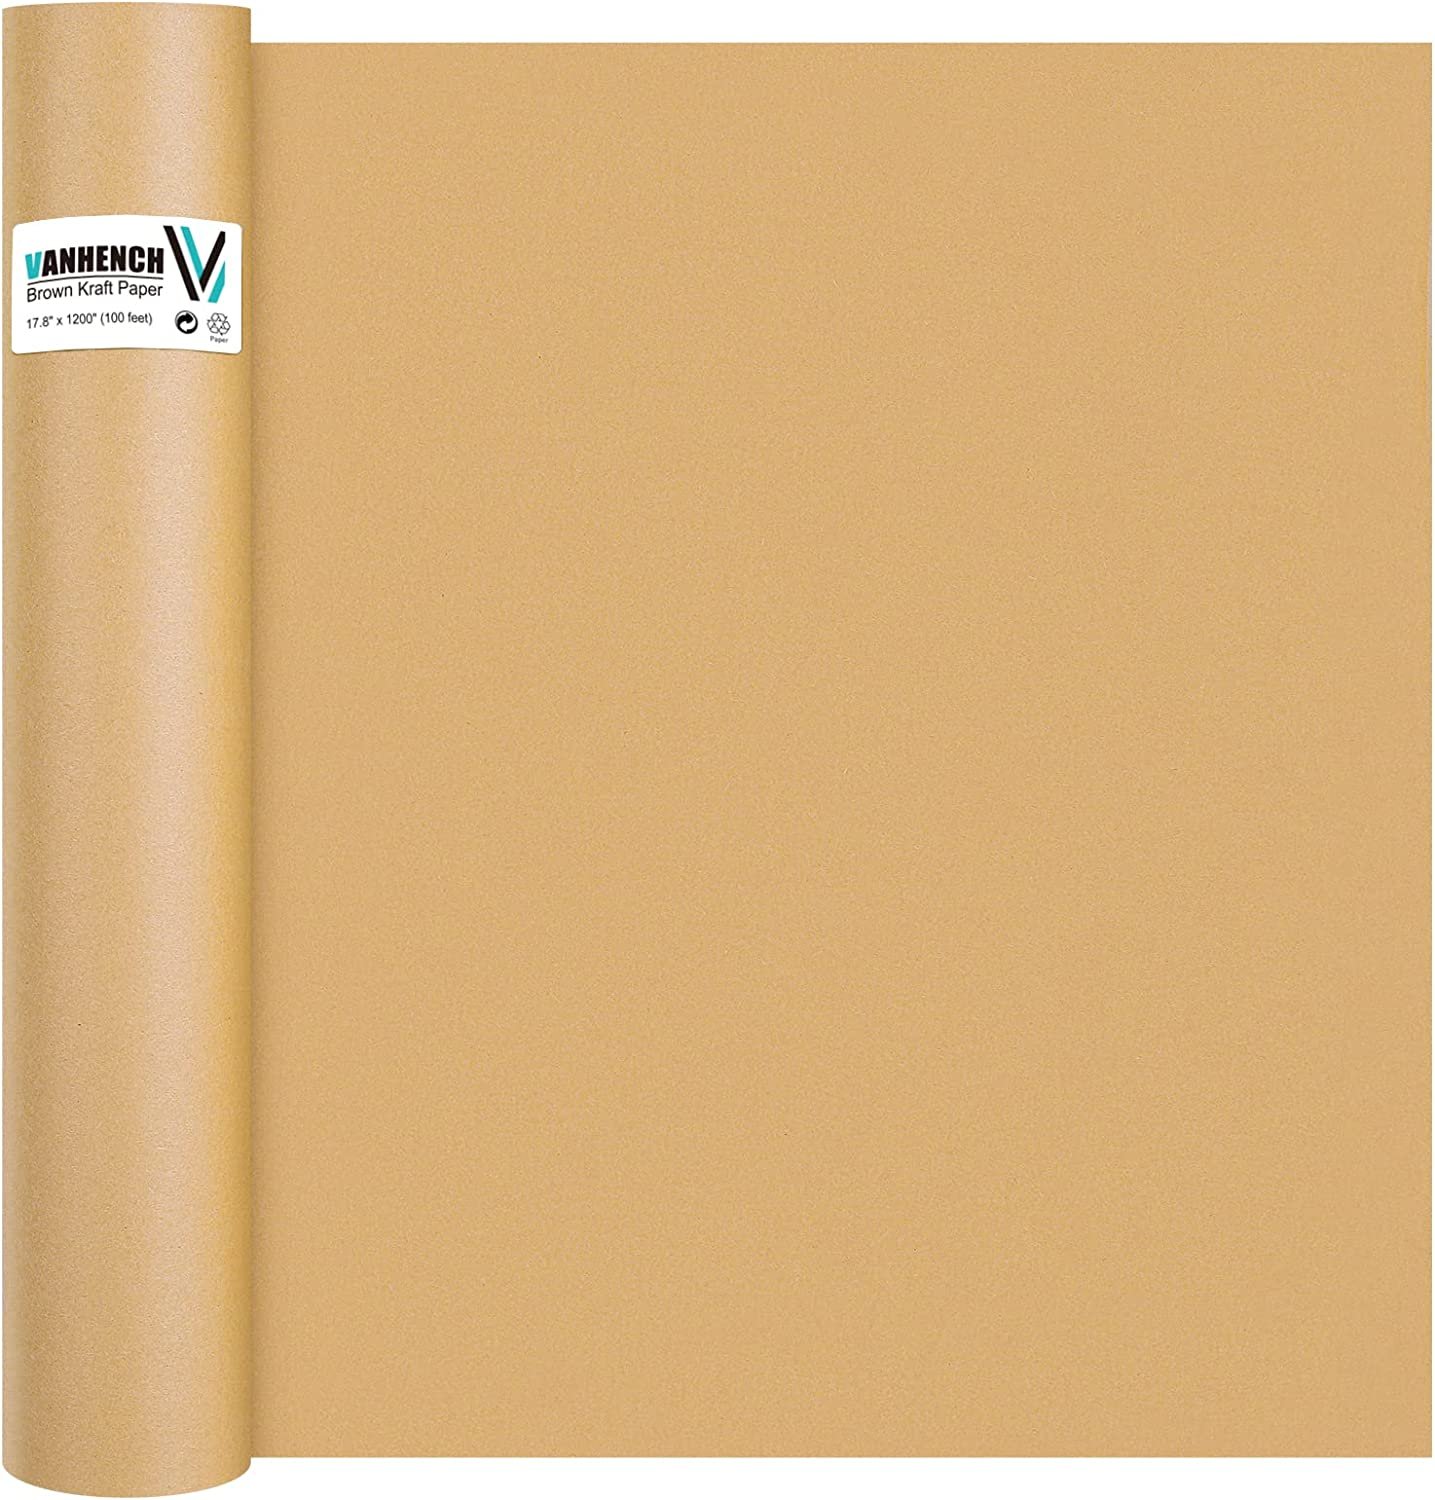
The first thing I did was create a paper pattern of each plate.
Once I had cut out the pattern, I wrote the number of which plate it would be starting with #1. I then attached the plate hanger to the plate and flipped it on its back. I then laid the pattern over the plate and felt for where the plate hanger “v” was and I marked it with a pen. I continued to make my patterns until I had all 11 plates done.
I then just eyeballed it and taped all of the patterns on the wall, using painters tape. I stood back and decided if this indeed would look the way I wanted it to. I really loved it! But, I had not measured the distance at all. So, I measured the distance of the mirror from the floor and from the ceiling and adjusted the top and bottom plate patterns slightly. I then measured between the mirror and corner of the wall and adjusted those outside plates. Once I had those set, I used a large level to make sure that each row of plates was an equal distance apart and level with one another. The cool thing about using painters tape is that I could move them multiple times. Once I had everything measured and the patterns exactly where I wanted them, I nailed my hangers in. I used the picture type hanger that came with the plate hangers.
.


Once I had all my nails in place, I started hanging the plates. I nailed right through my patterns and hung the plates right on the patterns. Once I had the plates hung, I just lifted the plate slightly and pulled the patterns away. Fortunately, I was able to reuse some of the patterns for the other side since some of the plates are the same size.
The second vignette was slightly more challenging than the first because it had to be precise. I used exactly the same method but measured probably four times as much to get the second wall in place. I have to say, using a template/pattern was the absolute key to this project AND marking where that nail needed to be before ever taking it to the wall. This made it so there was no second guessing or having to move a nail slightly to compensate. Every.....single.....nail.....was....perfectly in the right place! And I only had to put one hole in the wall for each plate. That’s pretty impressive if I do say so myself! 😊


