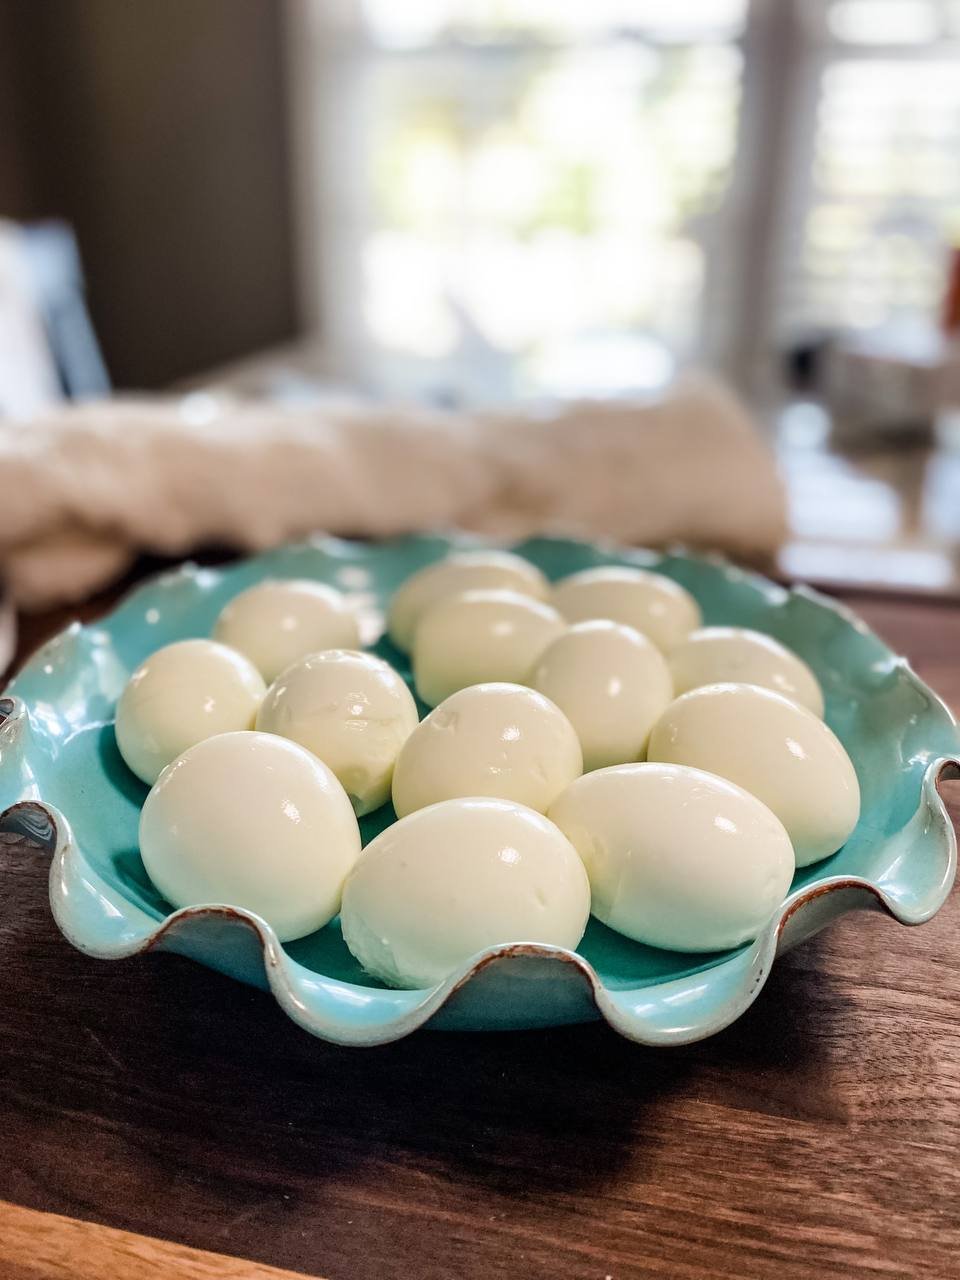
How to Boil the Perfect Egg
I’ve had a whole lot of practice boiling eggs.
My husband and I were both having health challenges and after consulting with our health team, were advised to upgrade our food quality. We thought we were eating healthy but it turns out that both of us are very sensitive to processed foods and additives. In 2015, we cleaned up our act. And when I say we cleaned up our act, we were all in. We cooked everything we ate at home. We used only organic, non-GMO ingredients. At this time, there were very few items in the grocery store to help out, so I had to make just about everything from scratch. Boiled eggs were a great snack for both of us to grab for an easy breakfast, throw a few on a salad with some other protein or make deviled eggs or egg salad.
We would do a big weekly cook-up on the weekends to have easy to eat “grab and go” food ready. Boiling eggs was always a part of that cook-up. When I got an instant pot, the process became 10 times easier. It took a little trial and error to get the perfect time to cook the eggs to avoid that unappetizing gray/green ring they get when overcooked.
Here are my tried and true steps to getting that perfect boiled egg. If you want to watch the videos for a little more detail, they are included at the end of the post.
Instant Pot Instructions:
Use an instant pot if you can. This is the one I have and I have gifted three more! They are a relatively inexpensive piece of equipment and you can use them for so many other things. (soups, homemade yogurt, etc.)
Cook the eggs (18 or less) for 5 minutes at manual pressure. If you are cooking 18 or more, bump your time up a minute or so. It will take the instant pot about 20 minutes to get to high pressure and then the timer will start to count down.
Keep an eye on it and once it’s counting down the 5 minutes get a bowl of ice water ready to put the eggs in so they will immediately stop cooking.
When the timer goes off, release the pressure and once the steam stops, open the lid and get those eggs in the ice water.
Stove Top Instructions:
If you don’t have an instant pot, place your eggs in a pot of water on the stove with 1 teaspoon of baking soda.
Once the water starts to boil, set your timer for 8-10 minutes depending on how done you want your eggs. On the stove, I usually boil them for 10 minutes because I’m making deviled eggs and want them hard boiled. If you want a soft boiled egg then do your thing and be you. I hear a 6-minute egg is delightful over grits and I plan to try it soon. 😊
Again, as soon as the timer goes off, put the eggs in a bowl of ice water.
Afterwards:
Those eggs can hang out in that ice water for a long while. If your ice melts right away, check to make sure the water is still cool. If it’s not, add some more. I’ve left my eggs sitting for an hour or two before peeling while I’m doing other things.
Next we are on to peeling. If your eggs are from the supermarket, the shells will be quite a bit thicker than farm fresh eggs. Using an instant pot helps the shell and membrane separate a little easier from the white of the egg.
We like using the spoon method for peeling eggs. Just crack it on the fat end and remove enough of the shell so you can work the back of a spoon in between the shell membrane and the white of the egg. My husband makes quick work of this because he’s not super careful and it works for him. I can usually peel faster with just cracking the eggshell a few times against the counter and using my hands. In the third video below, I do a quick demonstration of the spoon method.
Don’t be afraid to experiment and if they aren’t perfect, don’t sweat it too much. Just use the eggs that are a little butchered from not peeling well on a salad or save them for egg salad.


