Building the Bookcases,
Part 2
Fall 2024 One Room Challenge, Week 3
It’s Week 3 of the Fall One Room Challenge and we are still working on these bookcases! It is definitely going to be the most challenging part of the project for us. This week we (mostly me) pined over the details. Doug focuses on the structure and I focus on the pretty parts.
One of the big hurdles was that we had to cut out where the electrical outlets would be in the bookcases. I had the electricians come out and move the outlets while we were building the Murphy bed. At that time, I was just guessing at where exactly the outlets should be. I have to say that my guesswork proved true, and the outlets landed exactly where I wanted them to be! The next challenge was to cut the back of the bookcase so that it lined up with the outlet and both of us were nervous about it.
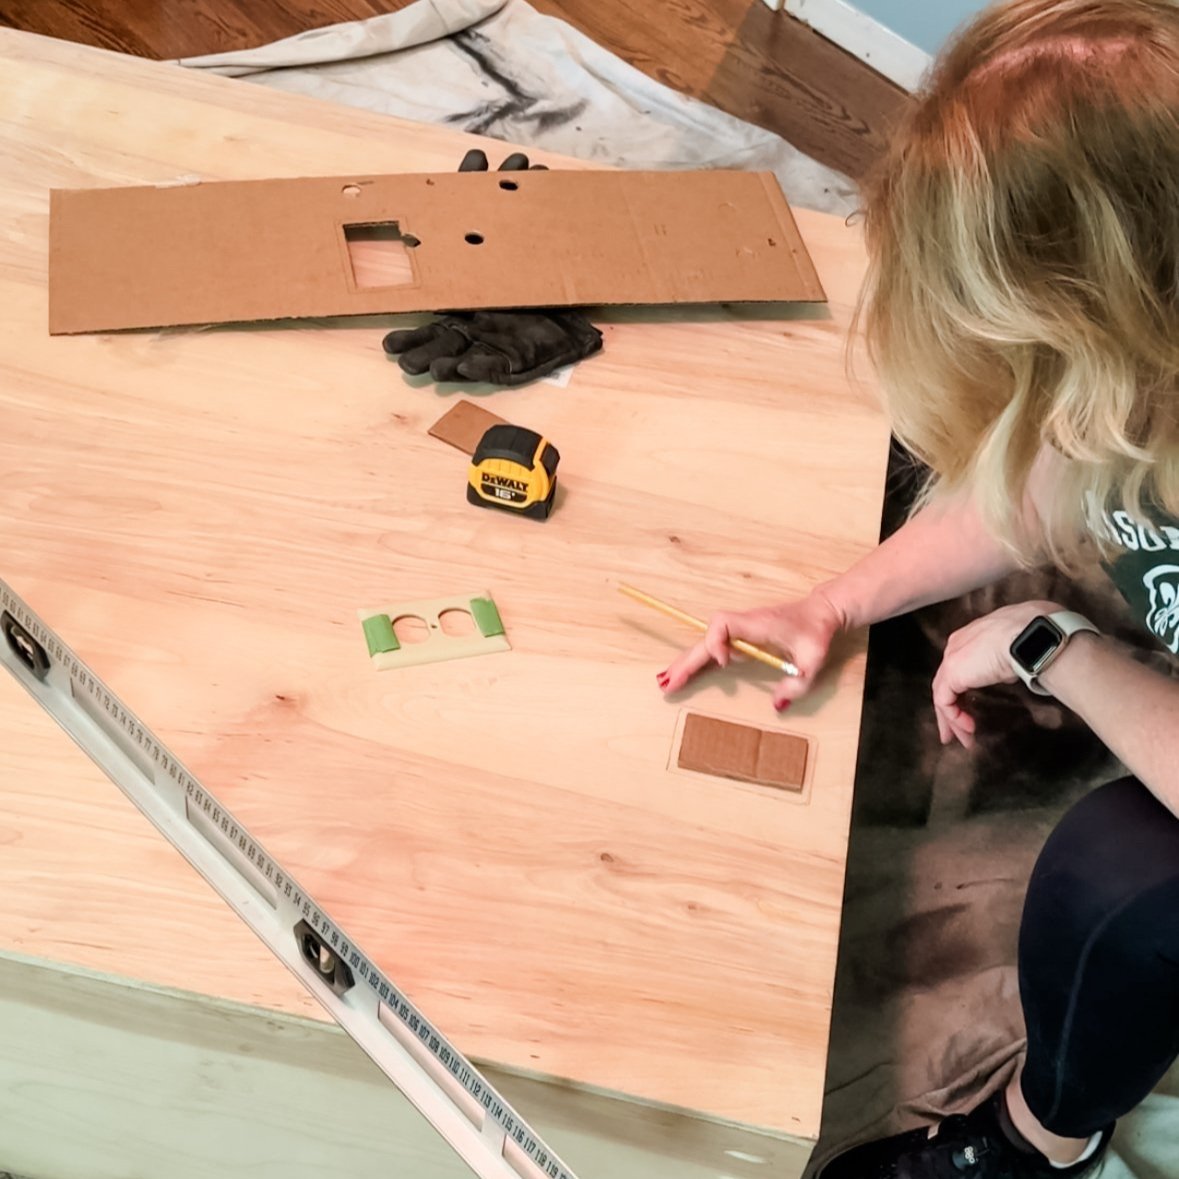
Here’s how we did it: I put two pieces of looped frog tape on the outlet cover so that when we placed the bookcase top on the base, we could press it in to the wall and the outlet cover would then stick to the back of the bookcase. It worked! And it worked beautifully! On the other side, there was just a hole for the outlet, so I cut a piece of cardboard that served as my outlet cover and it worked like a charm.


Since I don’t like leaving anything to chance, I had also made a template and knew where the outlet should land on the back so I was able to verify the measurements before we used the oscillating saw to cut the hole.
Pro Tip:
We like to hook the vacuum up any time we are sawing or drilling inside the house. It keeps the work area free from sawdust and debris!


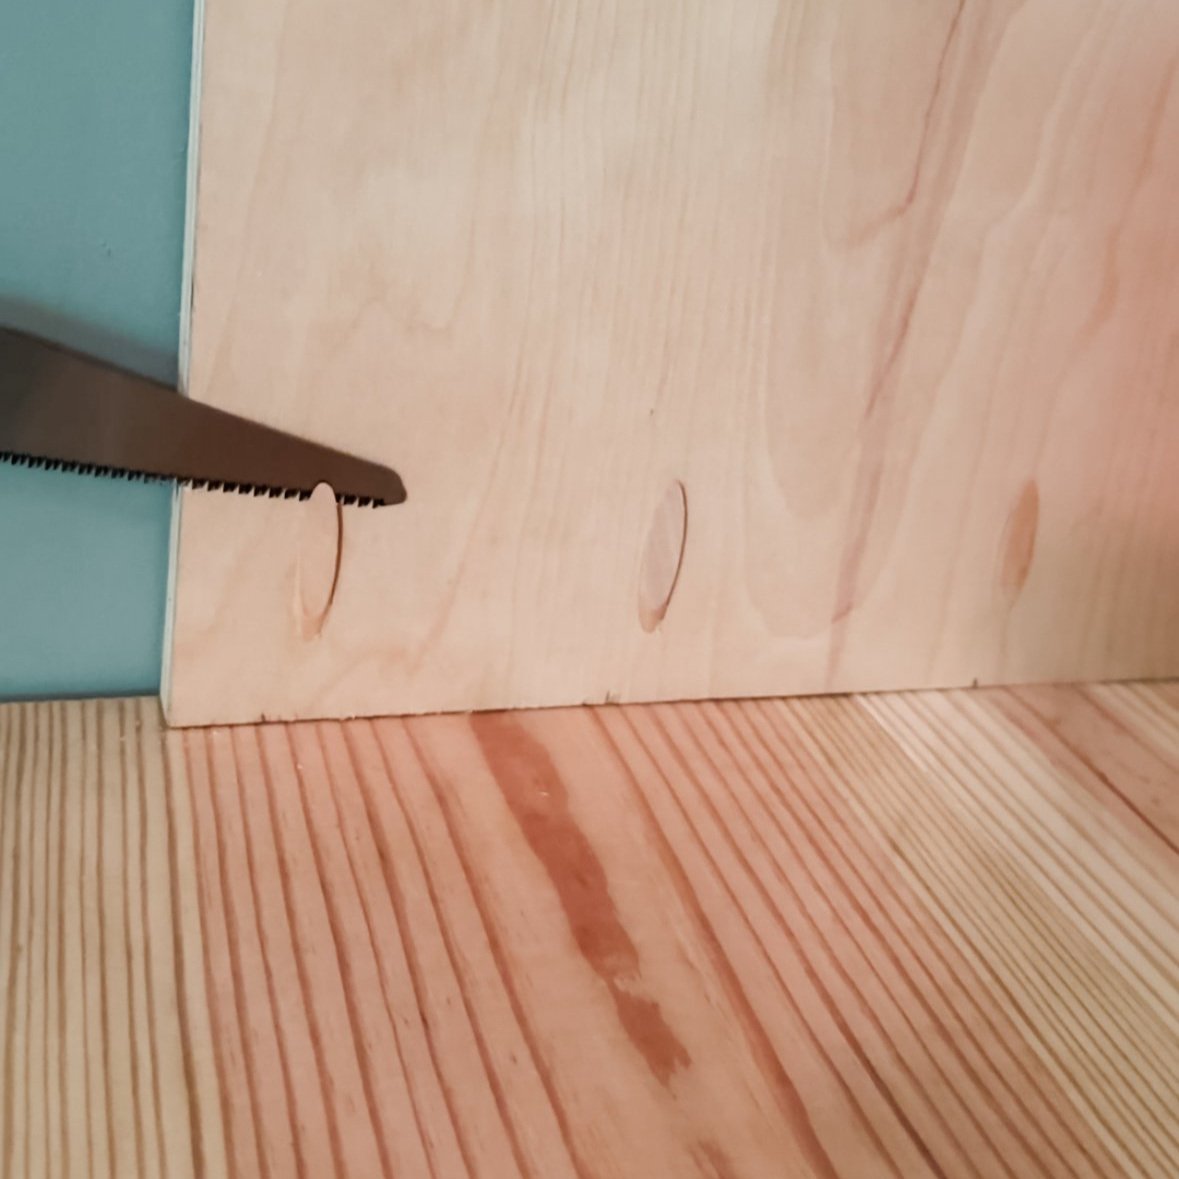
We then had to put pocket screws in the sides of the bookcase that were next to the wall. I really didn’t want to do this because I didn’t want them to show. Doug surprised me with some dowels made just for filling pocket screw holes. Did you know those existed? I had no idea! He used a flush cut pull saw to cut off the extra part of the dowel that stuck out and then we sanded and guess what? Those pocket screw holes became virtually invisible.
Now we were ready to lightly sand the bookcases. Once sanding was done, I wiped everything down with distilled white vinegar. This is another pro tip given to me by our cabinet maker. It cleans the surface and removes any debris, so you have a nice finish when painting.


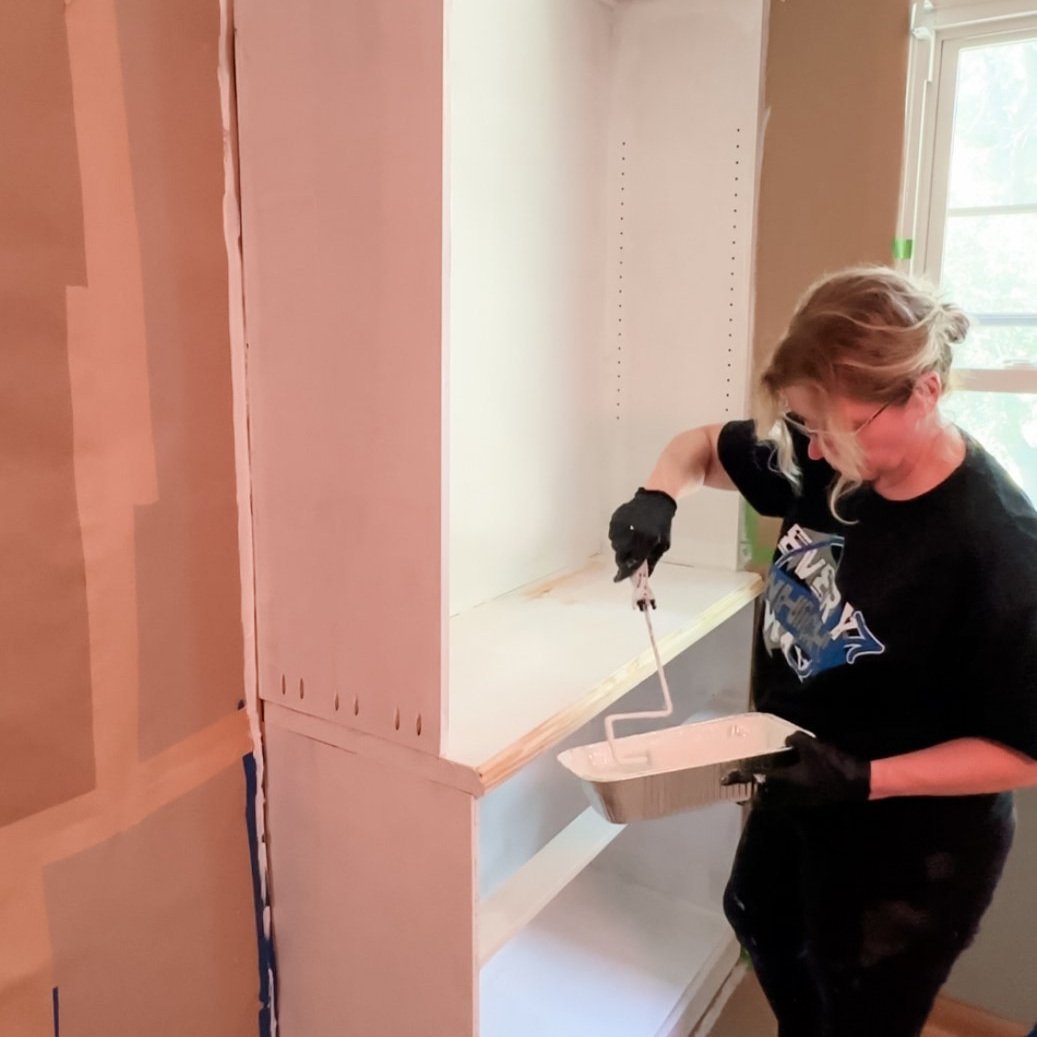
We then started priming the bookcases. And this is when I really started seeing my vision come to life! Doug got busy and helped prime the other bookcase. We had to call it a day so everything could dry.
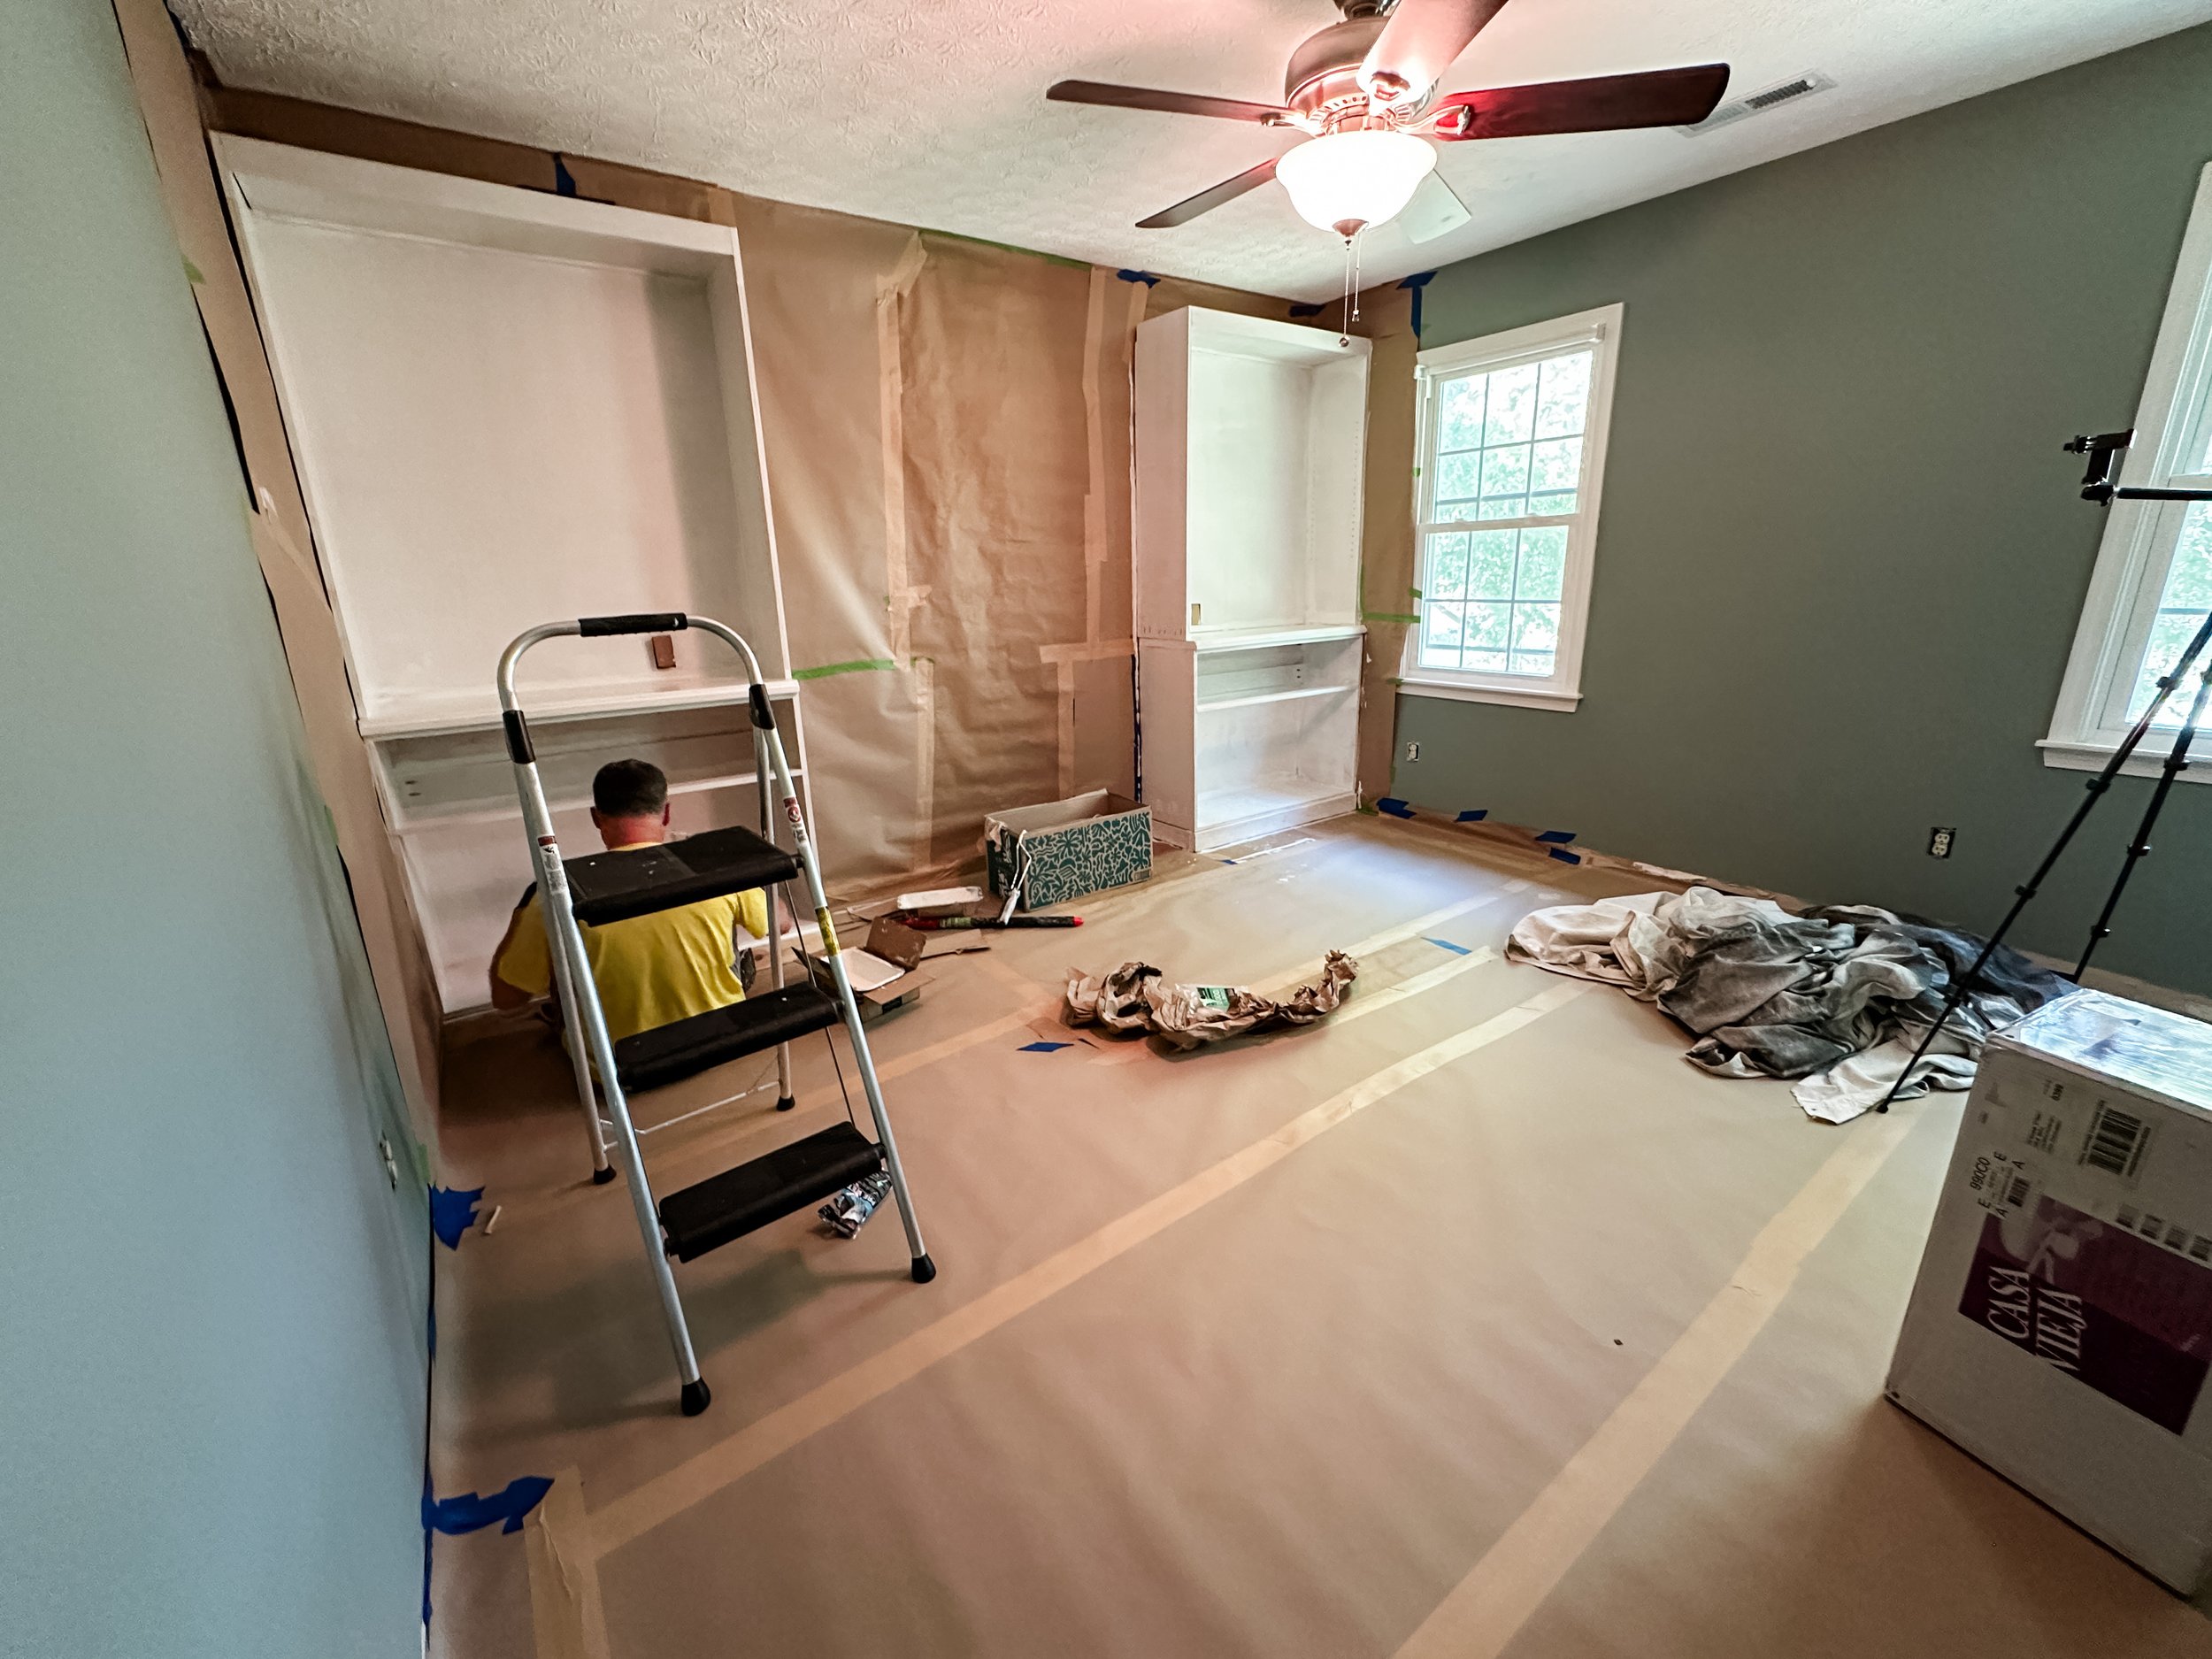
We then prepped the room for painting which if you’ve ever done this before, you’ll know that it takes quite a bit of time! Like an insane amount of time! We wanted to protect the ceiling, floors, windows and the walls we just painted!
Stay tuned for next week when we will paint the first coat of oil-based paint and put these pieces together with the framing of the bookcases. We are hoping to bring that sweet Murphy bed back in!!!! To be honest, it’s been parked in our bedroom way too long!😉 We are so excited to get to that phase! If you haven’t checked them out yet, please go to the One Room Challenge website and see what others have done! There are so many great projects out there and it will be so exciting to see them come together!
These are our favorite products from this week! Check them out below and we’ll see you next week!


