Everything You Need to Know About DIY-ing a Murphy Bed & More
A Create-A-Bed Review
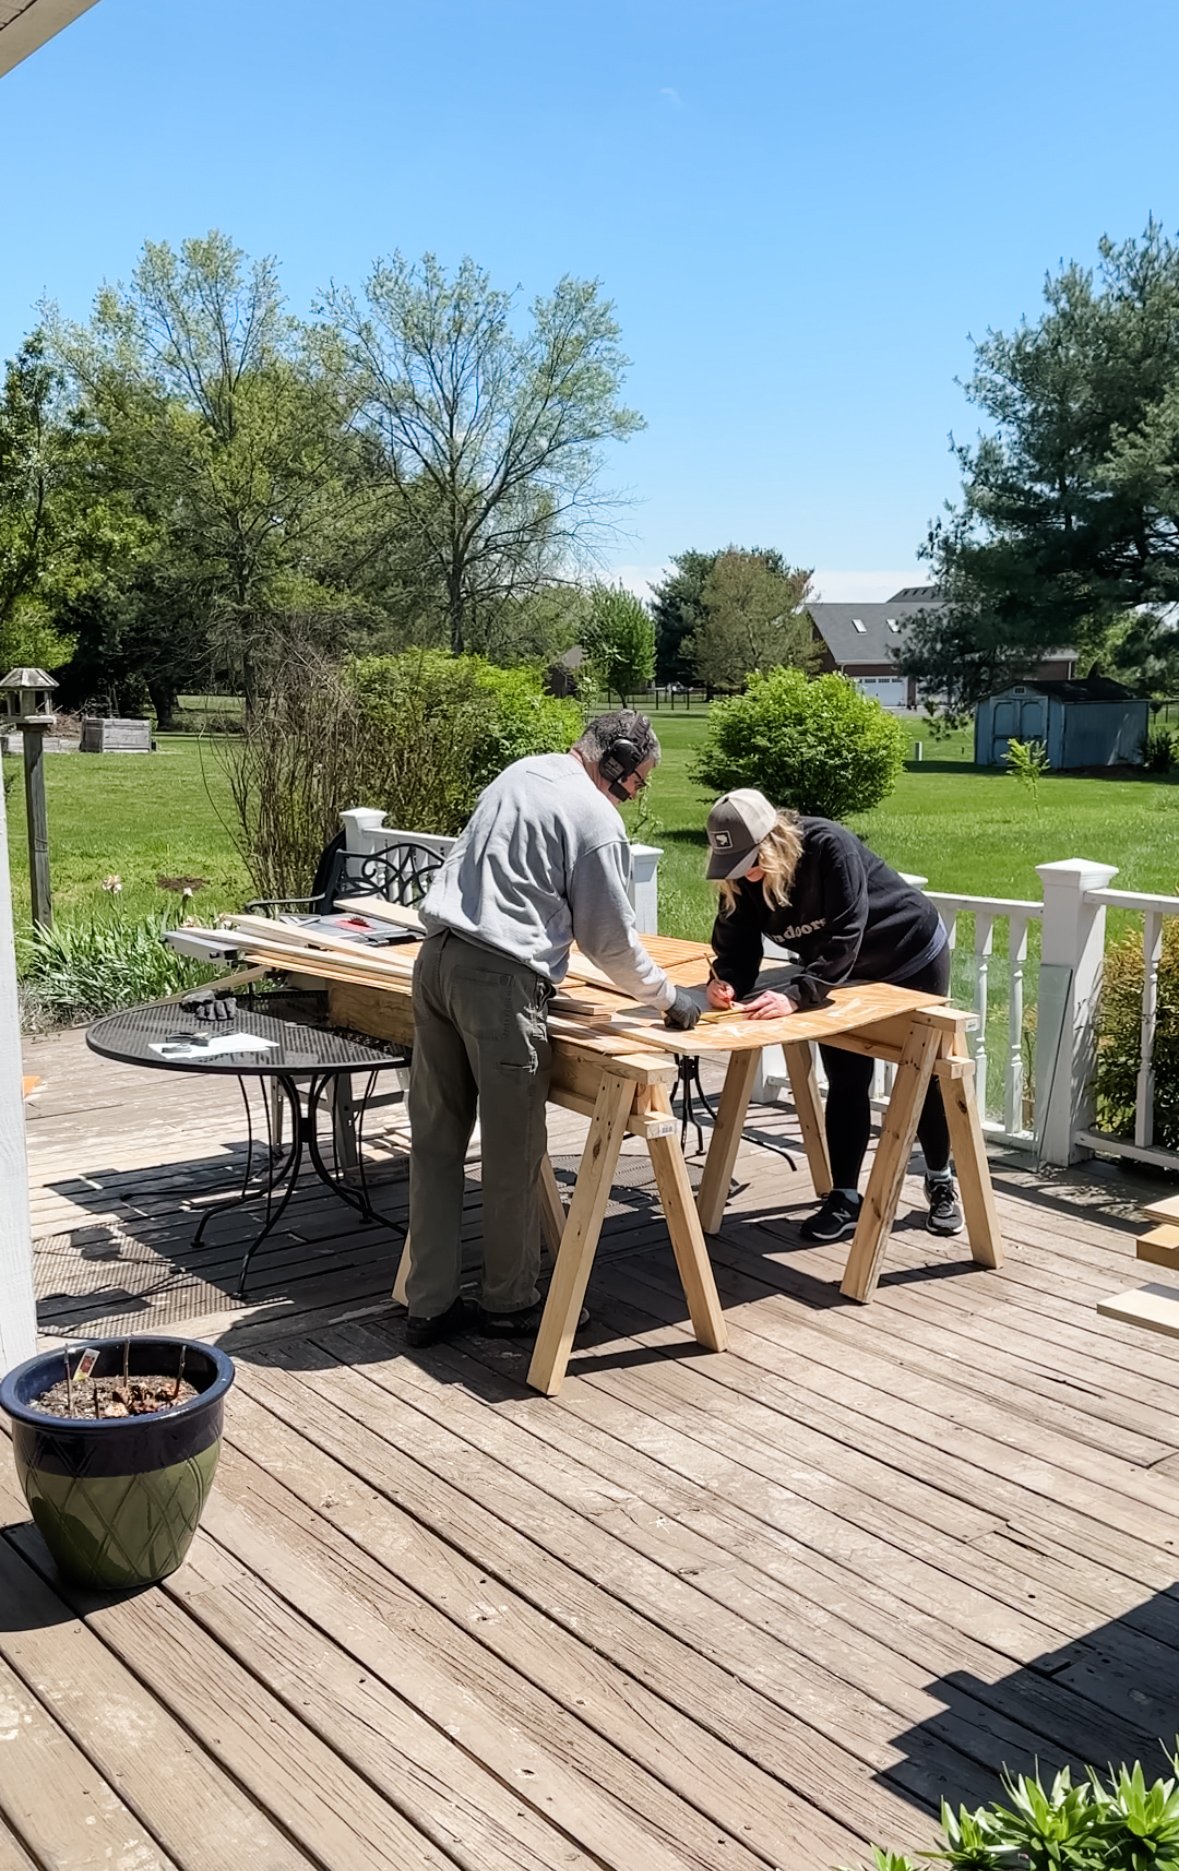
My husband, Doug, and I built a Murphy bed this past summer and guess what? We are thinking about building another one!
A little over a year ago I started working a hybrid schedule and work from home 2-3 days a week. I worked on our kitchen island during that time and grew tired of having to clean up my workspace every night so we could have dinner. I also didn’t love seeing my work sitting there waiting on me the next day.
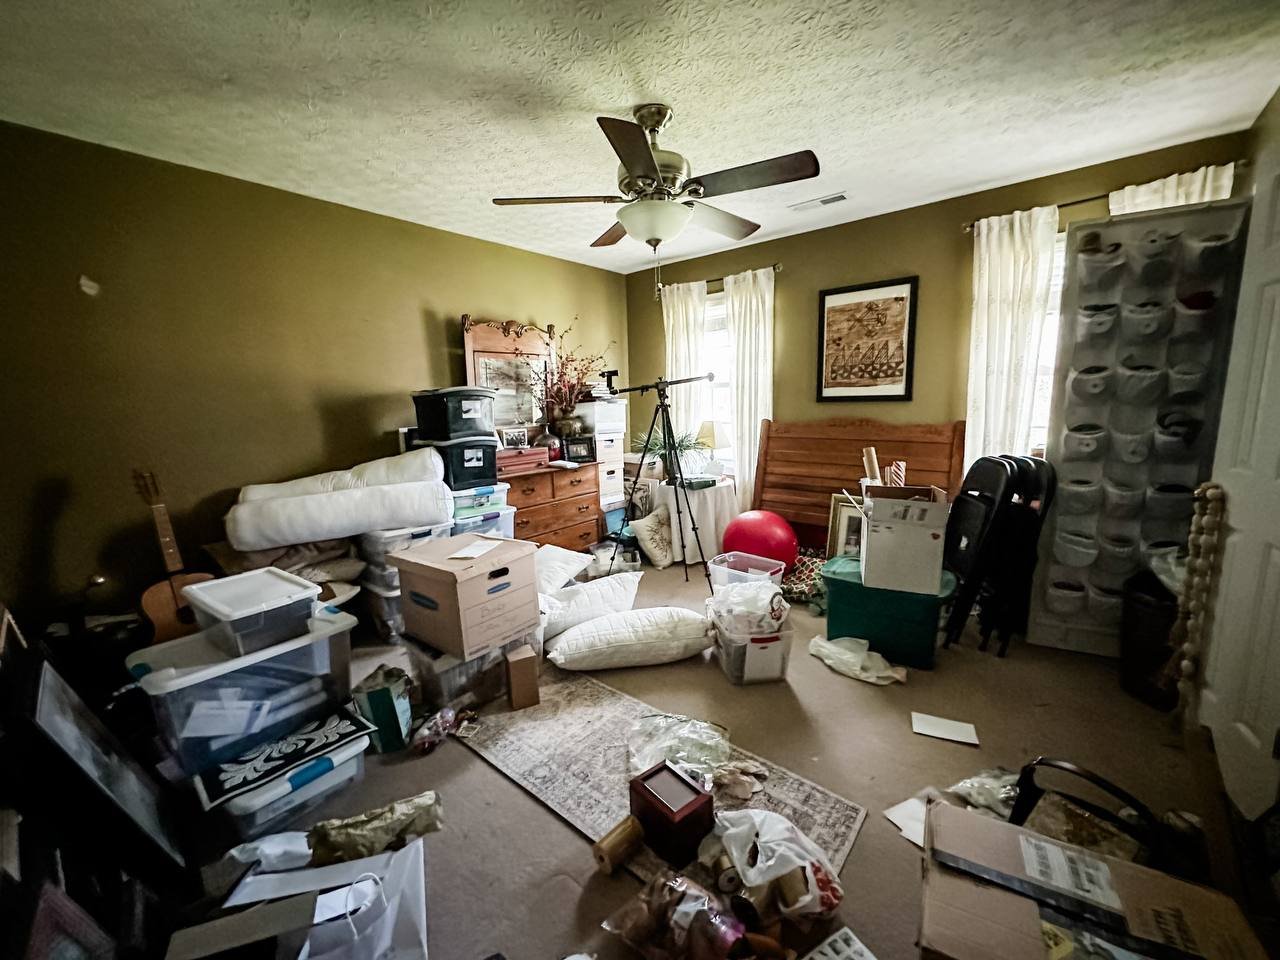
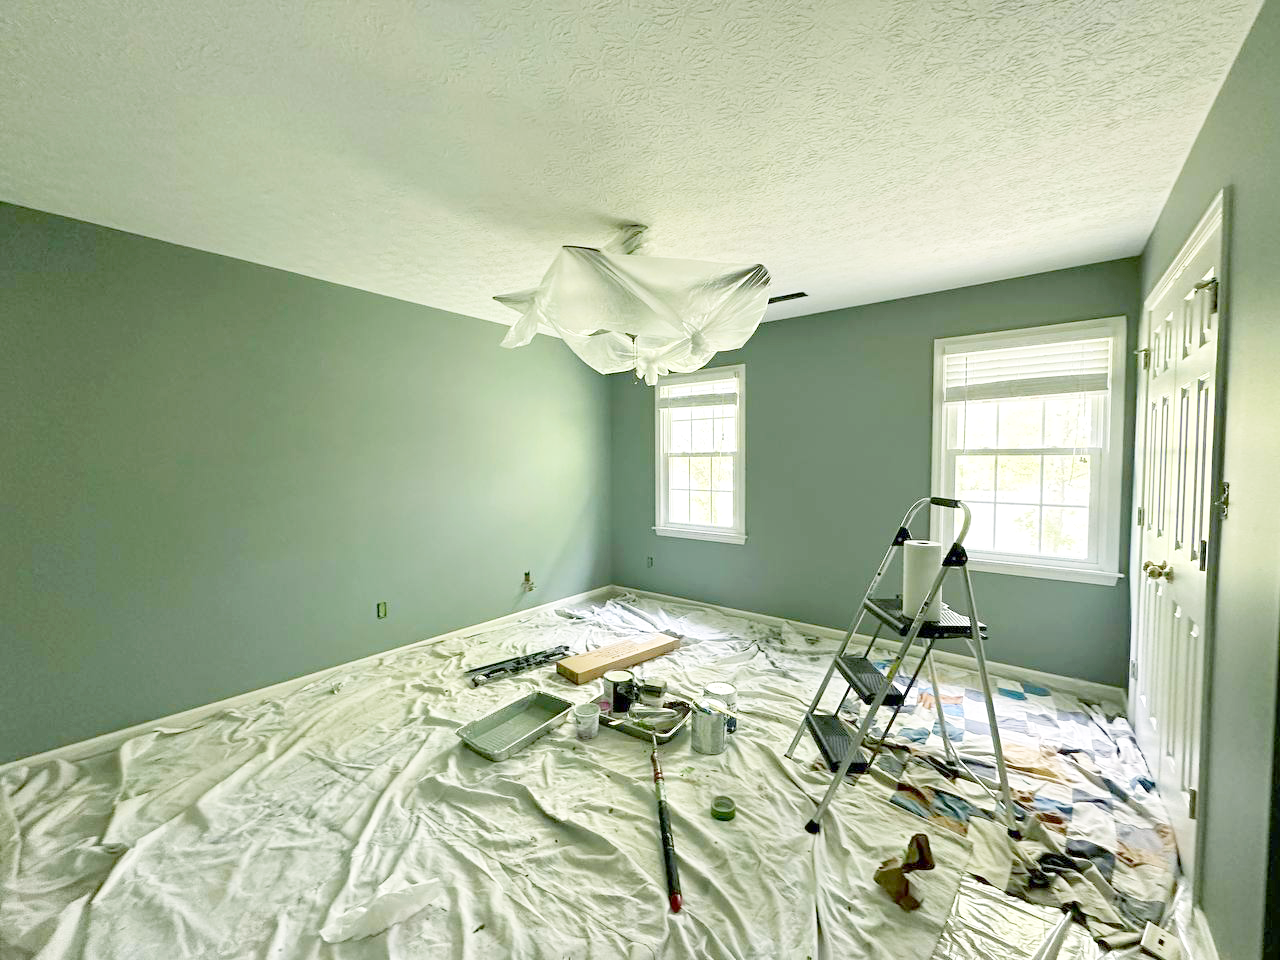
Doug and I had talked several times about building a Murphy bed in an unused bedroom. The bedroom was being used as storage and it was out of control. We kept the door shut all the time so we didn’t have to look at it.

When I heard that it was time to sign up for the One Room Challenge, I told Doug I thought we should build a Murphy bed for the challenge. He was mostly on board. Now, when I say that this is what I mean: Doug is the most supportive husband you could ever dream of. He supports me and cheers me on in any and everything I try to do. This challenge though? It’s 8 weeks long and building a Murphy bed in 8 weeks sounded a little daunting.
Let me tell you.....it was!
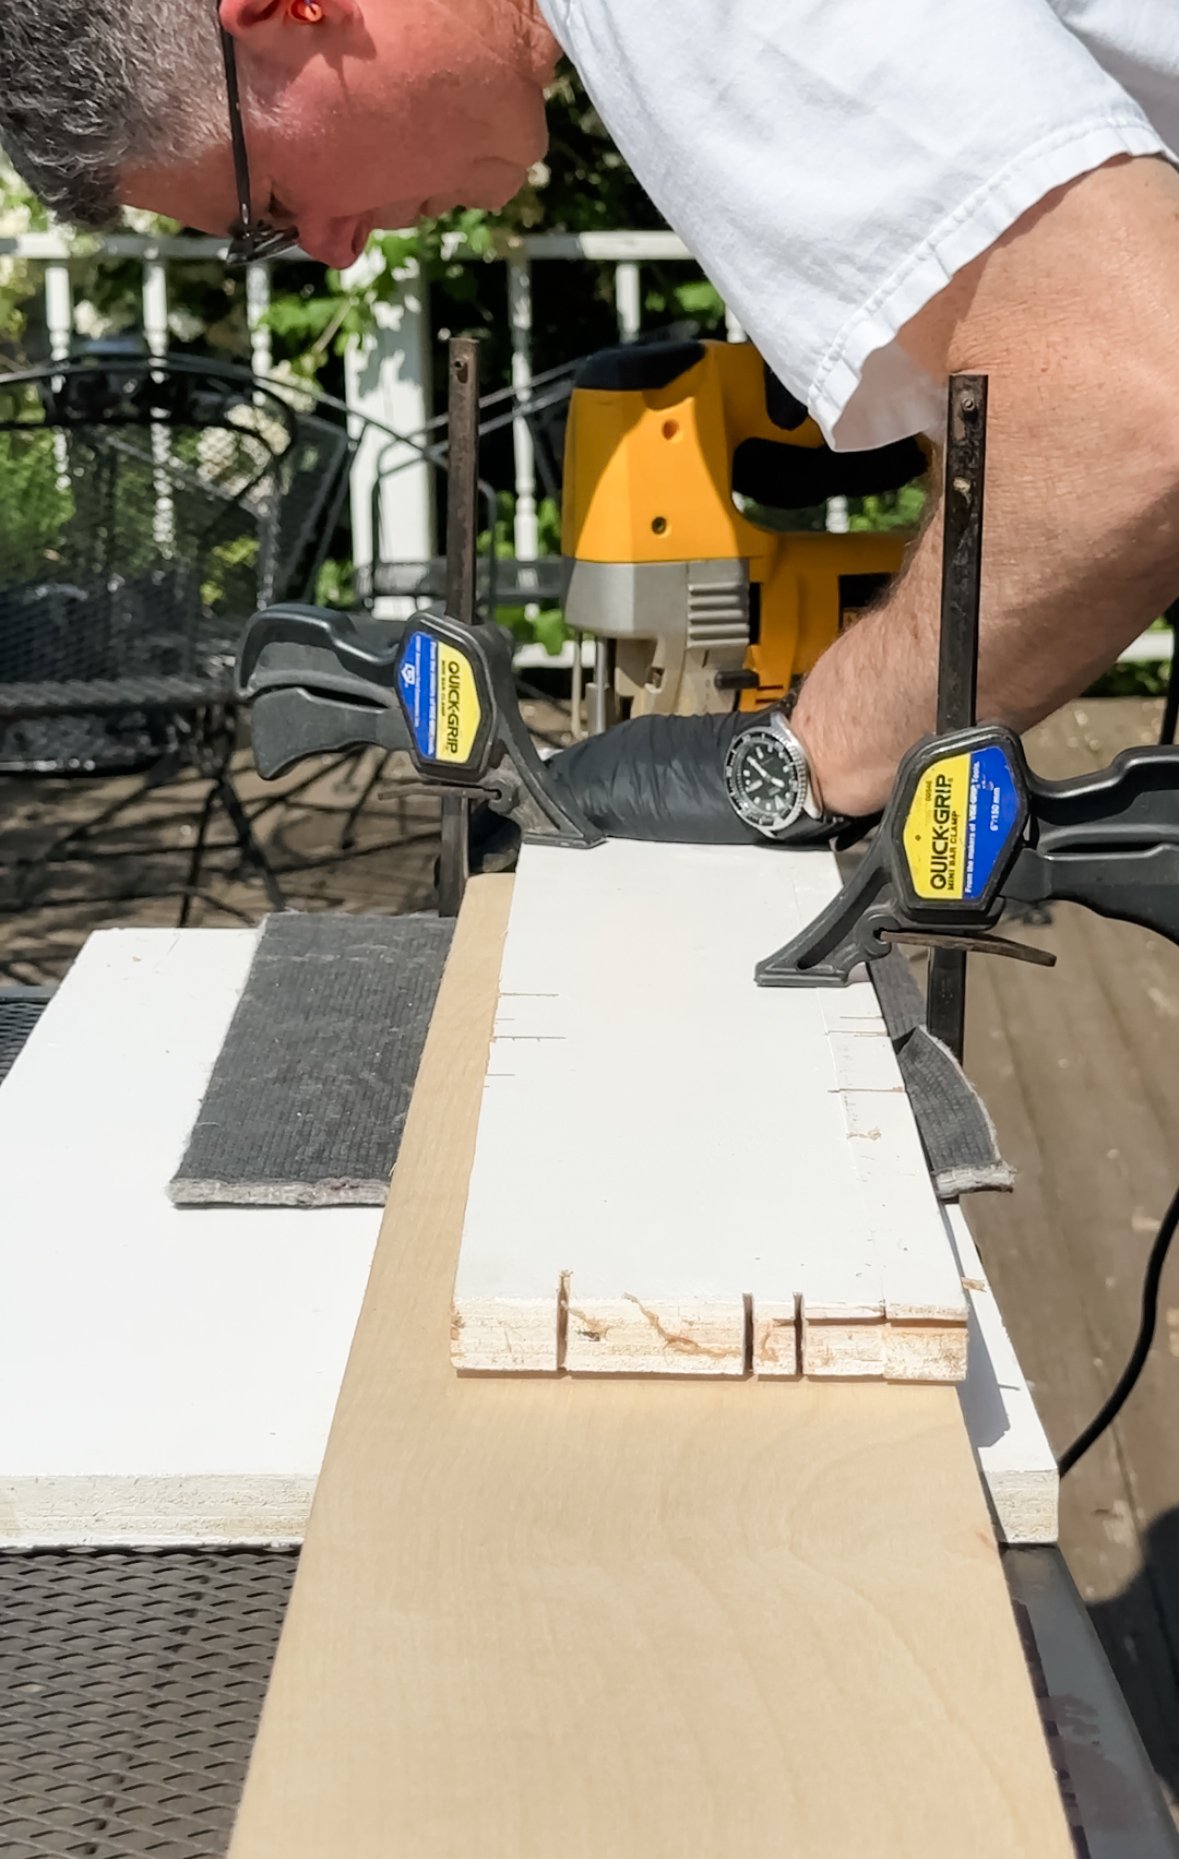
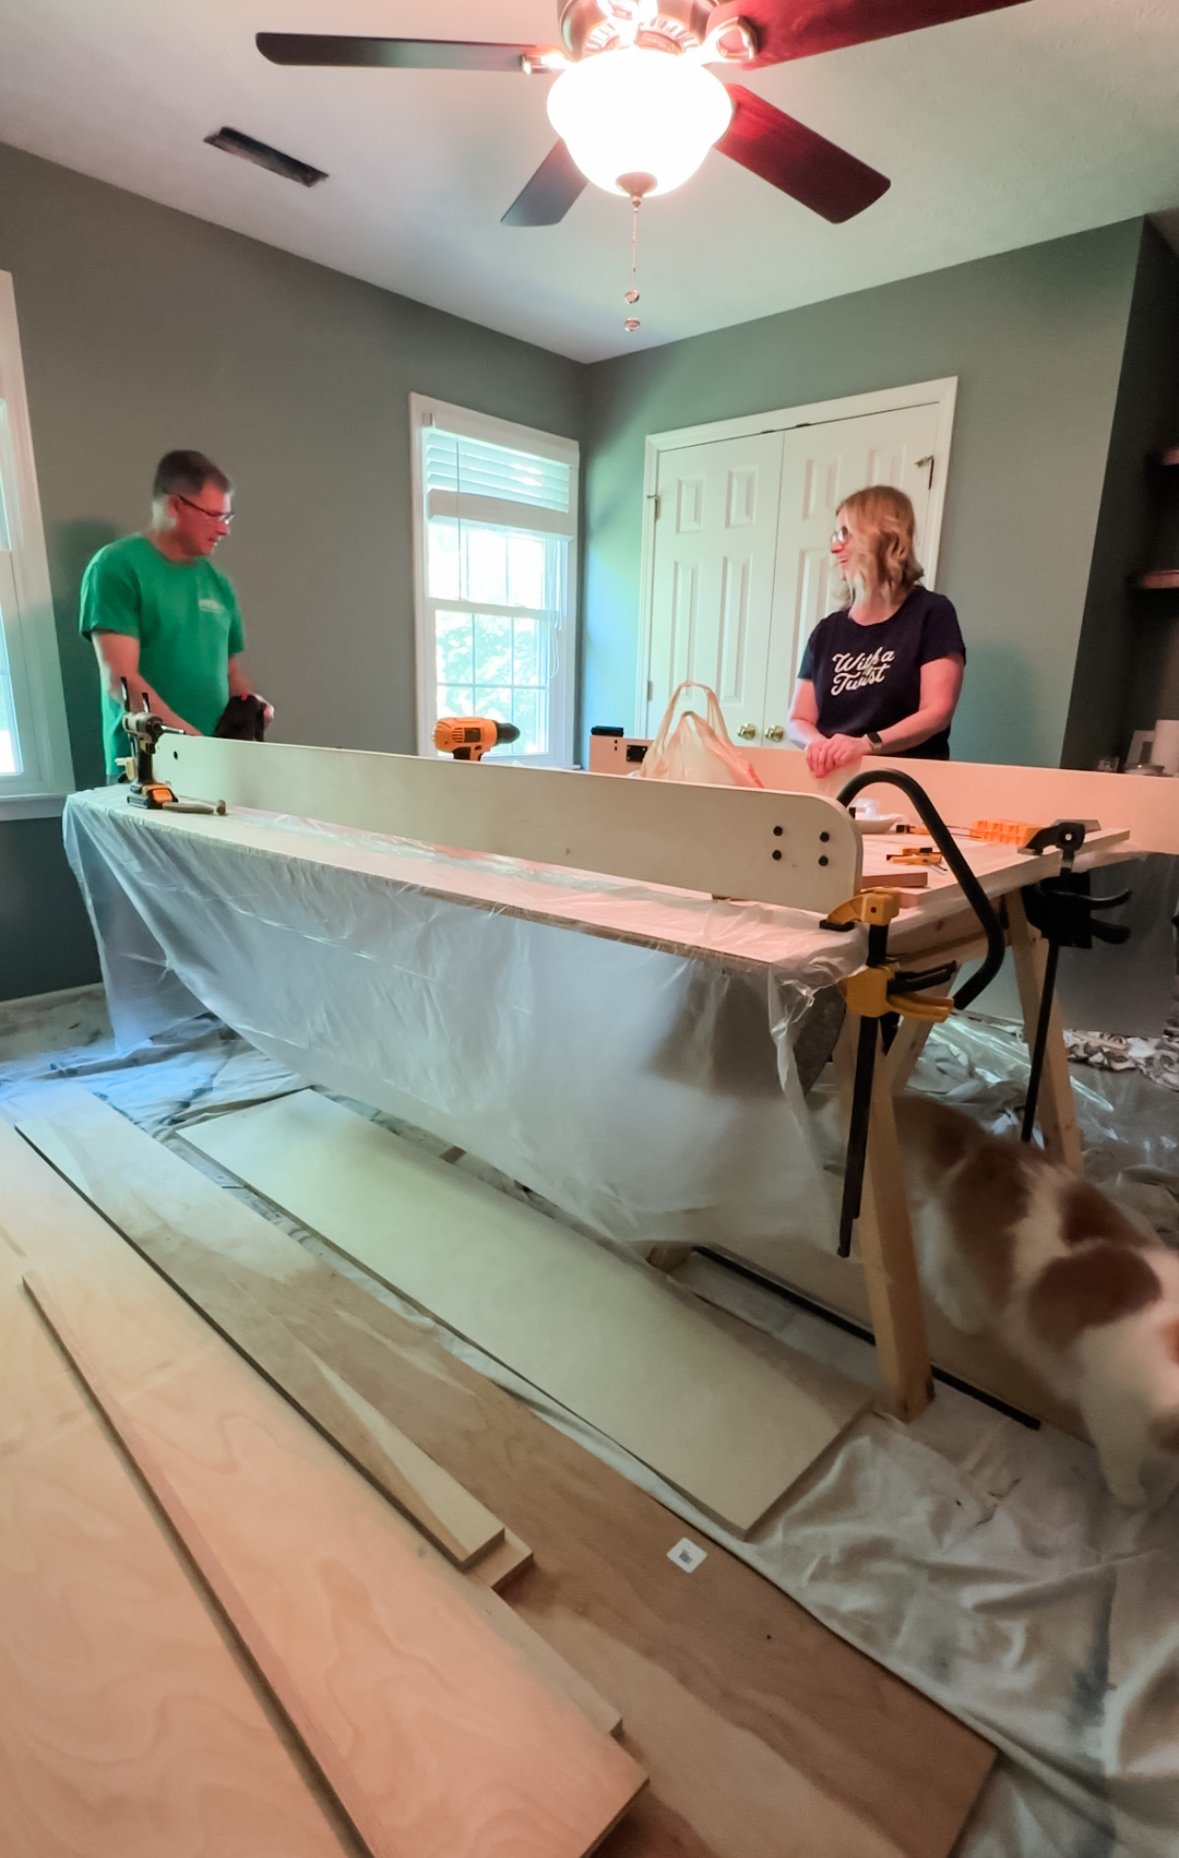
Once the decision was made to build a Murphy bed, I had to do the research to find the plans. I quickly realized that buying a hardware kit was going to be much more economical than buying an already made Murphy bed. The really good quality Murphy beds I found were around $4,000. A kit is around $300-$400. Of course, we still had to buy the wood, cut the wood and put everything together and do custom finishing, but we had a lot more creative freedom this way and we liked that idea.

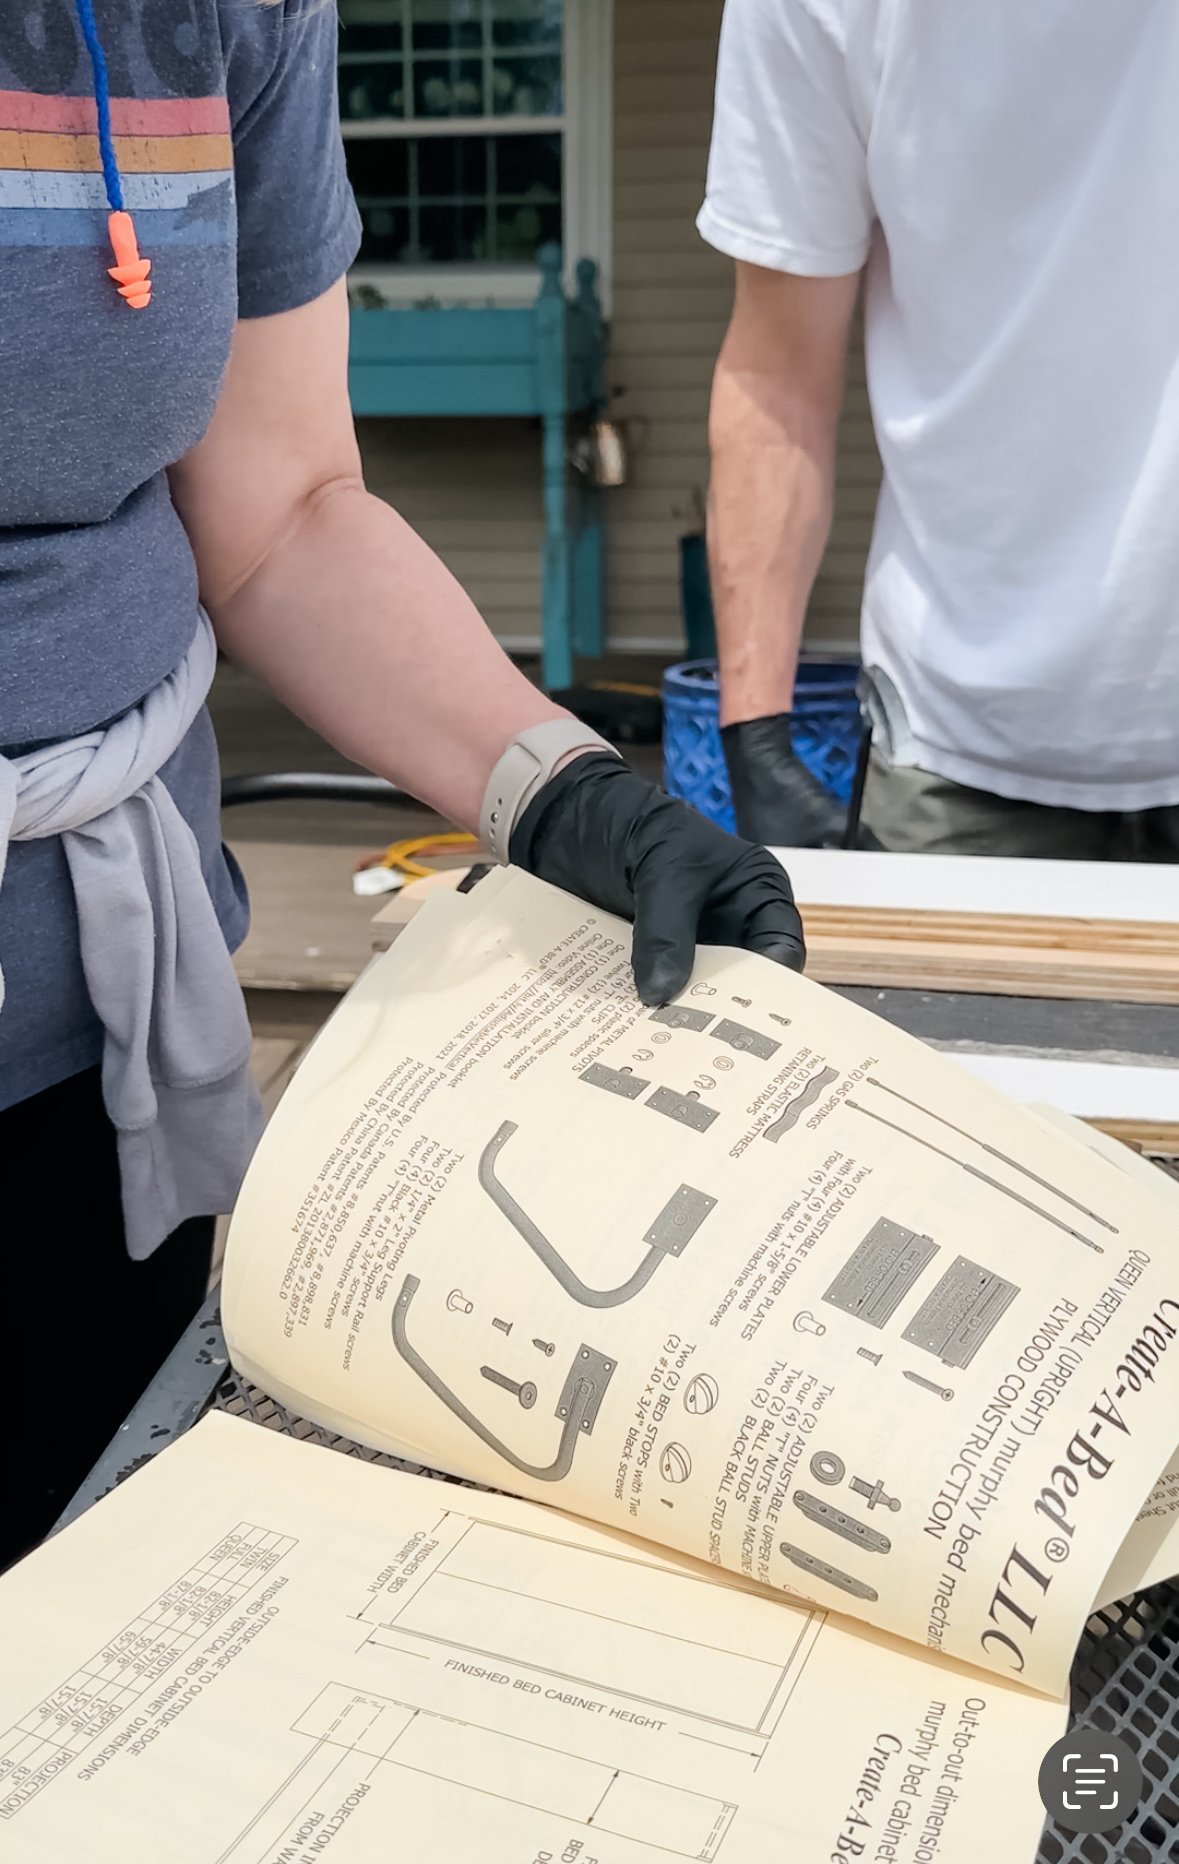
While researching Murphy bed kits, the one that stood out to me was the Create-A-Bed kit. They have been in business since 1985 and their reviews are fantastic! I reviewed their website and also Pinterest for a style of bed I wanted for this room. The hardware kit comes with a lifetime warranty and they really stand behind the quality of their kits. A full set of instructions comes with the kit and we followed them precisely to build our bed. It truly is a step-by-step process with diagrams and all the instructions and measurements you need to build a solid Murphy bed.