Hawaiian Quilts for my Kentucky Living Room
Doug and I spent the first four years of our marriage in a tropical paradise. What an adventure and what a honeymoon that was! We both look back at that time with such fondness. I worked for a local law firm and made several good friends that we still keep up with to this day.
When we got orders to leave Hawaii, I started hunting for a forever souvenir. So, what does that mean? I wanted something that would stand the test of time that would look lovely in our house for years to come that would be a reminder of our time there. It’s a tall order to be sure! My very favorite activity to do while we lived there was hiking and snorkeling.
I was very drawn to local artists that did murals around the islands of whales and other underwater creatures. They managed to really capture the feeling of what it’s like to snorkel and I loved it! The only problem was that I knew living in Hawaii that art would look great on my walls, but back in the states, well, it just wasn’t going to fit with my decor.
I have always loved quilts so I was drawn to the Hawaiian quilting style. It is very artistic and special. The quilt designs reflect the life there, the flowers, the fauna, the animals. I decided that this would be the perfect way to bring some sense of the island back with me, but it would still work in my Southern home.
The next step I agonized over was the color scheme. At that moment, the muted pastels were all the rage, but also primary colors were becoming popular. What would I do? I knew mauve and dusty blue were not going to be the hot colors forever. But, I’m not really a primary color kind of girl either. So, we visited the stores often. I knew when I saw the right one, I would just know. I ended up picking a pink and green one that is in a wreath shape with a koa frame. Koa is wood that is indigenous to Hawaii and I knew it would be special.
I’ve kept the framed piece in my bedroom all these years and it even did a stint in one of the bathrooms. I’ve never had the right furniture to pull off using it in the living room.....until now! I knew I wanted to incorporate it into my living room design after I got the new furniture.
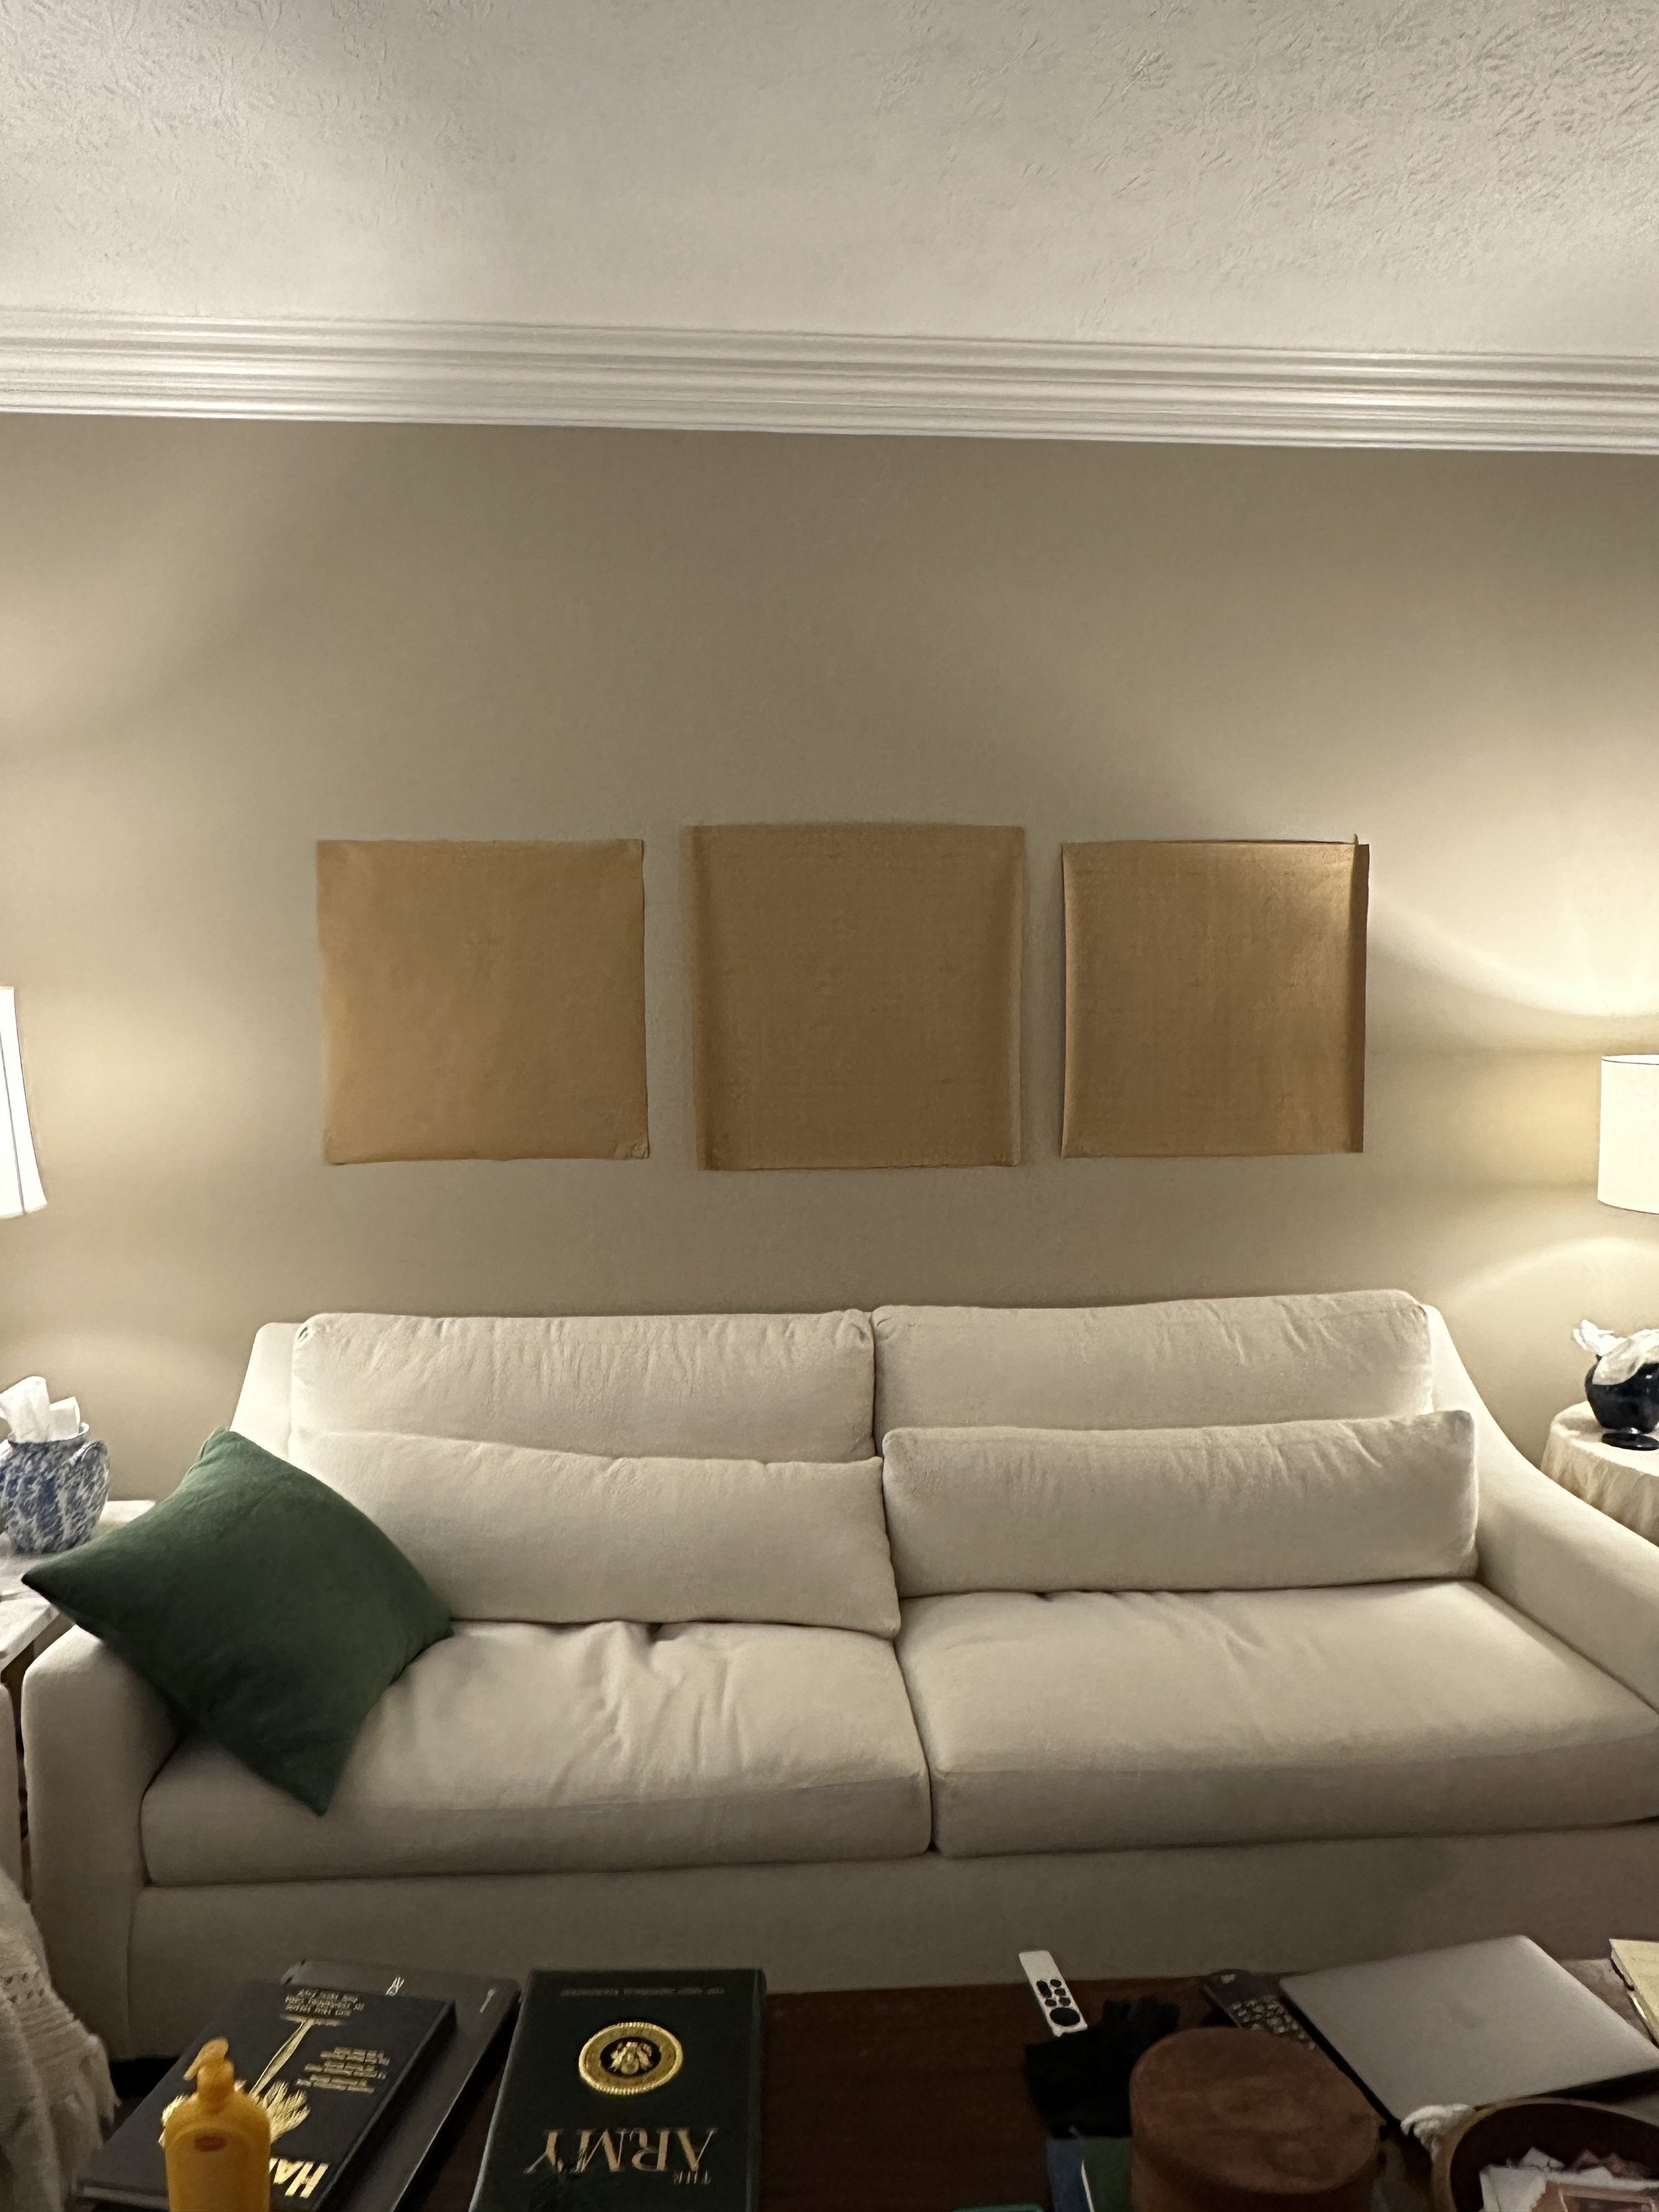
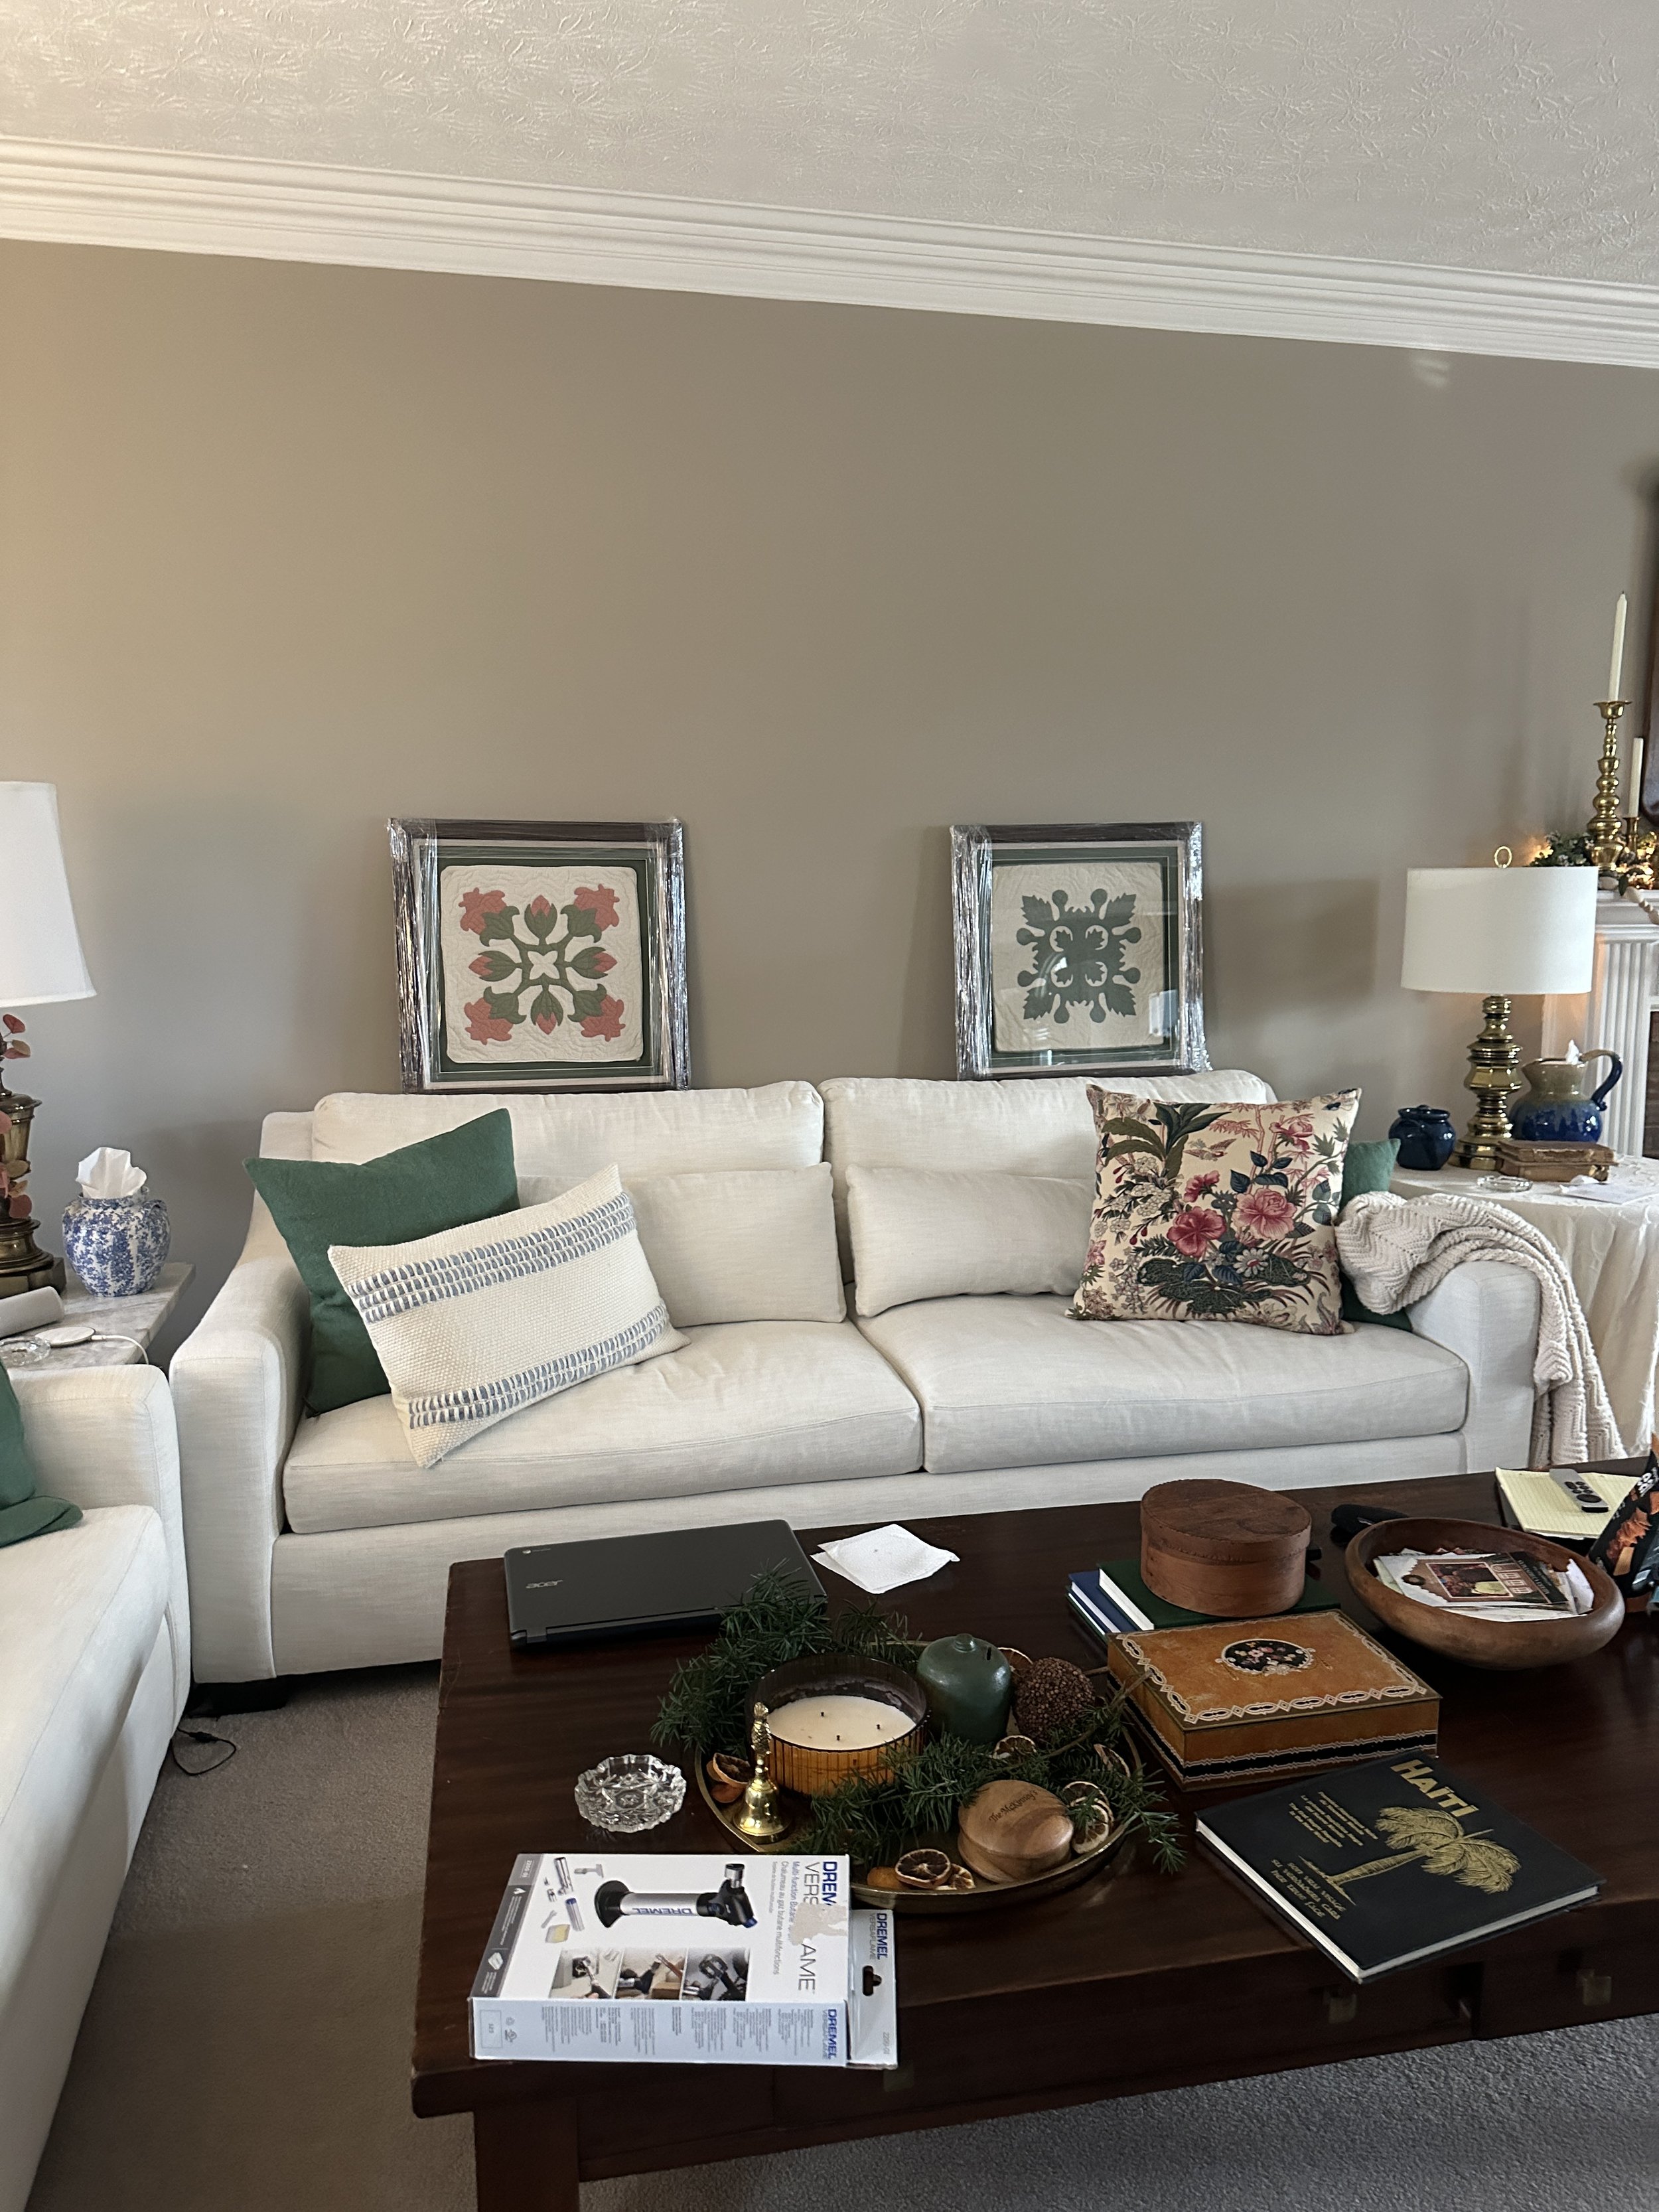
The thing that kept holding me back is that it’s not quite large enough on its own to be the only piece of art over the couch. So, I pondered for a long time and finally decided I would make it the star of a gallery wall.
I started going around the house and gathering other special items that I thought would look nice in a gallery. My daughter came for a visit in the fall and I was telling her my idea so we started trying different configurations. While we were putting different pieces together, I remembered that I had bought two Hawaiian pillows back in the day and they were in a storage bin in a closet. So, I dug them out and we tried those in the gallery as well. We liked how they looked, but something about the whole gallery together wasn’t quite right.
I had just in the past year hung a blue plate gallery wall in my dining room and a mirror gallery in the foyer. We have a completely open floor plan downstairs. When you come in the front door, you look to the right and you see the plate gallery, straight ahead and you see the mirror gallery and to the left, whatever I was going to hang over the sofa. I started to worry that it was all going to seem a bit much. So, a few hours after my daughter left, my son happened to call and I talked to him about my dilemma. He had me snap pictures of the entire gallery and he photoshopped it and showed me what it would look like over the sofa.
That sealed it for me.....it was definitely too much!
So, I said, what if I got these two Hawaiian quilted pillow covers framed? How would that look with the main framed quilt? He put it together for me and showed me a mockup. And, let me tell you friends!!!! That’s when I KNEW it would be perfect!
The two pillow covers were a little soiled from being handled and stored all these years. I was able to brighten them up by soaking them in a little dawn dish soap. I kept gently washing them until the water came out clean.
Once clean, I rolled them with a white towel to soak up the water and layed them out to dry. They came out looking so fresh and new!
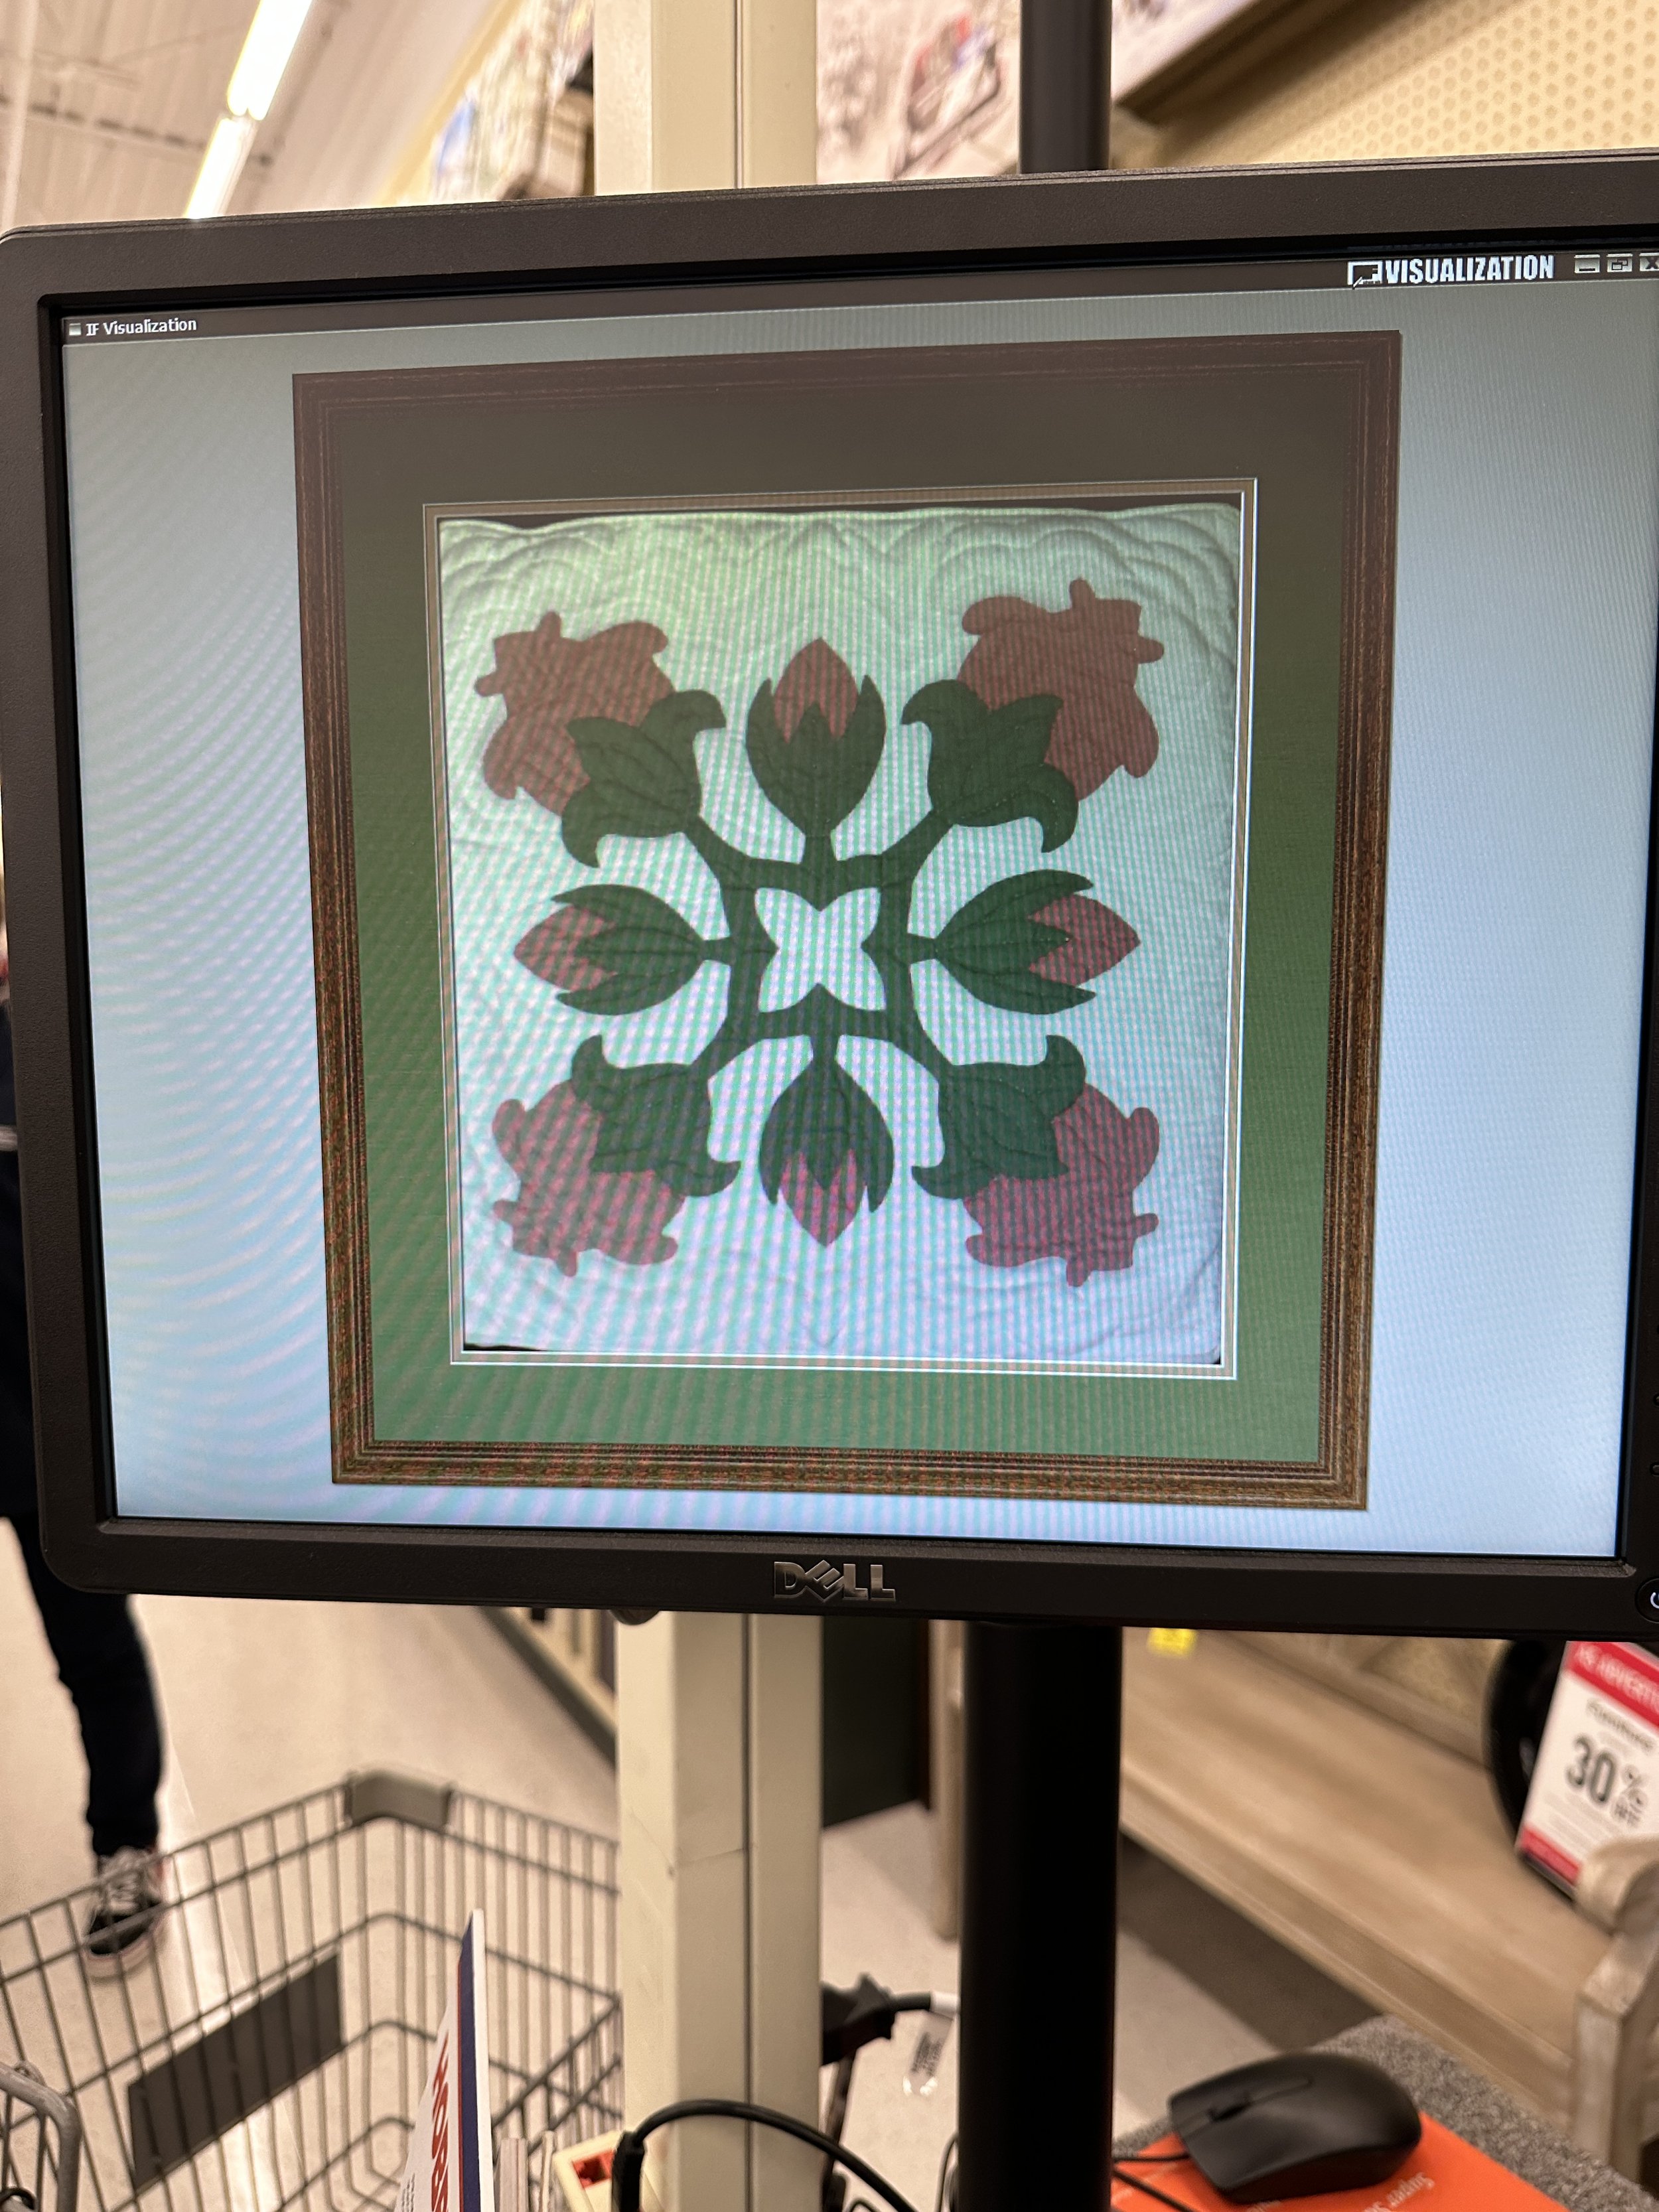
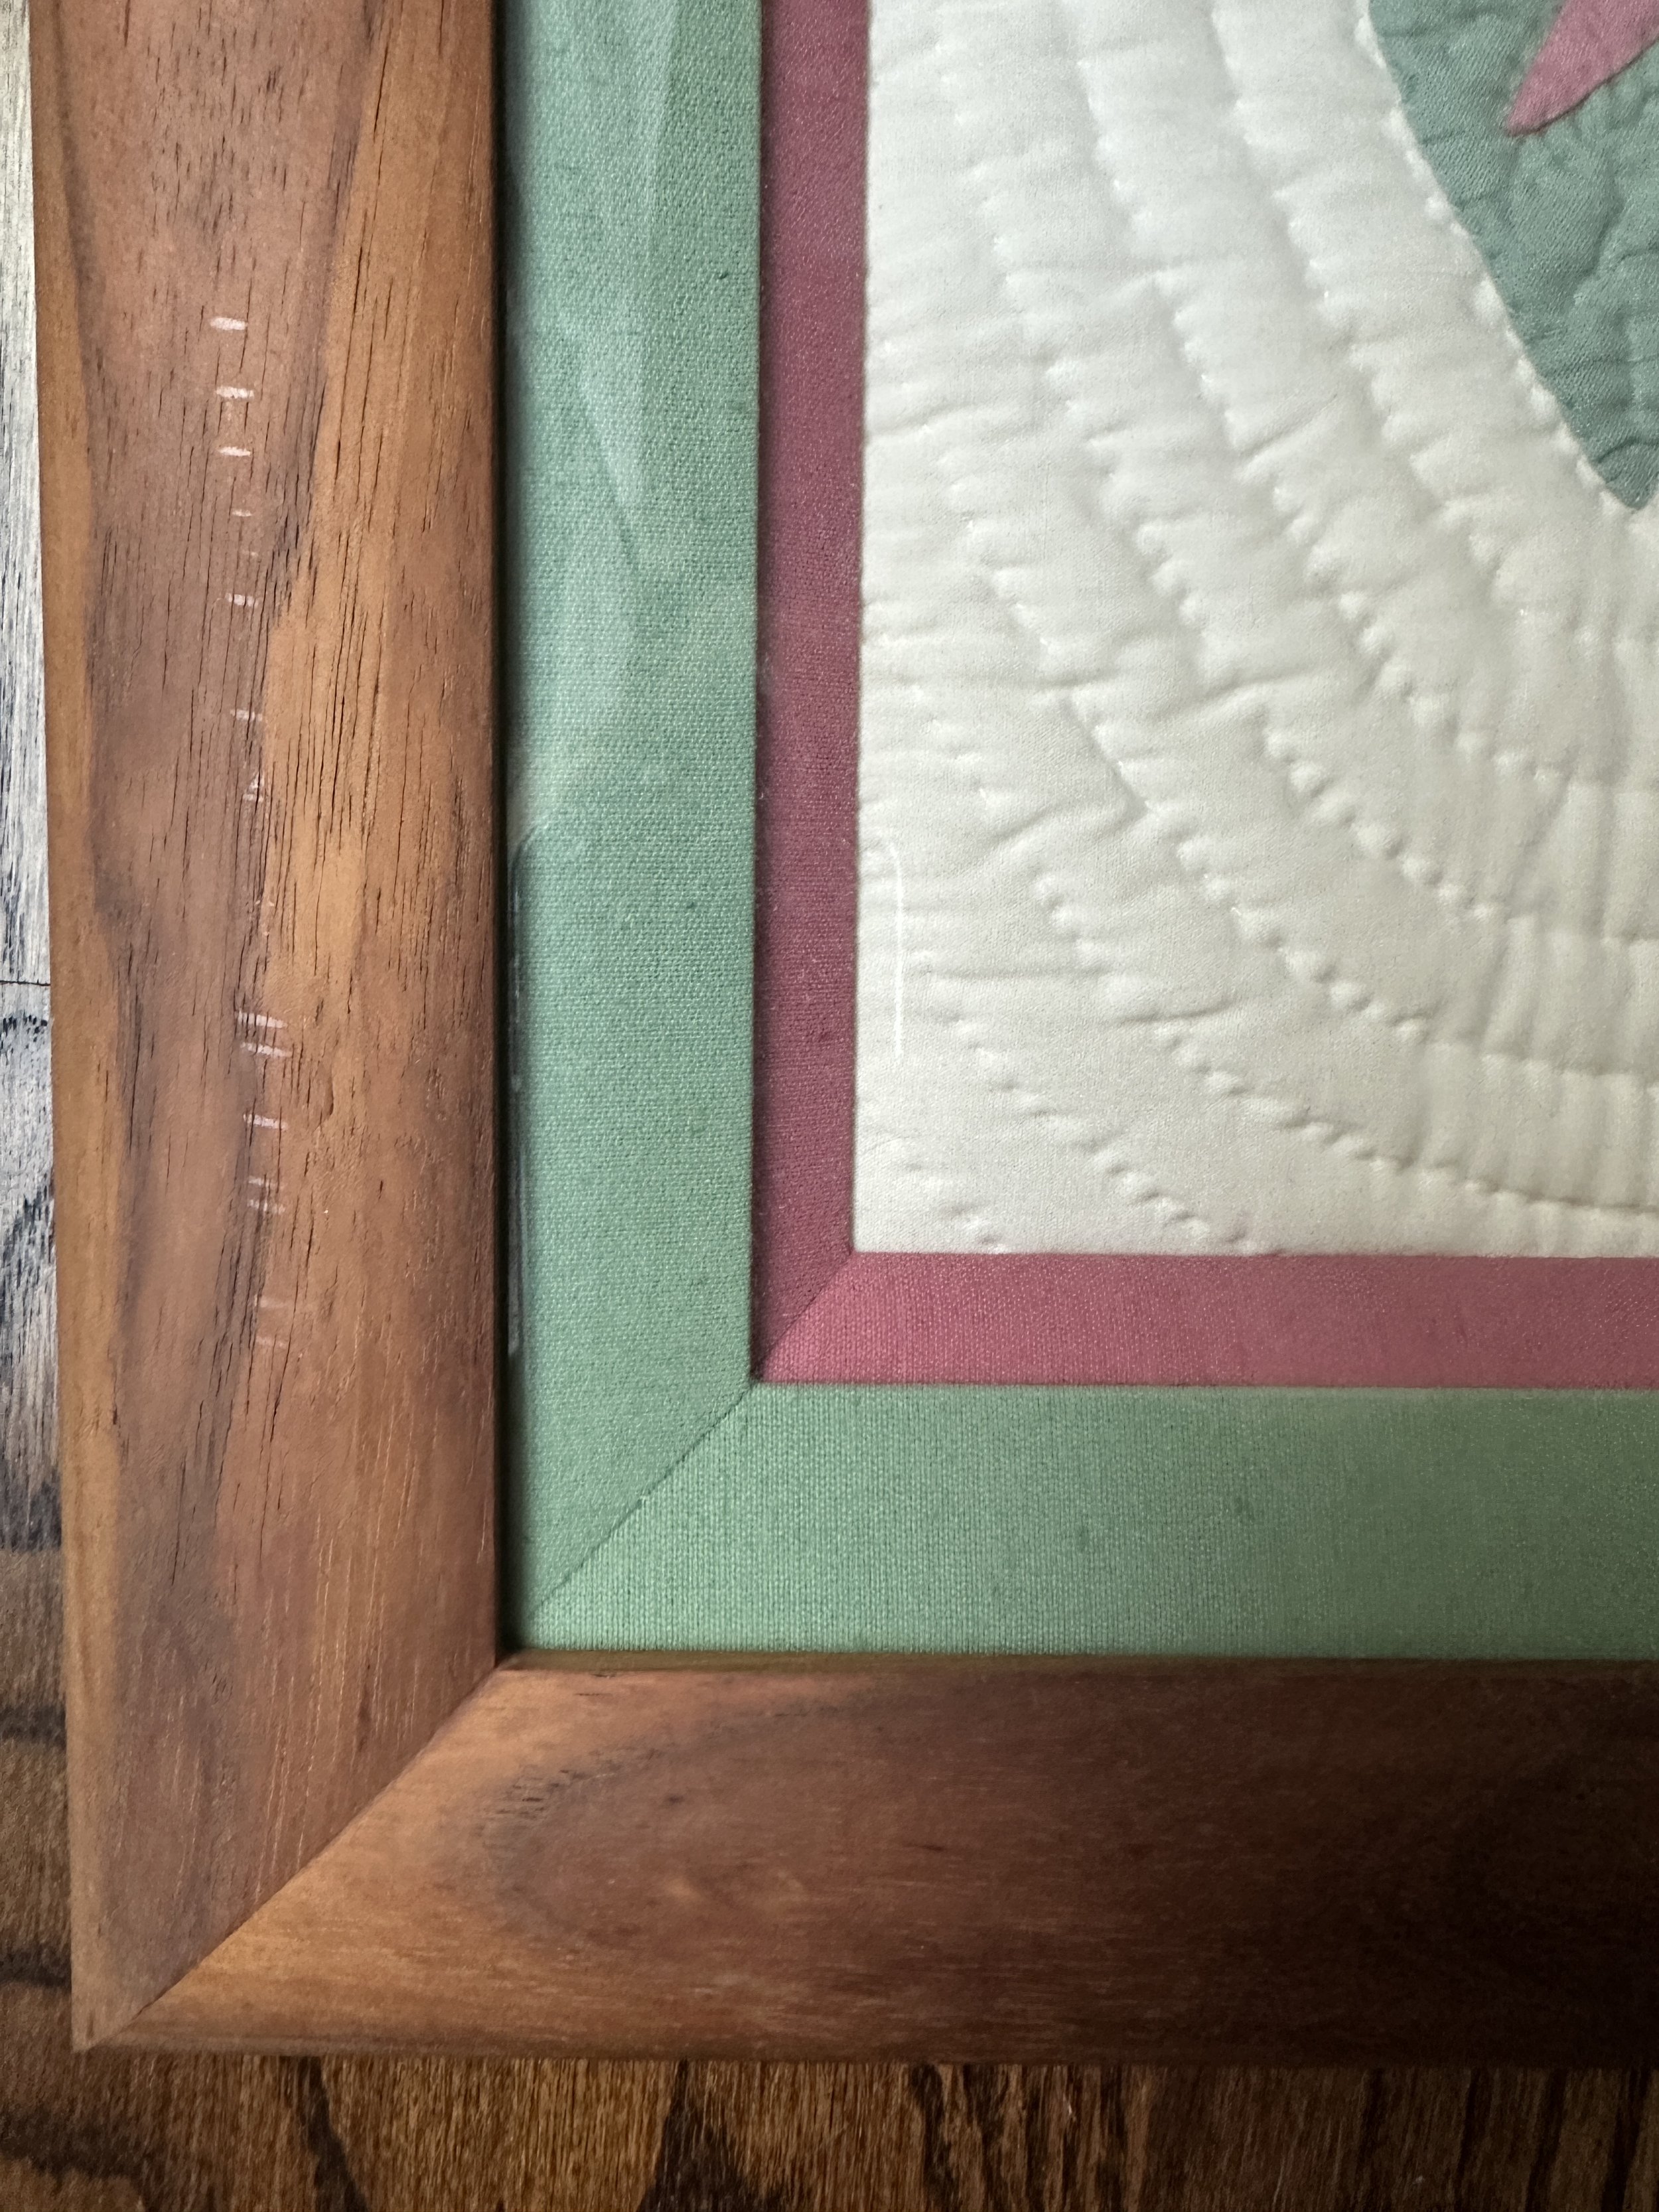
The following week, I went to Hobby Lobby to try to get the framing done economically. We don’t have a ton of choices in town. I wasn’t impressed with what they were putting together for me, so I decided to maybe try an online store or another place in town. The online options were limited as well. I didn’t want just a white or cream-colored mat. I felt like the mat needed to coordinate with the centerpiece. So, I ended up with a higher end gallery in town. I think this is one of those situations where you get what you pay for, you know?
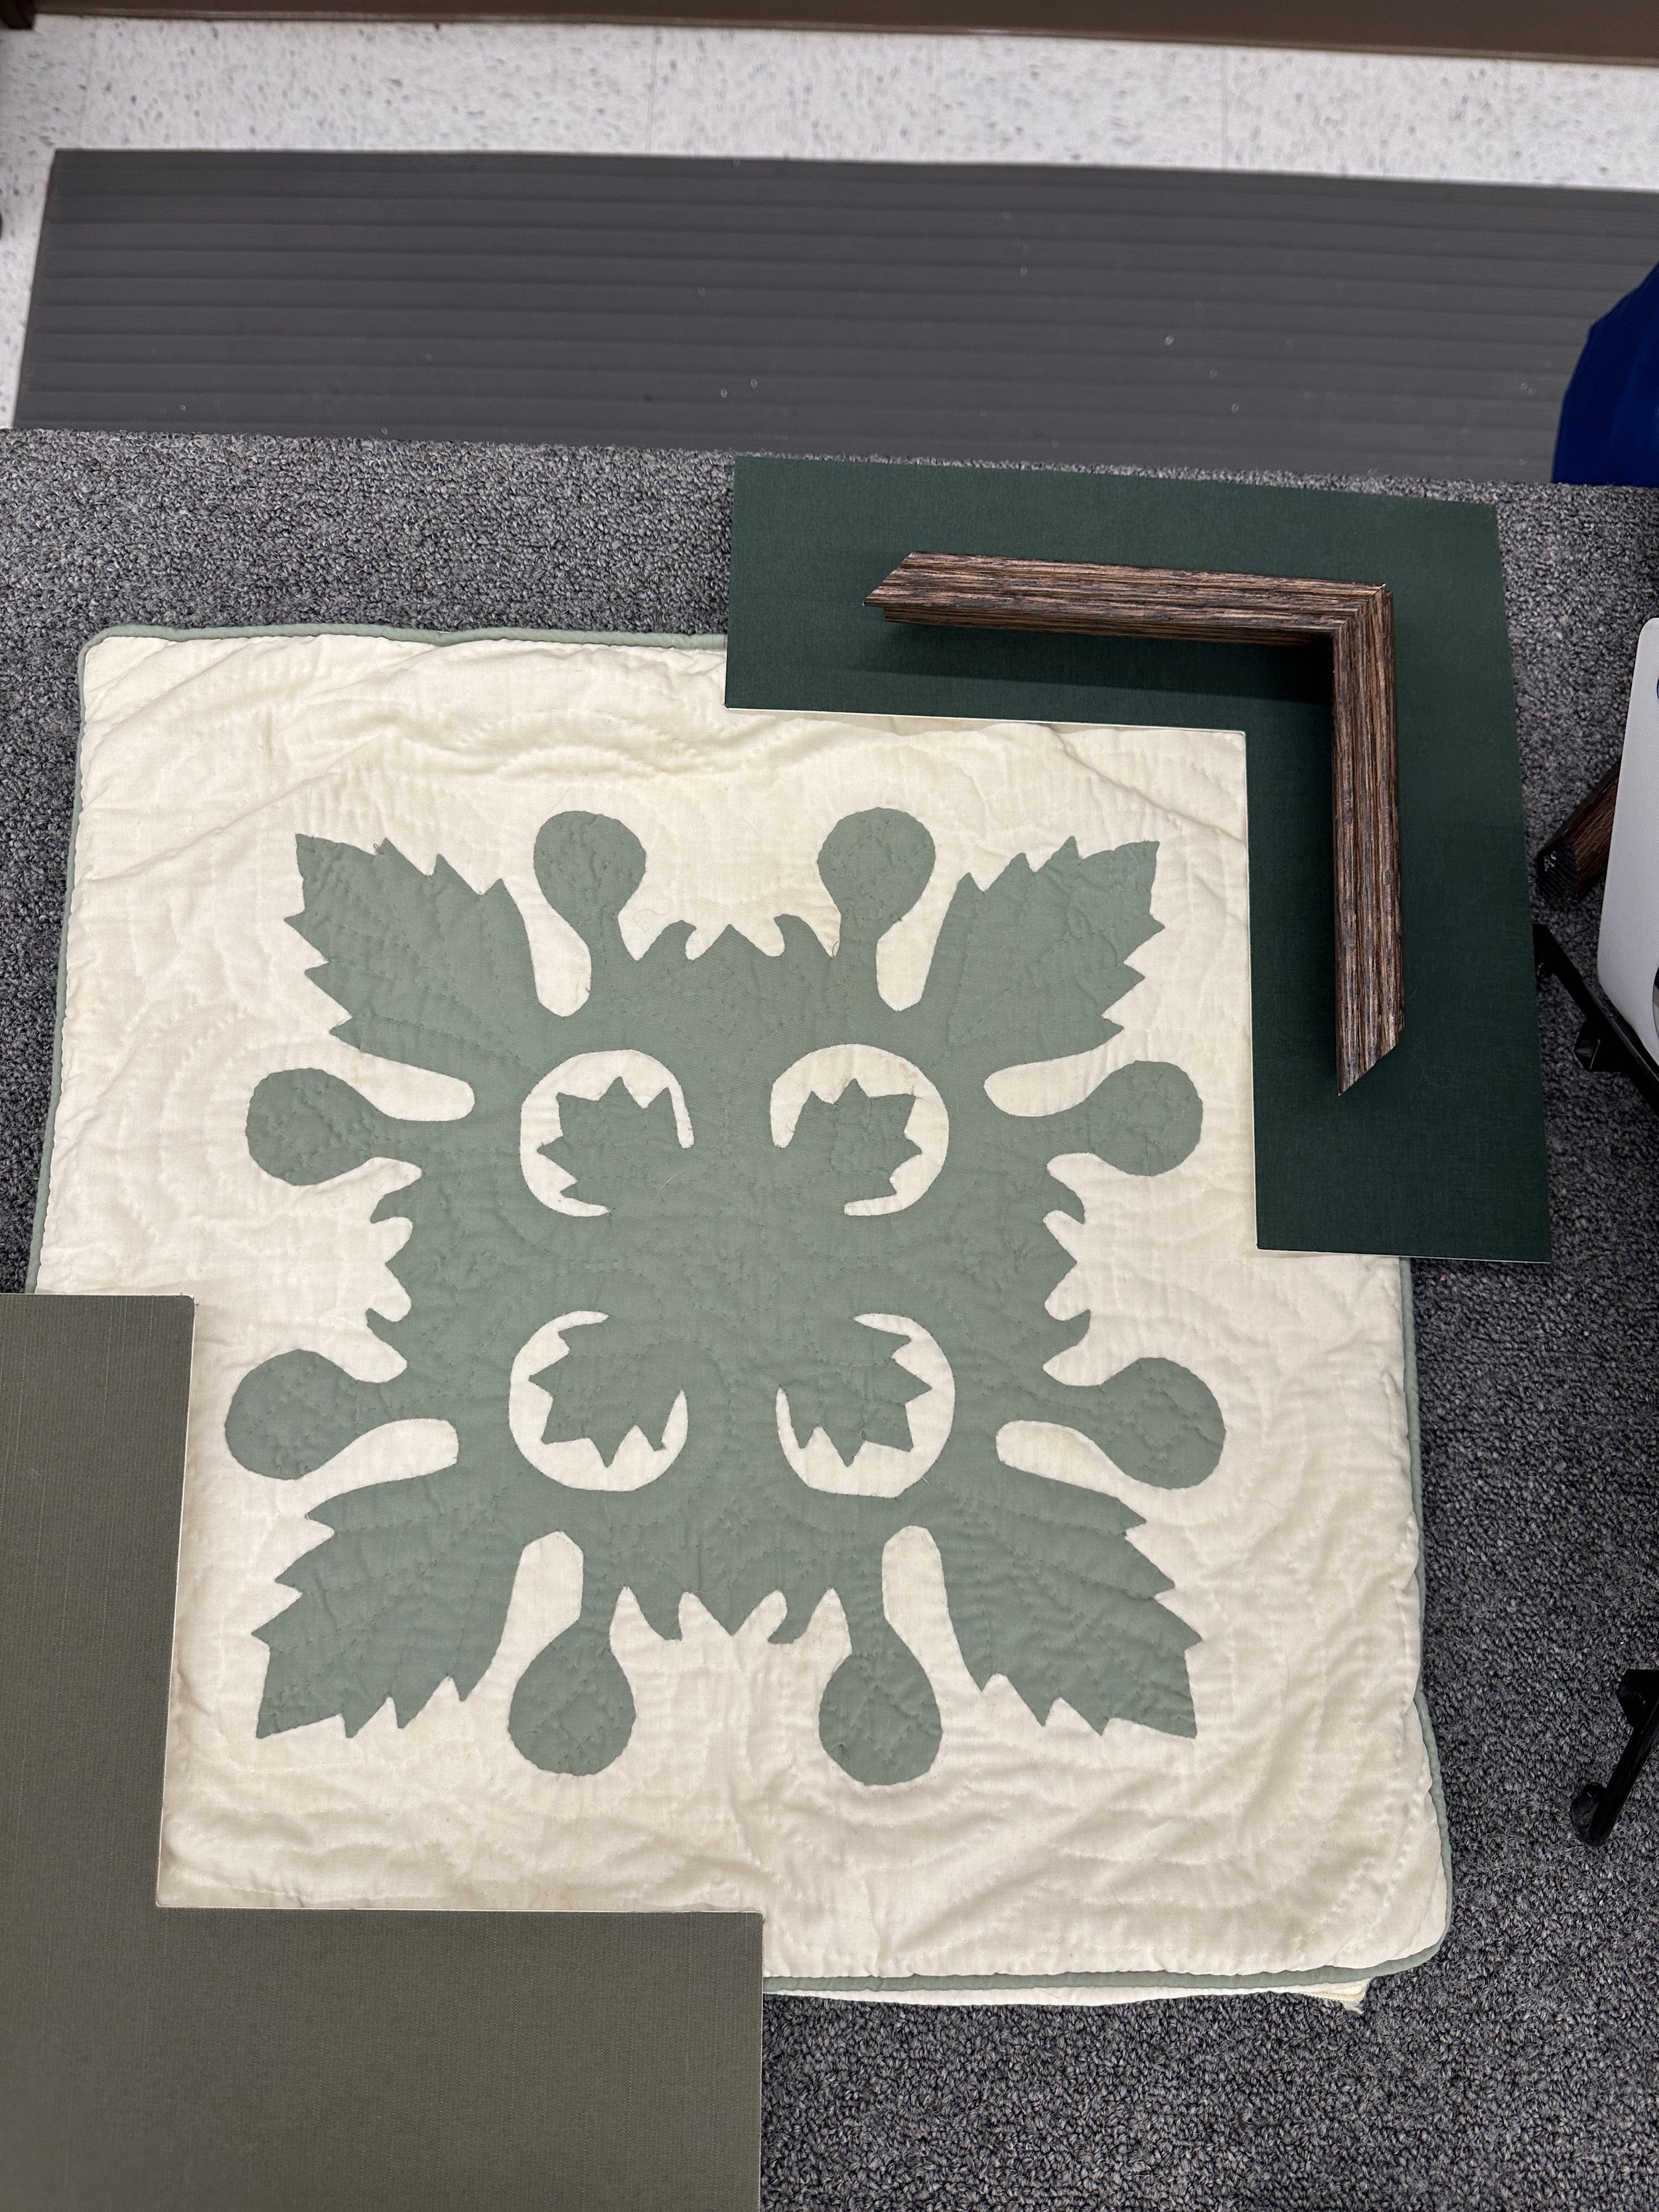
They had tons of frame options, but none of them were going to match the koa frame. I felt like that was okay as long as the wood I picked would coordinate with the other woods in the room. The owner suggested that I take home several frame options and mat options to try in the house with our lighting and other furnishings. This was key to getting the right shade of green for the mat. I chose a walnut frame that is curved like the koa frame and is a similar width. It coordinates with the other woods in the room.
None of the greens, pinks or creams are the same shade. So, I had to tape the pieces on the wall and look at them in different lighting to determine the best shade of green mat that would coordinate with each piece as well as the center. I leaned heavily on the green pillows I have on my couch. They look so good with the main framed quilt that I knew that blueish green was the way to go.
