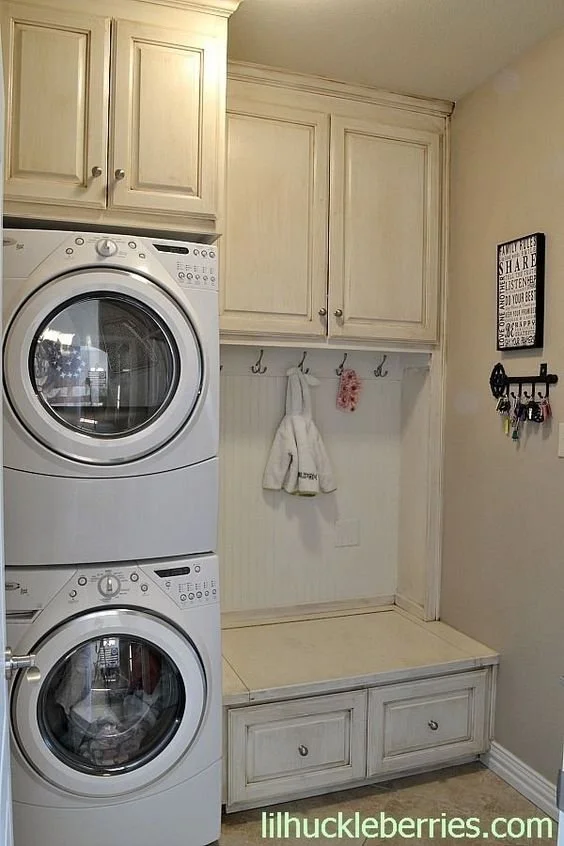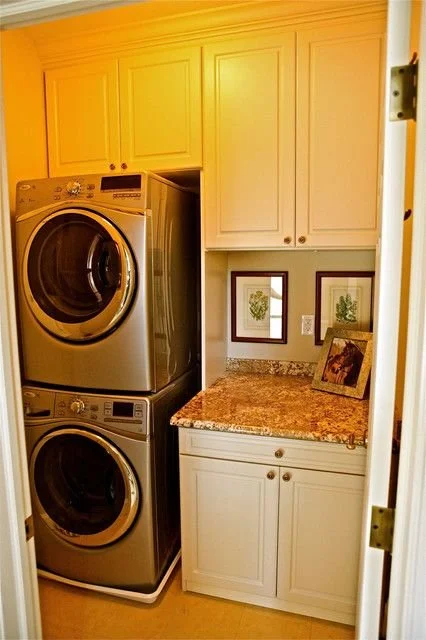
Laundry Room Makeover

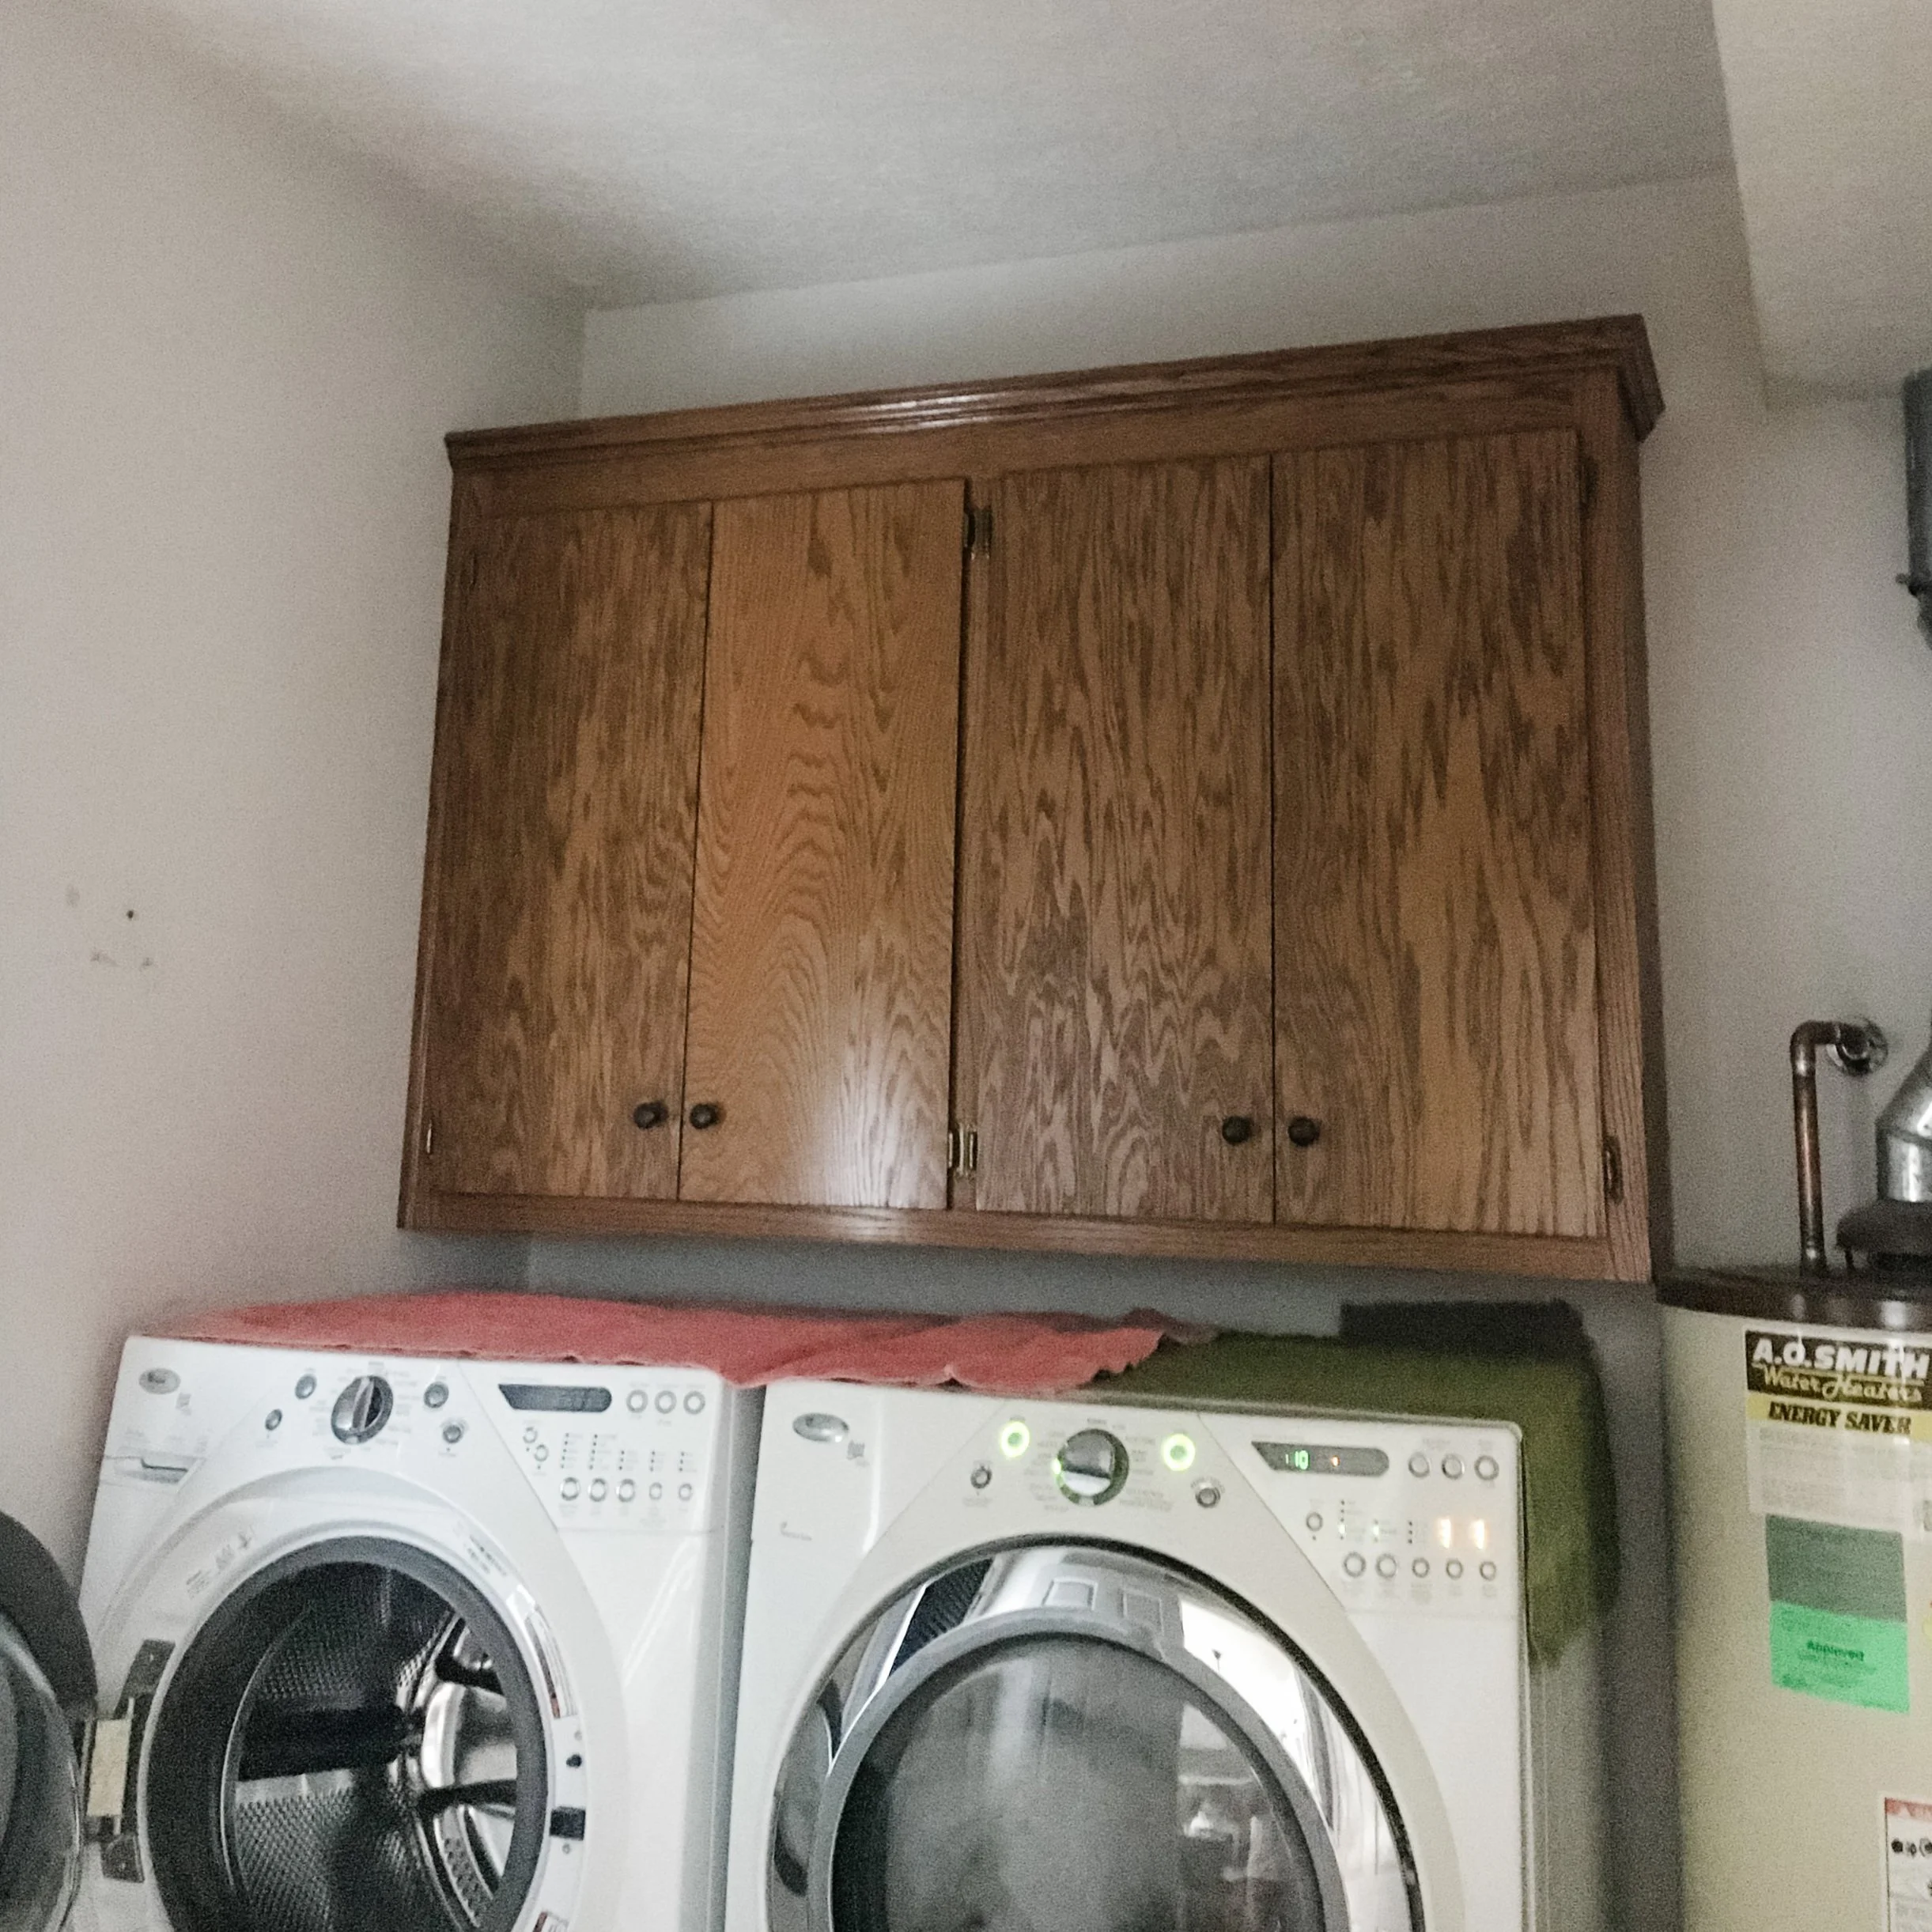
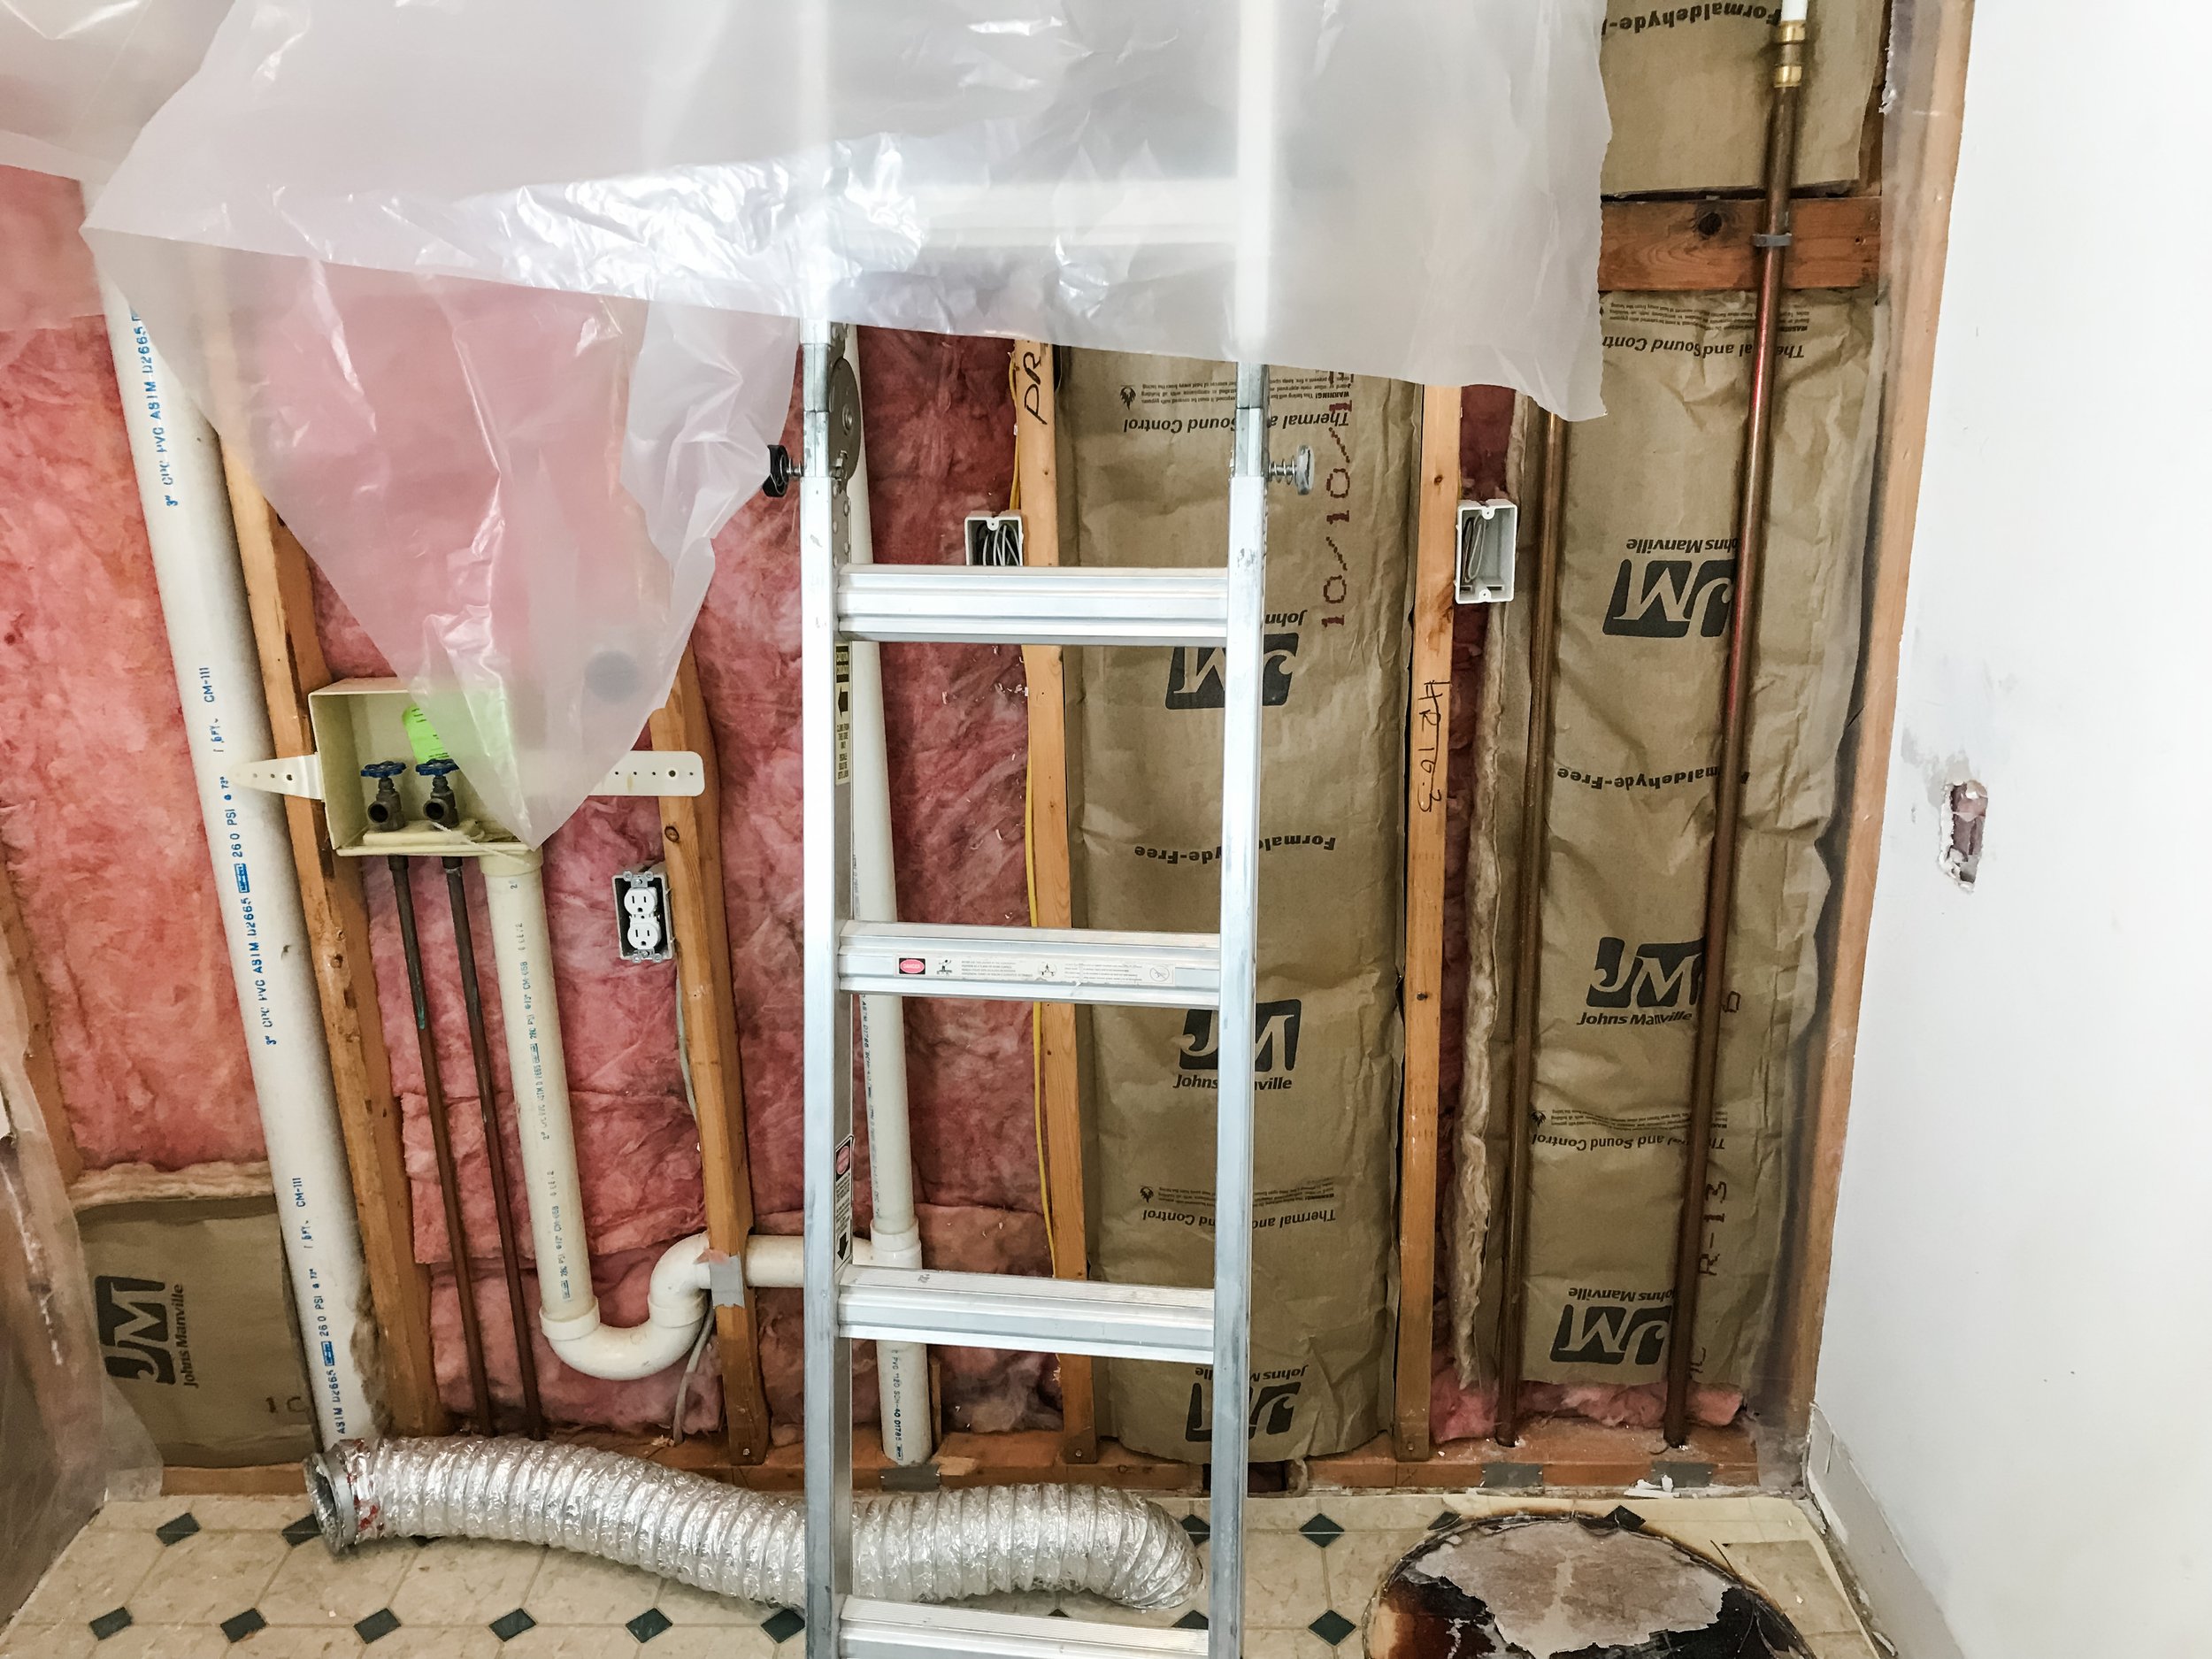
BEFORE

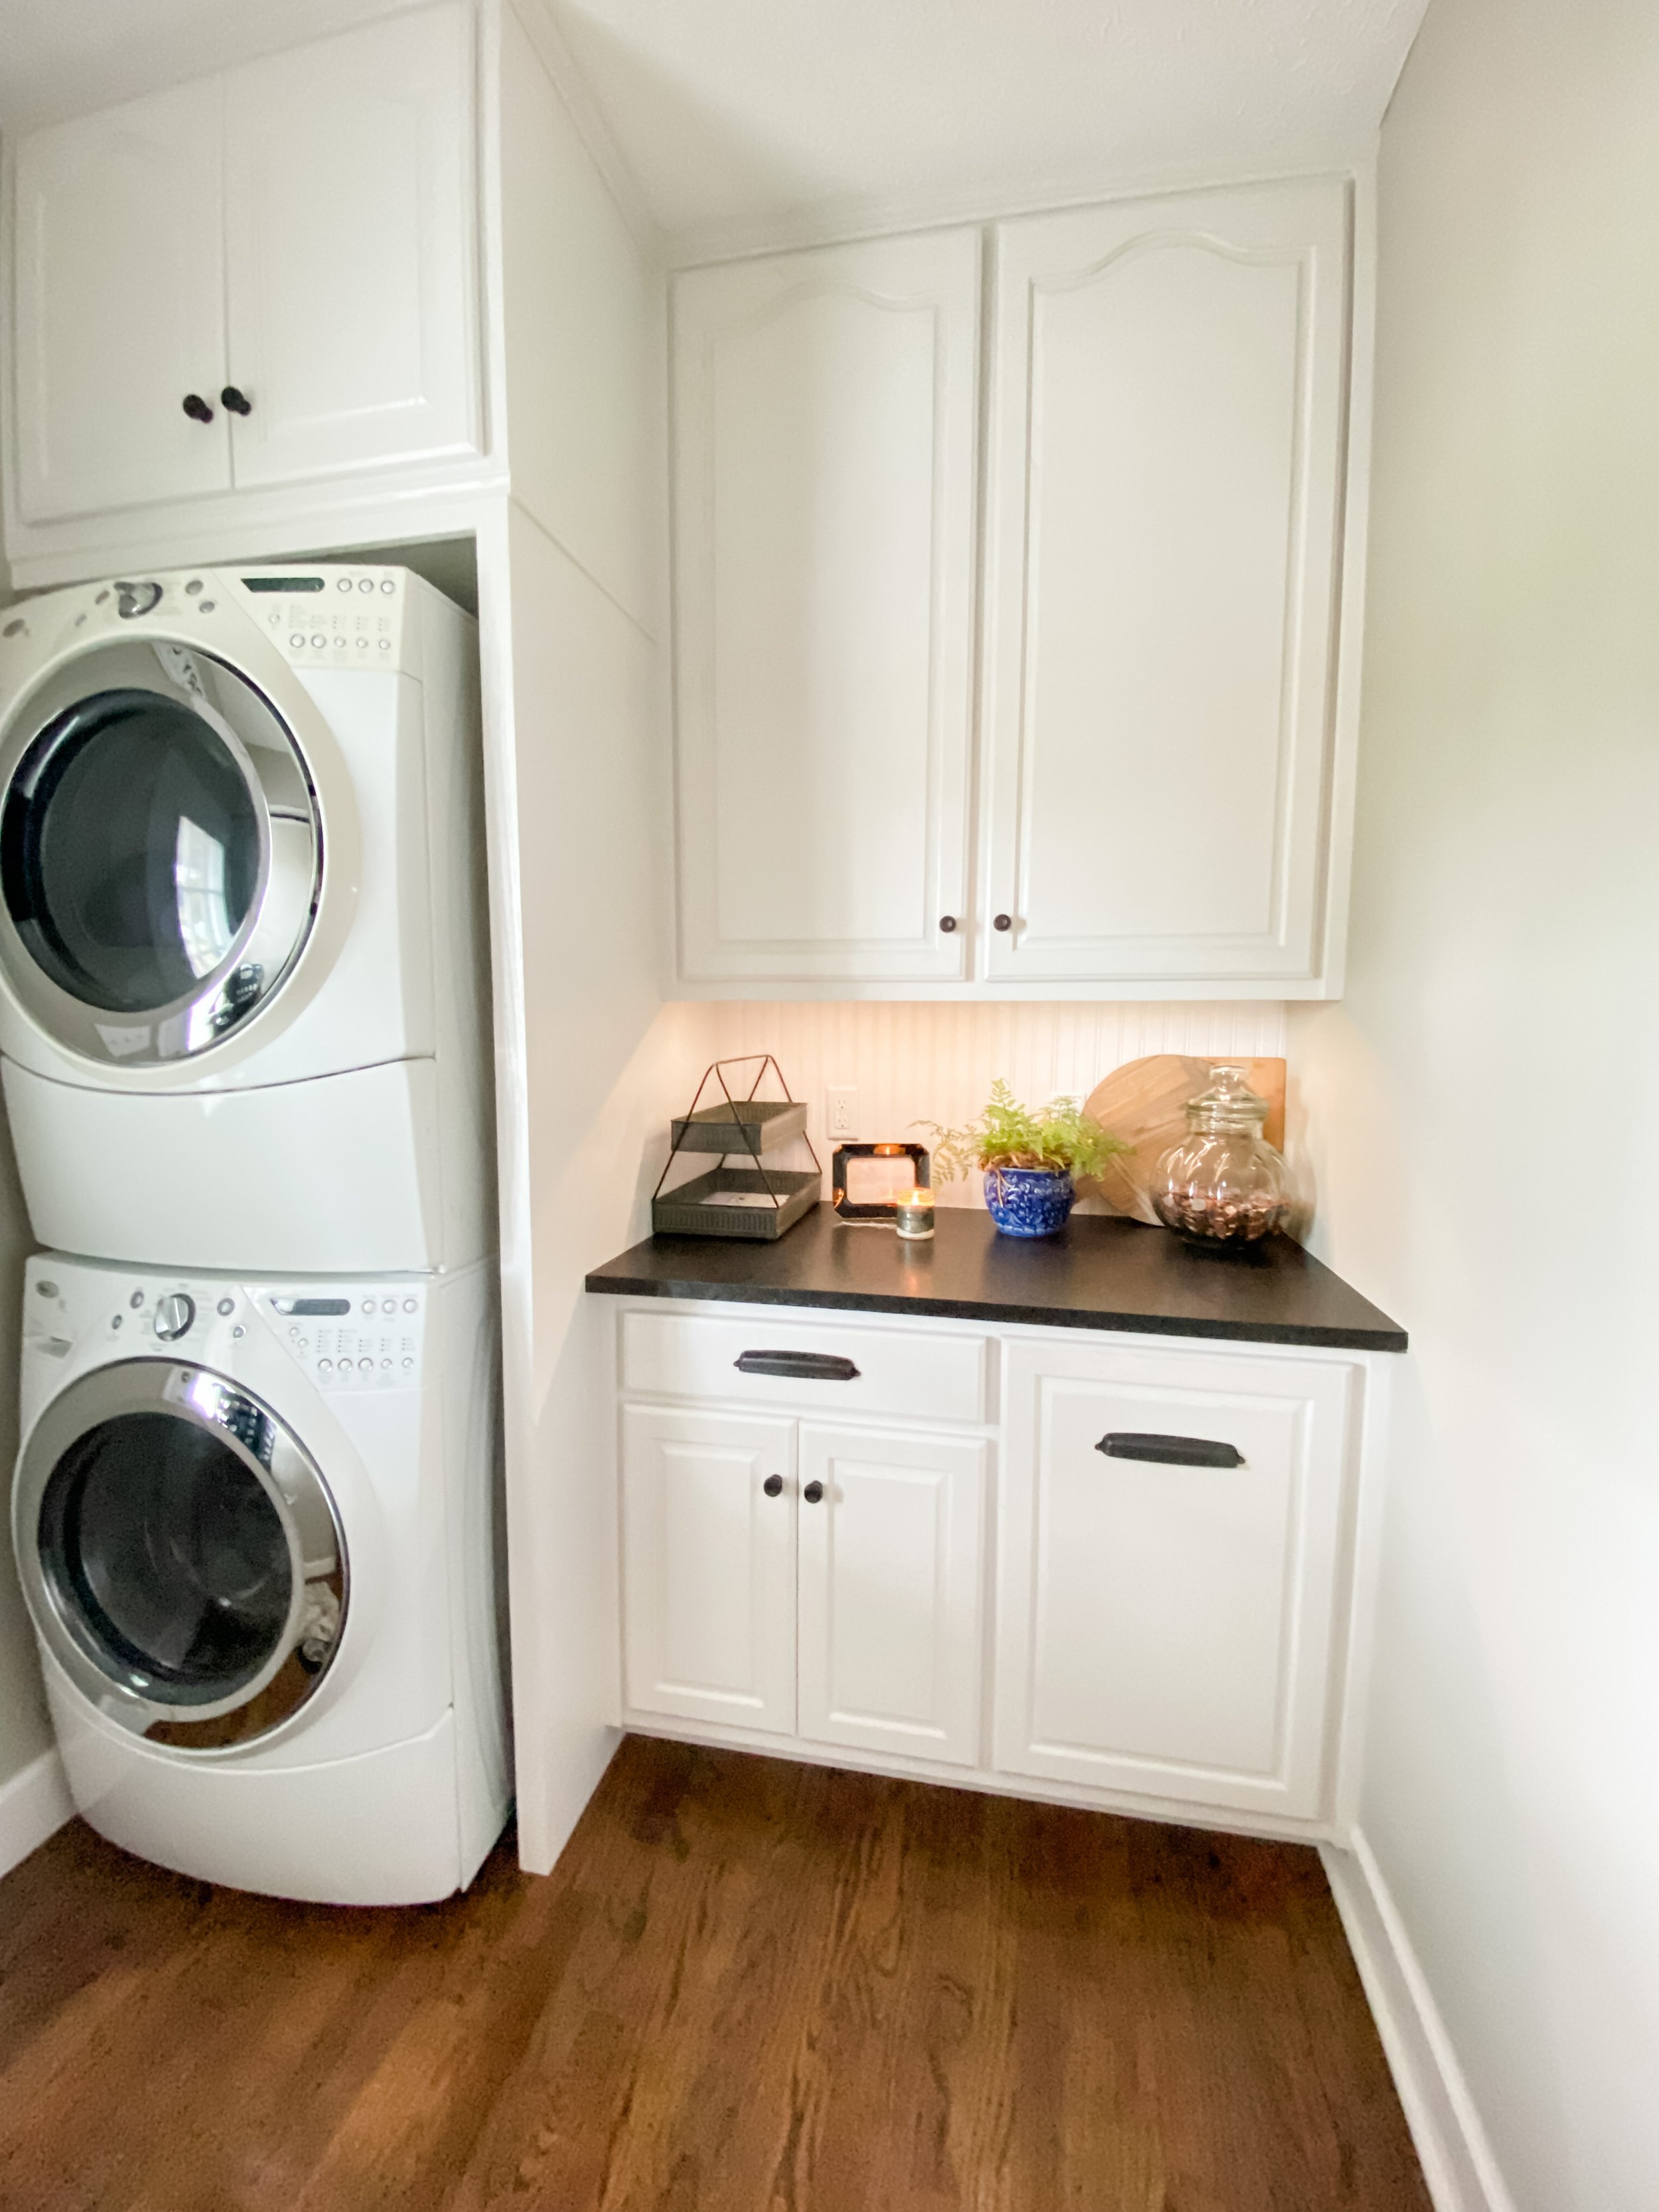
AFTER

When we moved in our house, I seriously despised the laundry room.

It took a long time for us to save the money to renovate it. (15 years to be exact) We first renovated the kitchen and once we did that, the laundry room became even more of an eyesore. It’s right next to the kitchen and even sitting in our family room, you could see right in the laundry room. The thing that irritated me so about the look of the laundry room was a big old hot water heater with a silver pipe that could be seen from the living room. Of course, we could shut the door, but with the entry from the garage passing through the laundry room it wasn’t very practical to keep the door closed. In fact, there were 3 doors that swung IN to this small laundry room. So if the door was closed and someone opened it the moment someone was coming in from the garage, there would be a crash of sorts. I had many years to contemplate what I wanted that laundry room to look like.  We even thought about bumping it out into the garage but the wall behind where the washer and dryer are located is a load bearing wall and there is a fuse box that would have had to be relocated.  All of that just sounded like more work than we were willing to tackle.

While we were saving up to renovate, I came up with several different ways to disguise the hot water heater. First, I found a screen that covered most of it. Then I found an antique room divider that I put in front of the hot water heater. It helped, but you could still see the metal pipe. Also, there was a weird dropped down ceiling in front of the door that leads to the garage that made the room feel even smaller.  We assumed the pipe from the hot water heater fed through there and up to the roof. Would you believe that when we opened it up that there was nothing in there?  I’m not sure what the original plan was, but wow (can I insert a huge eyeroll here?).  So, what finally triggered us doing this renovation was that our hot water heater broke down.  Here was our opportunity to make some changes:  would we get a tankless one or a bigger hot water possibly? Maybe we could move it to another location? I was super excited about getting it out of there! 

So I started looking at Pinterest. I had an idea of stacking the washer and dryer and possibly adding pull out drawers, along with pullouts for our trashcan. Can you imagine? I was so excited about this! I found some photos I liked on Pinterest, but I couldn’t find exactly what I wanted.  I decided to sketch it out and go to Lowe’s to see if they could help me figure the dimensions out for everything.  I had a nice gentleman sit with me and help me plan it out.  We were planning to hire someone to make custom cabinets and change out the flooring for wood to match the kitchen, but we would do most of the other work ourselves. The first step was moving the hot water heater. We decided for cost and function to move it just on the other side of the wall it was currently on. This meant that it would now be in the garage.  Yay!!!! 😀 

Another eye sore in there were the cabinets. The kitchen has really well made solid oak cabinets. The laundry room had oak plywood cabinets. It just looked cheap. The cabinets were also too high.  I had to get a step ladder to reach over the washer and dryer so we ended up getting the pedestals so we could keep our laundry supplies under the washer and dryer. So I rarely had to get in the cabinets. We stored items in there that we didn’t need very often.

Once the work of moving the hot water done, we set about to put a plan together. We had to replace the drywall and flooring where the hot water heater was located. There was damage. The way the floor looked scorched, we believe we were very close to having a house fire. I’m so thankful that didn’t happen.  Our cabinet guy was too busy to get started right away so we hired a carpenter that could build the bases of the cabinets and then our cabinet guy said he could make the cabinet doors and the pullouts.

We had a hardwood company install new flooring. The tough part was having them match up the flooring in the kitchen. We didn’t use the same company because the original company couldn’t do it for months and we wanted our laundry room functional asap. Going to the laundromat is no fun, am I right? The new company did a fantastic job matching the two up. In certain lights I can tell it’s not exactly perfect, but most people wouldn’t notice. We had a bit of a hiccup with the floor though. Once they came back to apply the polyurethane, we noticed there was a lot of debris in it. The flooring guys couldn’t understand what was wrong (or pretended to not understand). My husband took it on himself to sand it down and reapply the poly. There was so much sawdust, fibers and hair in the original and we knew that would irritate us both to no end! I mean gross – hairs?! No thank you! I’m so glad my husband is a take charge kind of guy! He had that laundry room looking great and smooth in no time!

Next up was having a drywall guy come in and fix the ceiling and wall where the mystery pipe should have been. Once the drywall guys were done, they painted. I had a hard time picking the color in that room. As you can see from the pictures, I tried the kitchen color and several other colors: Revere Pewter is the one that I went with. I have to be careful using Revere Pewter in my house.  It’s a beautiful neutral color but on the frontside of my house, it pulls green because of the way the sun reflects on the yard and plants. The laundry room and our guest bathroom are both painted Revere Pewter and those rooms are on the back (southside) of the house.

Once that was done, we went to pick out granite. The granite we have in our kitchen is called “absolute cream.”  I thought I’d do the same in the laundry room, but by the time we were ready to do the laundry room, they didn’t have it any longer. I ended up going with a black leathered granite. I have to say, I absolutely love it! I worry about using leathered granite in the kitchen because of it not being a smooth surface, but in the laundry room with no a sink, I saw no problem with that! We had the carpenter put in the frames and then we were ready to have the granite installed.

Once we had the granite installed, we put in a beadboard backsplash and wired the cabinets for undercounter lighting that would come on when we turned on the kitchen. Finally, the cabinet guy had the cabinet faces ready and so he came and installed them, along with the rev a shelf double trashcan and pullouts. Have I said I love pullouts? It is still one of my favorite features of my kitchen and when we do our bathroom, I plan to use them in there too! So handy!

Finally, we were ready to get this washer and dryer hooked back up and this is where the needle scratches across the record........ We had a plan and had researched it, it just wasn’t as easy as you might think. First off, we had to stack the washer and dryer, we had to hook everything up and slide them in as a unit into the very precise cabinet we had built for them.😳 Now, I’m going to stop here and say that my husband is a mechanical genius. He can figure out how to do the most difficult tasks I come up with. And, this one was a doozy. We didn’t have much space to work in. We had a dryer hose with a magnetic connector. The magnetic connector was such a great idea in theory but those magnets would not line up perfectly so when we turned the dryer on, lint went everywhere.  We ended up using a telescope type of venting to connect to the hose so the dryer could go very close to the wall without kinking the hose.  

We also had to slide these heavy appliances into place with everything plugged in and working, without scratching the brand new wood floor! Doug found a pump-up unit called a pump wedge that is very slim that can be placed under heavy items to lift them slightly. So we did that and were able to get a lift the washer/dryer up enough so that Doug could put felt sliders on the bottom of the legs of the washing machine. We then were able to slide the stacked washer and dryer into the built-in cabinet. We have storage on top of the built-in cabinet where we have a large pullout drawer. This is where I store all my less used vases.

Once we had that washer and dryer in place, we just needed to put a light in. Unfortunately, we didn’t think this part through enough. What was there before was a flush mount light and it was centered in the room. Well, we changed the center of the room by installing these built-in cabinets. We solved it by buying a light that matched what we had in our kitchen and swagging the light over to the center of the room.  I’ll admit that I wish I had picked a different light. I think this one is a little small for the space. The upside is that it is very bright so when we need extra light in there, we’ve got it.😊 We also installed undercounter lighting that is wired to come on when we flip on the undercounter lighting in the kitchen. I really love the way it all looks in the evening with just the undercounter lighting on. It has a very soothing ambiance.

The other problem we wanted to solve was that we had 3 doors swinging into this room. We decided to change the door between the kitchen and the laundry room into a barn door so we could close it when we needed to, but it wouldn’t crash into the other door.

We decided we wanted an antique door to do this job. We needed something with richness and character that would be pretty from the kitchen side and the laundry room side. I shopped at many places between here and Tennessee and found a few options, but they were so pricey. We needed a bargain. So on one of our weekly trips to the laundromat, we decided to pull in a local place that we pass all the time called Flealand. It’s a weekend flea market but they have one side that is open all week that has booths similar to a thrift store, but it has more of an antique/vintage vibe. We shopped the whole place and got to the very last booth and what did that booth have? You guessed it, a whole slew of doors!  We kind of dug through them and found one we liked, and you’ll never guess how much it was?! $75! Now as great as that sounds, let me tell you, it needed some WORK! And Doug loves to strip furniture and unearth something gorgeous, so he started working on it right away.

My job was to find the hardware for the barn door. I found that on Amazon. By the time he had the door ready, the hardware was here. I had already purchased the hardware for the cabinets. That was the simplest choice for the whole project because I matched what we had in the kitchen from Restoration Hardware.

Now, check out the before and after of this door!

And, here’s a before and after of the room!

Get into the Details

We also keep Coconut’s litter box in there so being able to eliminate the third door has made it so much better.

This renovation made such a difference to the appearance and appeal of the laundry room. Now it’s beautiful from every angle as long as I don’t have a mess in there. 😄

Previous
Previous

How I Selected my New Pottery Barn Sofa

Next
Next

My Raised Herb Table