


Wainscoting & Lamps
One Room Challenge, Week 5
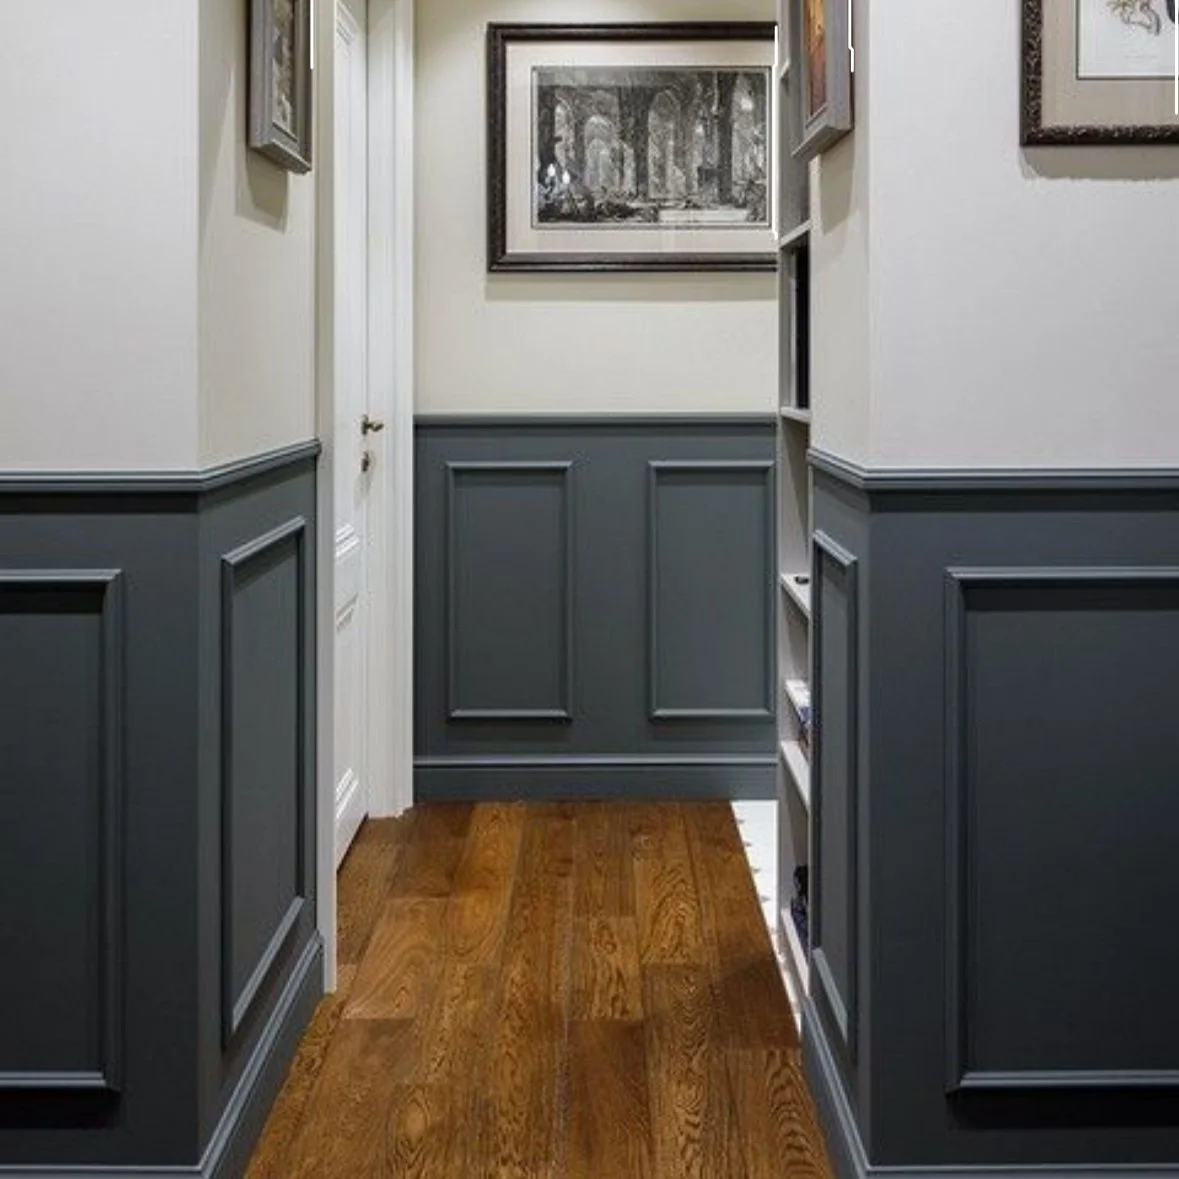
It’s Week 5 of the One Room Challenge so let’s talk about where we are (and where we aren’t)! Doug and I got a full second coat of paint on the room. Well when I say full second coat that’s not really accurate – we ran out of paint when we had one wall to go in the closet.😬 I’ll need to pick up another can of paint this week and hopefully it will match, but since it’s the closet I’m not going to worry about it too much.
This brings up a question for you that I was thinking about while I was painting the closet yesterday. Do you paint your closet the same color as the room? A few years ago, I cleaned out most of the closets in the bedrooms and painted the closets white. It irritated me that as I changed bedroom color that I had to also gut and paint the closet. In my office project last year and now this project, I’ve decided to paint the closet the same color as the room. Is it the right thing to do? One thing I’ve noticed is that the color looks very different in the closet under the fluorescent lights and without natural light. Honestly, it annoys me ever so slightly.


My dream is to get rid of the wire racks and install a closet system so when I do that, I’ll revisit the color. It may make more sense to go back to white. I had previously painted the closet Shoji White and it looked very yellow in this closet. So, I’ll need to pick a cooler white if I decide to repaint the closet when we do the closet system.
We did one of our Friday night date nights at Lowe’s and picked out the trim for the chair rail. There were not that many choices to be honest – maybe 8? I found one I like a lot and it just so happened to be the cheapest option! That never happens for me – I usually pick the most expensive option not realizing that it is the most expensive option.😂 The chair rail is going to cost about $2 per foot so that’s not too crazy. The chair rail trim came in 8’ lengths and we need 8 so we are adding chair rail for around $130. I still want to do box trim below the chair rail but there are a few other options that I’m considering. Here are some samples:


While we were at Lowe’s, we also picked up a couple of lamp kits to begin the DIY process of turning two artillery shells that Doug has collected into stunning lamps. This DIY is going to take both of us to work it out. Doug and I have spent a lot of time discussing how to put it together. The trickiest part is how to finish the top so the lamp kit is stable in the artillery shell.
Doug wants to shine the shells up and put a coat of lacquer on them so they will stay shiny. I kind of love the look of the patinaed brass but I’m going to go with what Doug wants here because I think it will look nice shiny too. I’m even trying to find an eagle finial for the top as a little surprise for Doug!🤐 Here’s what we are starting with:


And here’s the inspiration for where I hope we end up:


Don’t forget to check out the other projects at ORC blog and give the participants a follow on Instagram, Tiktok and YouTube!
If you spotted a product that you’ve been dying to try, check out my links below. I have to give the Handy Products Company a little shout out for sending me these cool painting supplies! My favorite is the Handy Pro Pail with handle to use while cutting in around the ceilings, windows and baseboards. I also love the Handy Paint Lid that keeps you from having dried paint around the rim of the paint can. They really nailed it when they chose the name “handy”! 😊 They are the handiest little painting tools I’ve used lately!

The Active Painter's Dream Package: Handy Paint Pail & Liner Combo + Free Paintbrush

Paint Spray Gun

Wooster Brush

Bose Quiet Comfort Ultra Earbuds

White Vinegar

Sanding Sponge

Mister Rui Foam Paint Roller

Brown Paper Roll

Frog Tape

Brown Kraft Paper

Canvas Drop Cloth

Disposable Aluminum Pans

DryDex Heavyweight Spackling


Kilz Interior Primer

Plastic Painter's Drop Cloth

Paint Samples

Benjamin Moore Paint

Press N Seal


