Room Reveal: Phase One!
One Room Challenge, Week 8

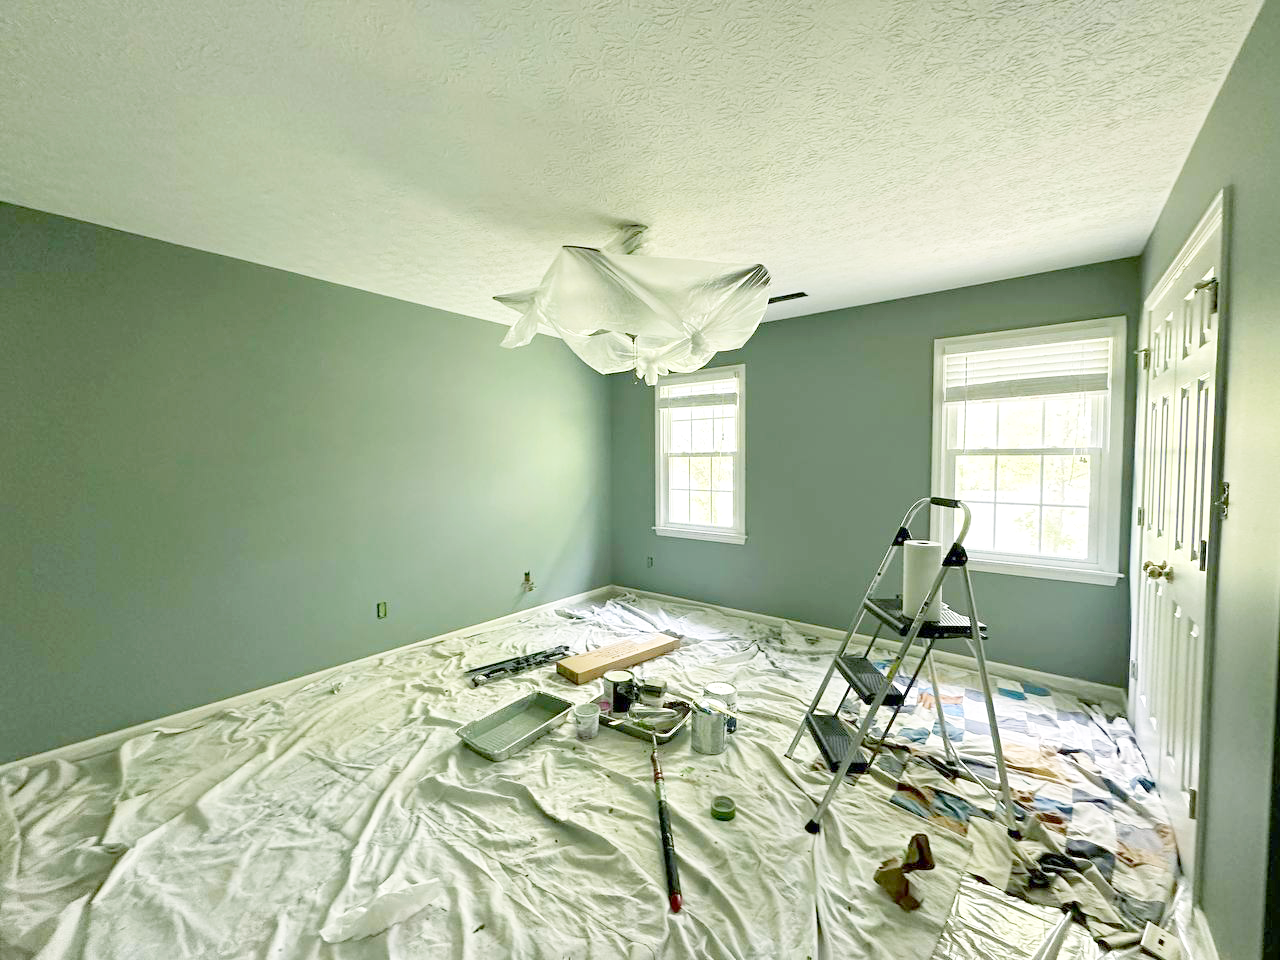
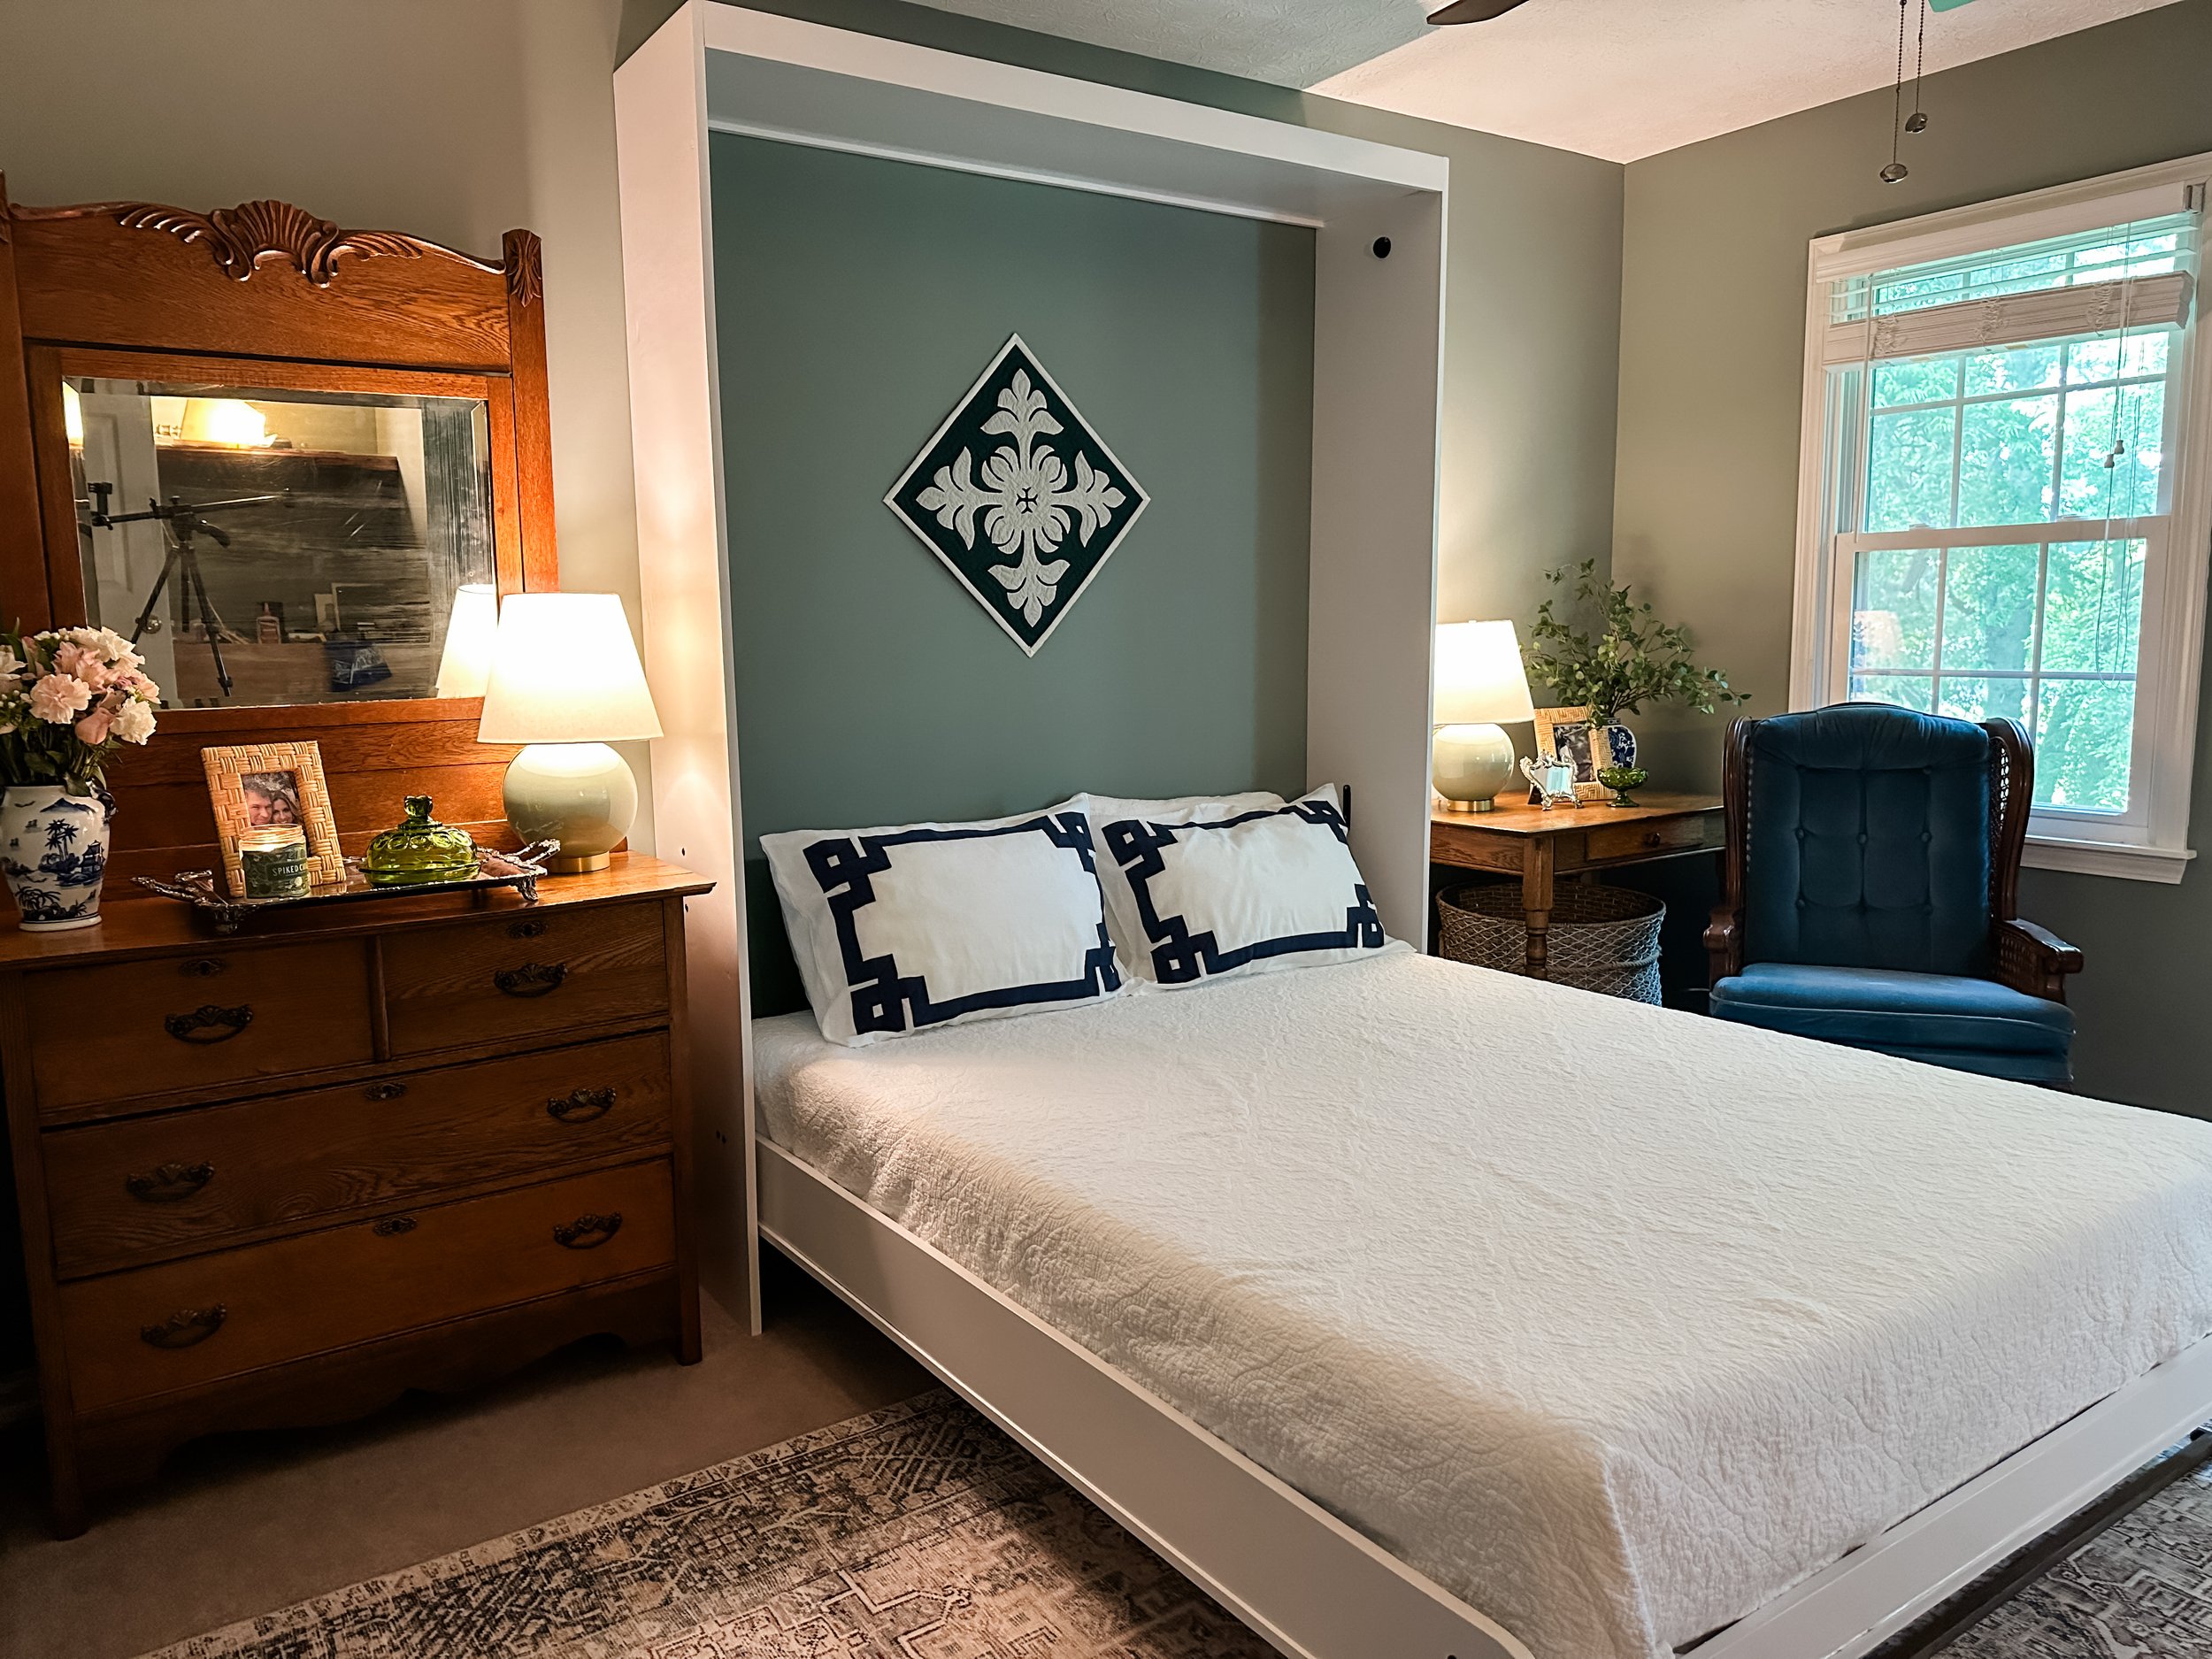
It’s Week 8 of the One Room Challenge and it’s time for the big room reveal! The first thing I want to say is that I am absolutely in love with this room!
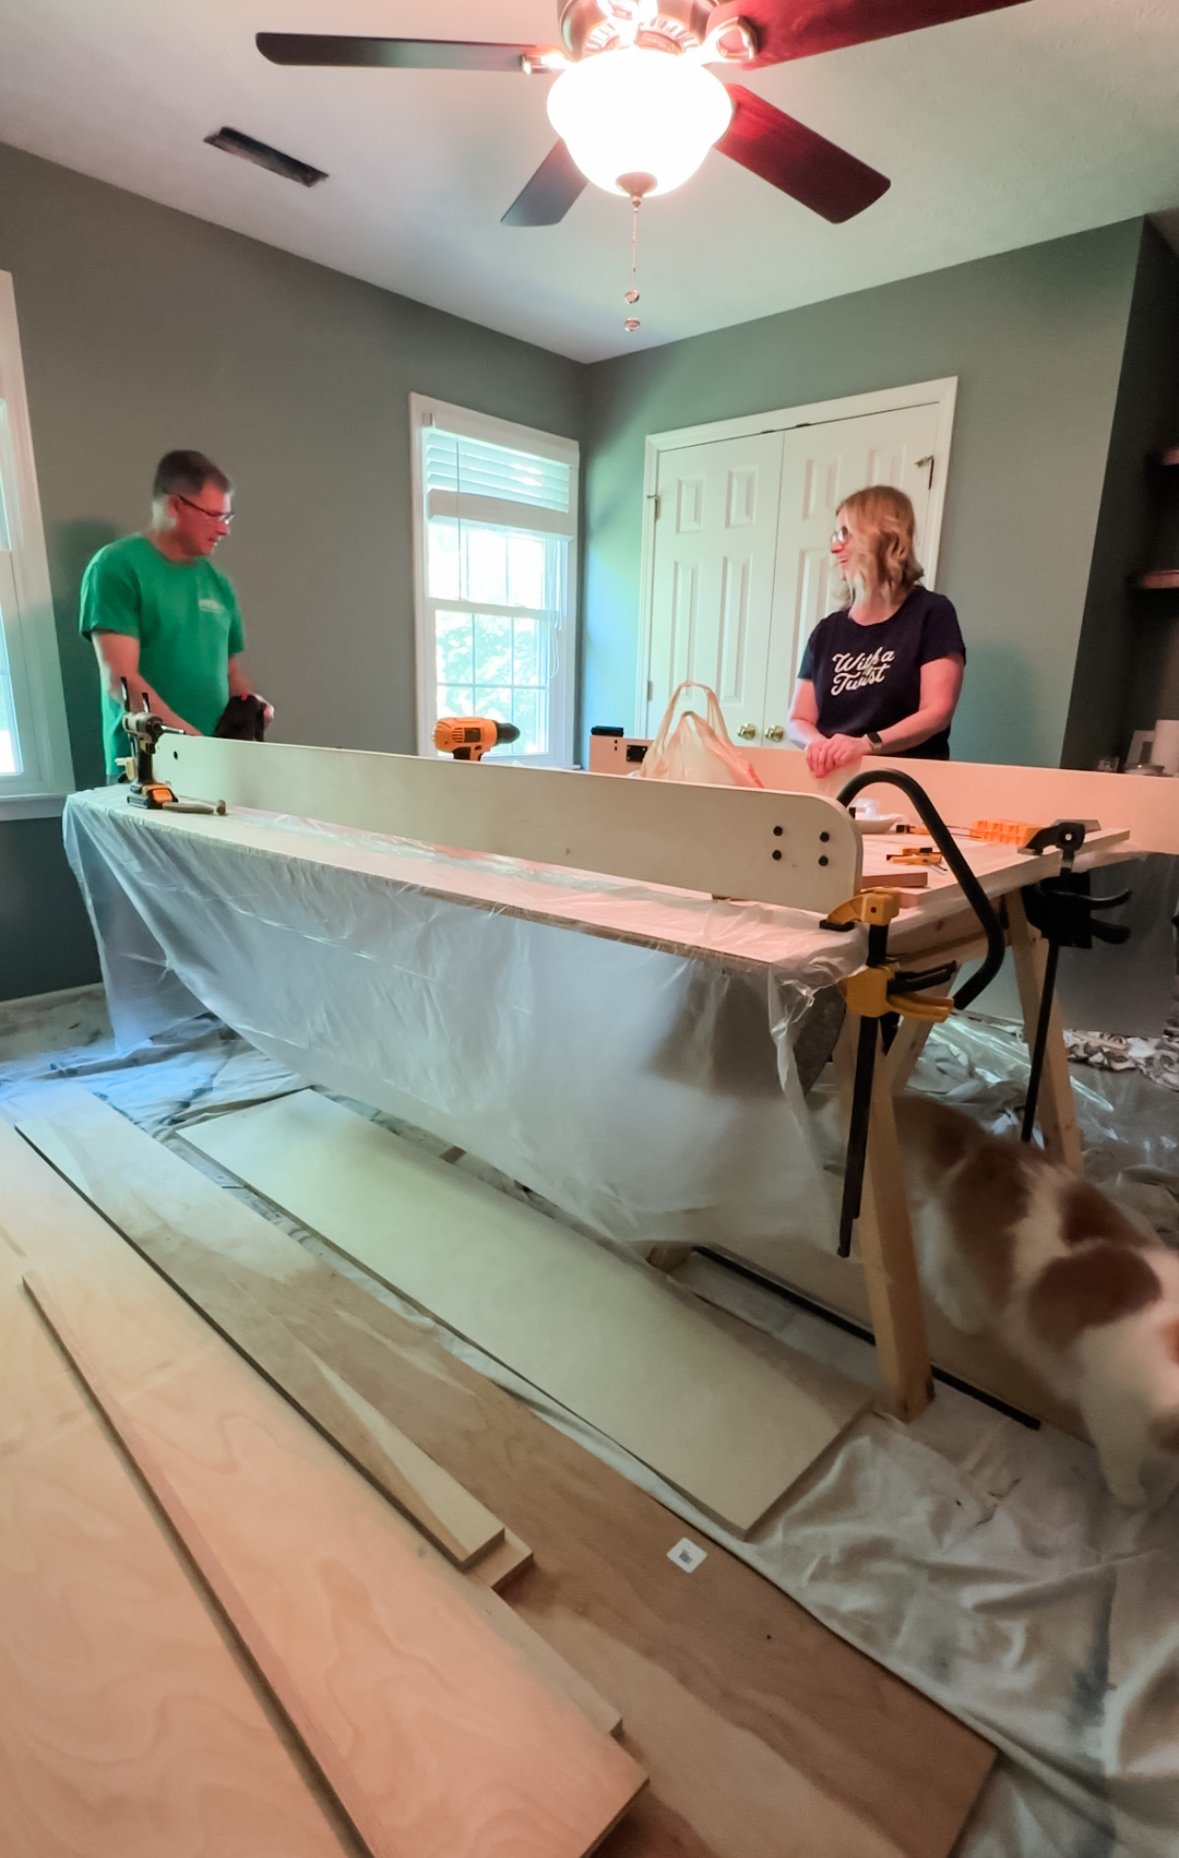
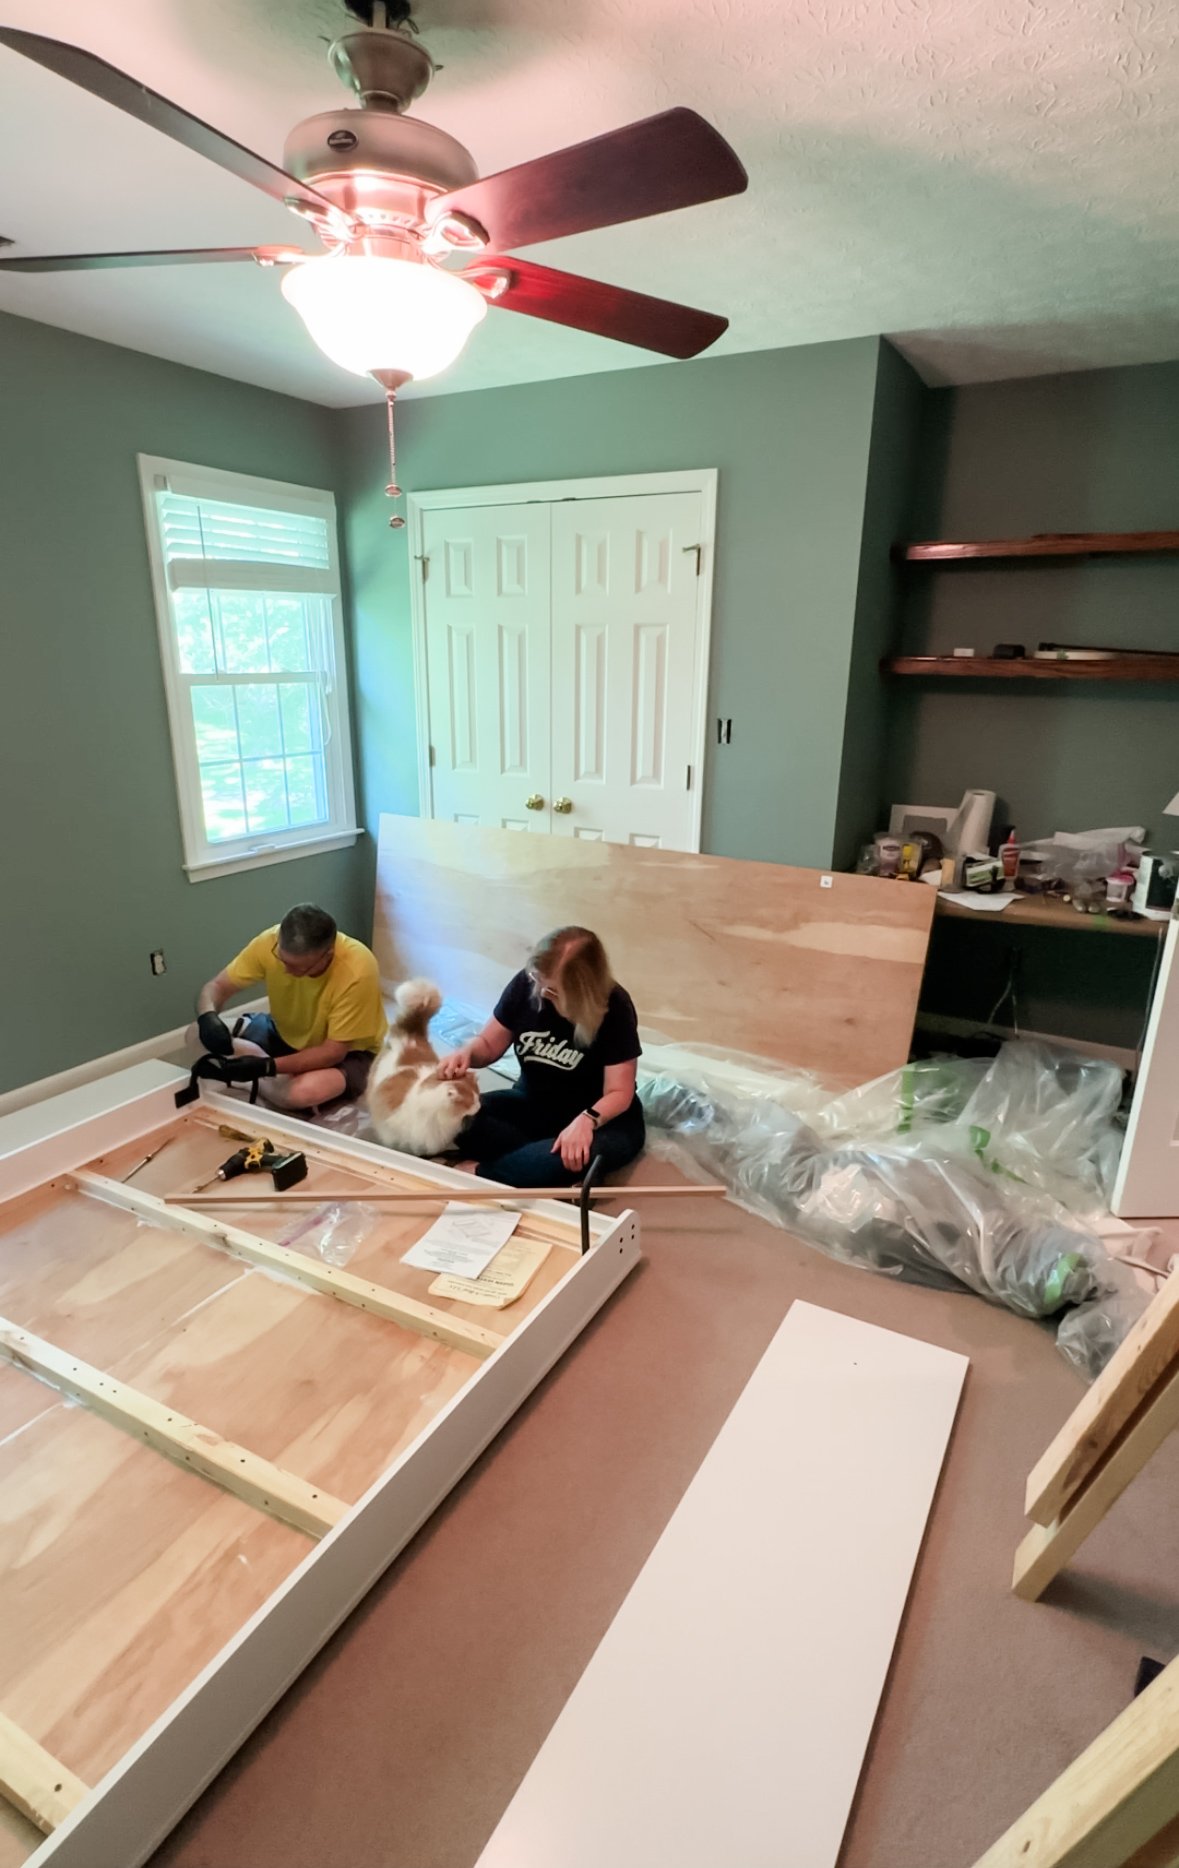
And the second thing is a confession...I’ll admit that I was slightly too ambitious to think we could completely transform this room in 8 weeks but then again, we totally did it, didn’t we?! Did I bite off more than “we” could chew?! Yes, I absolutely did! Doug wasn’t planning to spend April and May indoors working on a project like this! 😂 But, I absolutely couldn’t have done this project without Doug and honestly, Doug couldn’t have done this project without me! It was a team effort and I can’t tell you how many times I said “teamwork makes the dream work” while we were working on it. It’s true though! I was the mathematician, the instruction follower, the measuring queen and the steady board holder. I used a few power tools too but Doug was the engineer behind making sure that we were always working smarter not harder. He is a woodworking genius and he kept me from getting discouraged throughout the project. It feels good to build something together!

Neither of us thought it would take us an entire month to build this Murphy bed but it took every....... single........ waking....... moment that we were not at our full-time jobs or sleeping! We did manage to fit in a little fun though!
We went to our first ever horse race on opening day at Keeneland in Lexington, Kentucky. We also went to see Stevie Nicks in concert in Nashville and that was probably the best concert I’ve ever been to. She managed to make her concert in the vast Bridgestone Arena feel very intimate and personal. It was amazing!

So, let’s talk about what we did this last week! It’s a little bit of a blur! 😊 We primed everything and then we had to stop and decide what time of decorative trim we wanted to add to the front of the face panels for the bed. I really wanted it to look like a gorgeous cabinet when closed so I chose a 2” rounded edge trim. I then set about to figure out the layout.
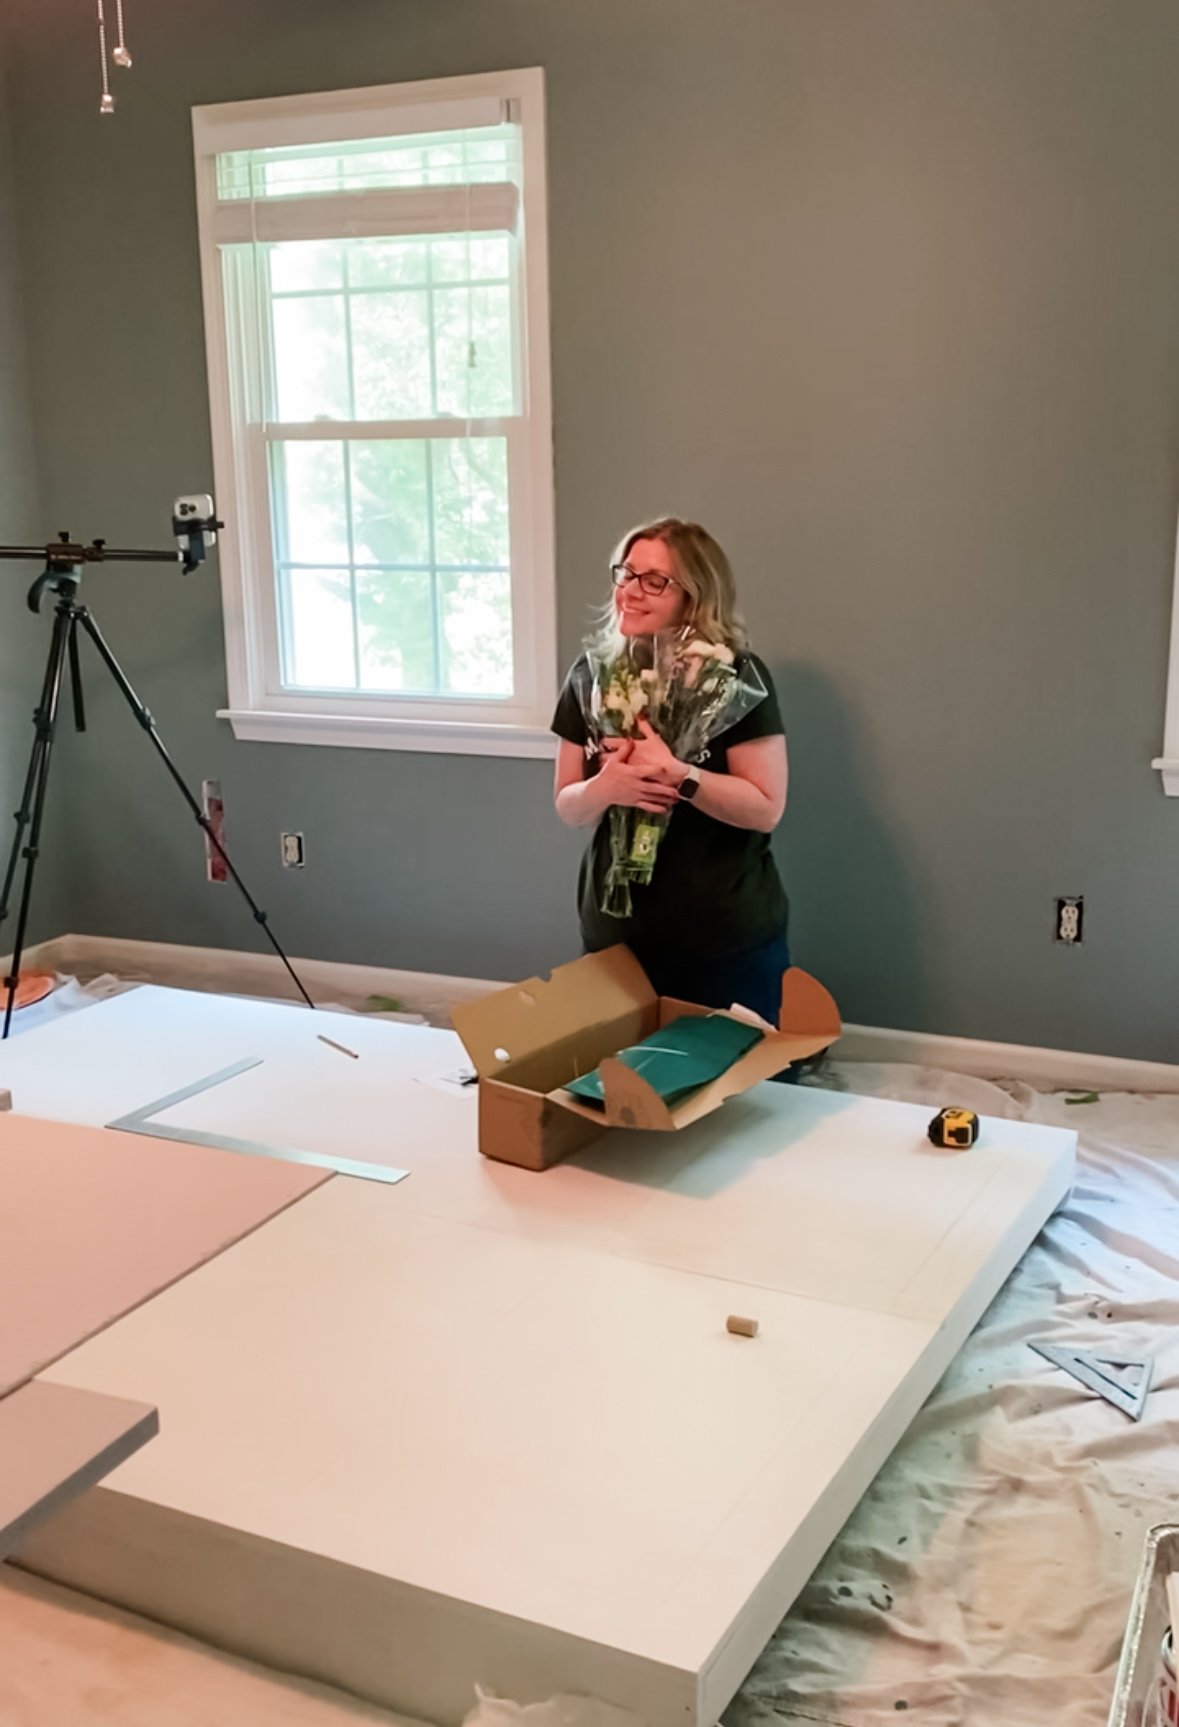
In the middle of this, I received a gorgeous bouquet of flowers from my kids for Mother’s Day!
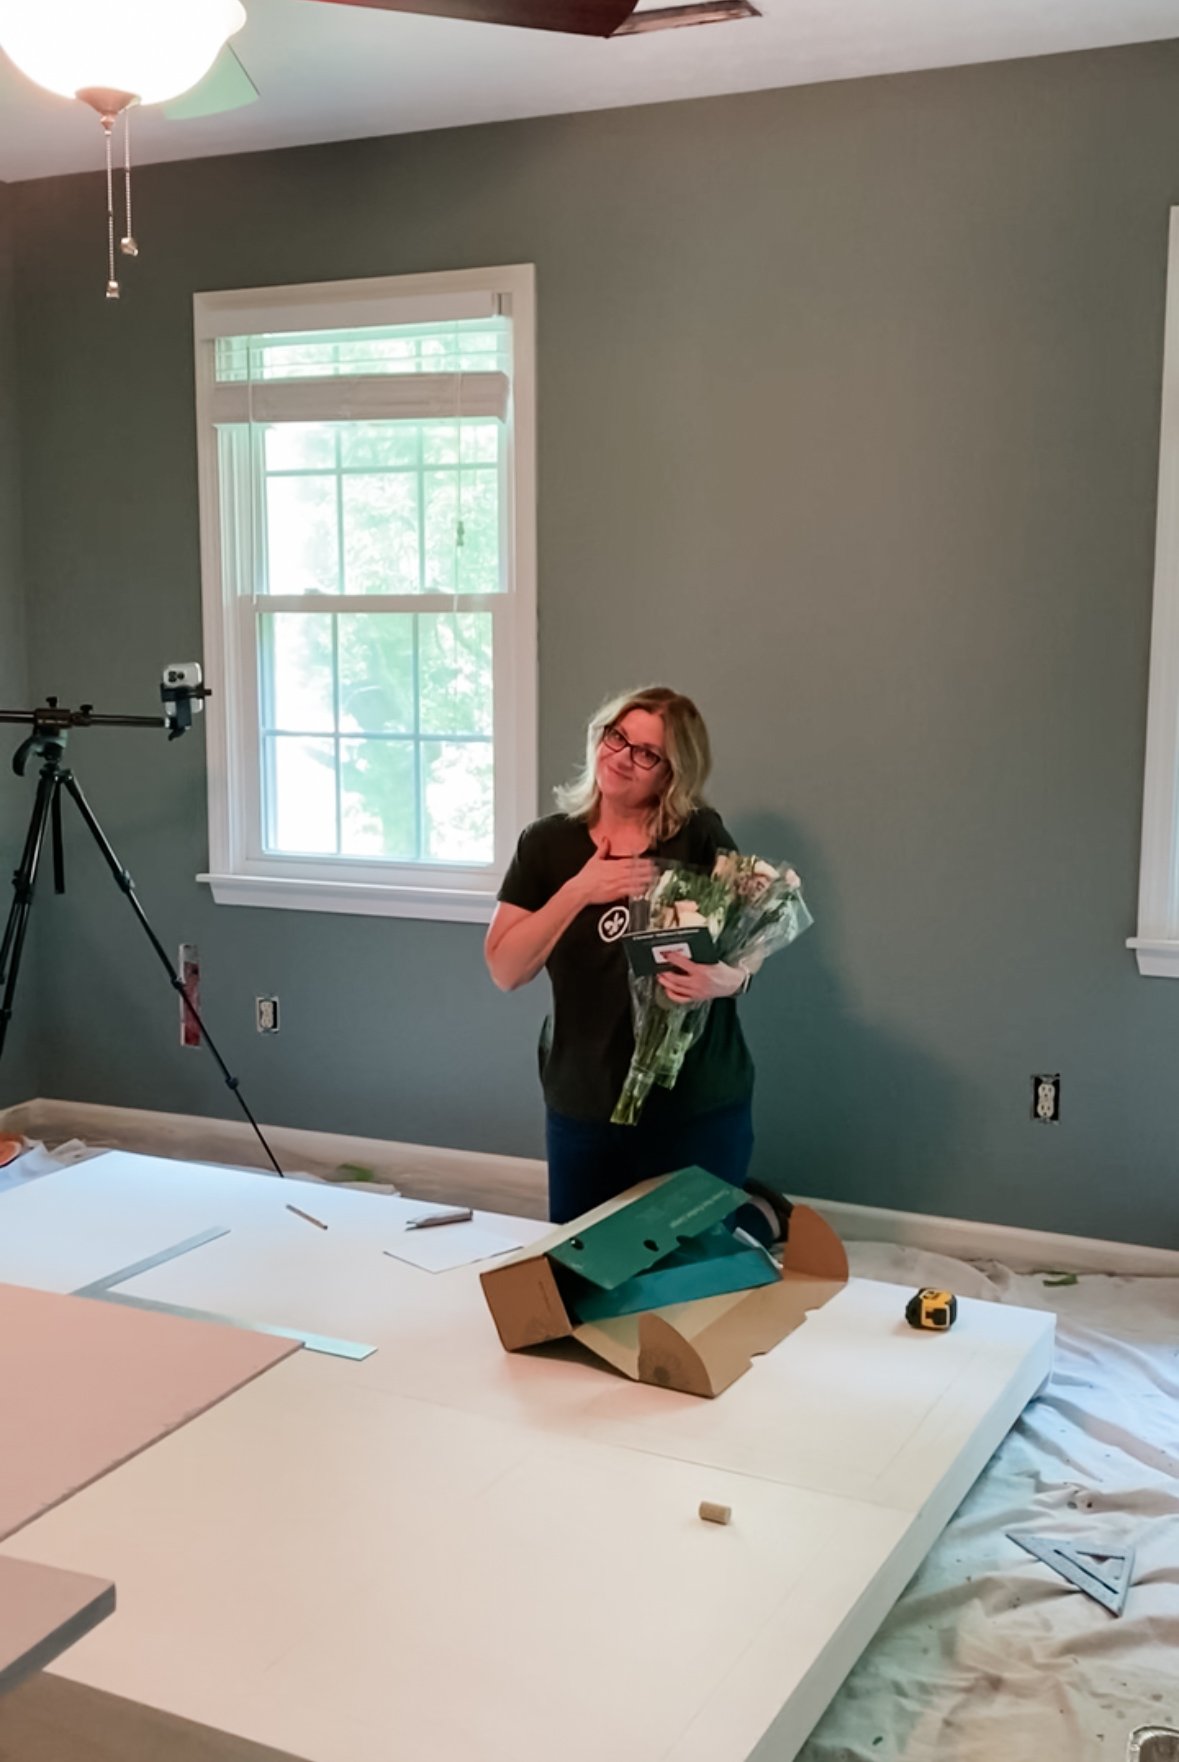
Awwwwwww – they are beautiful!
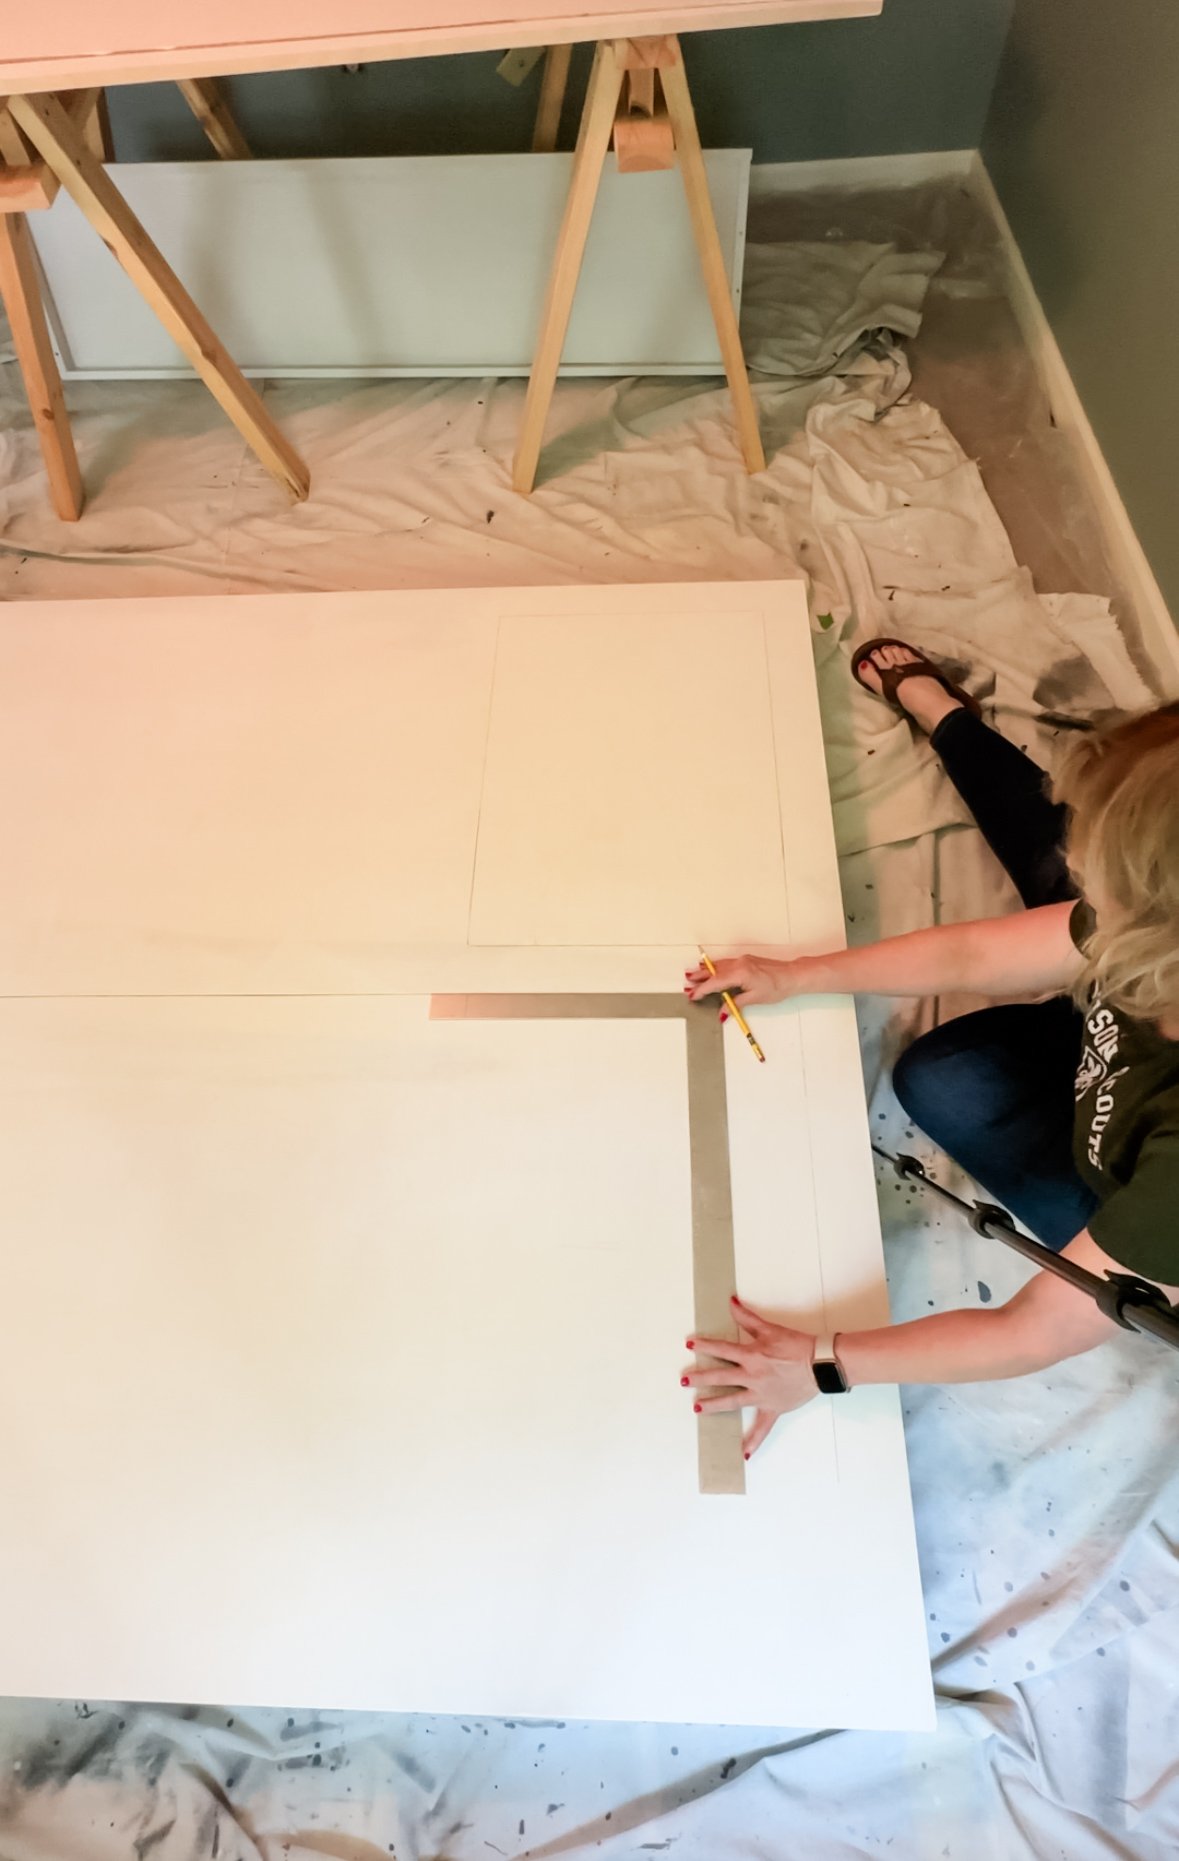
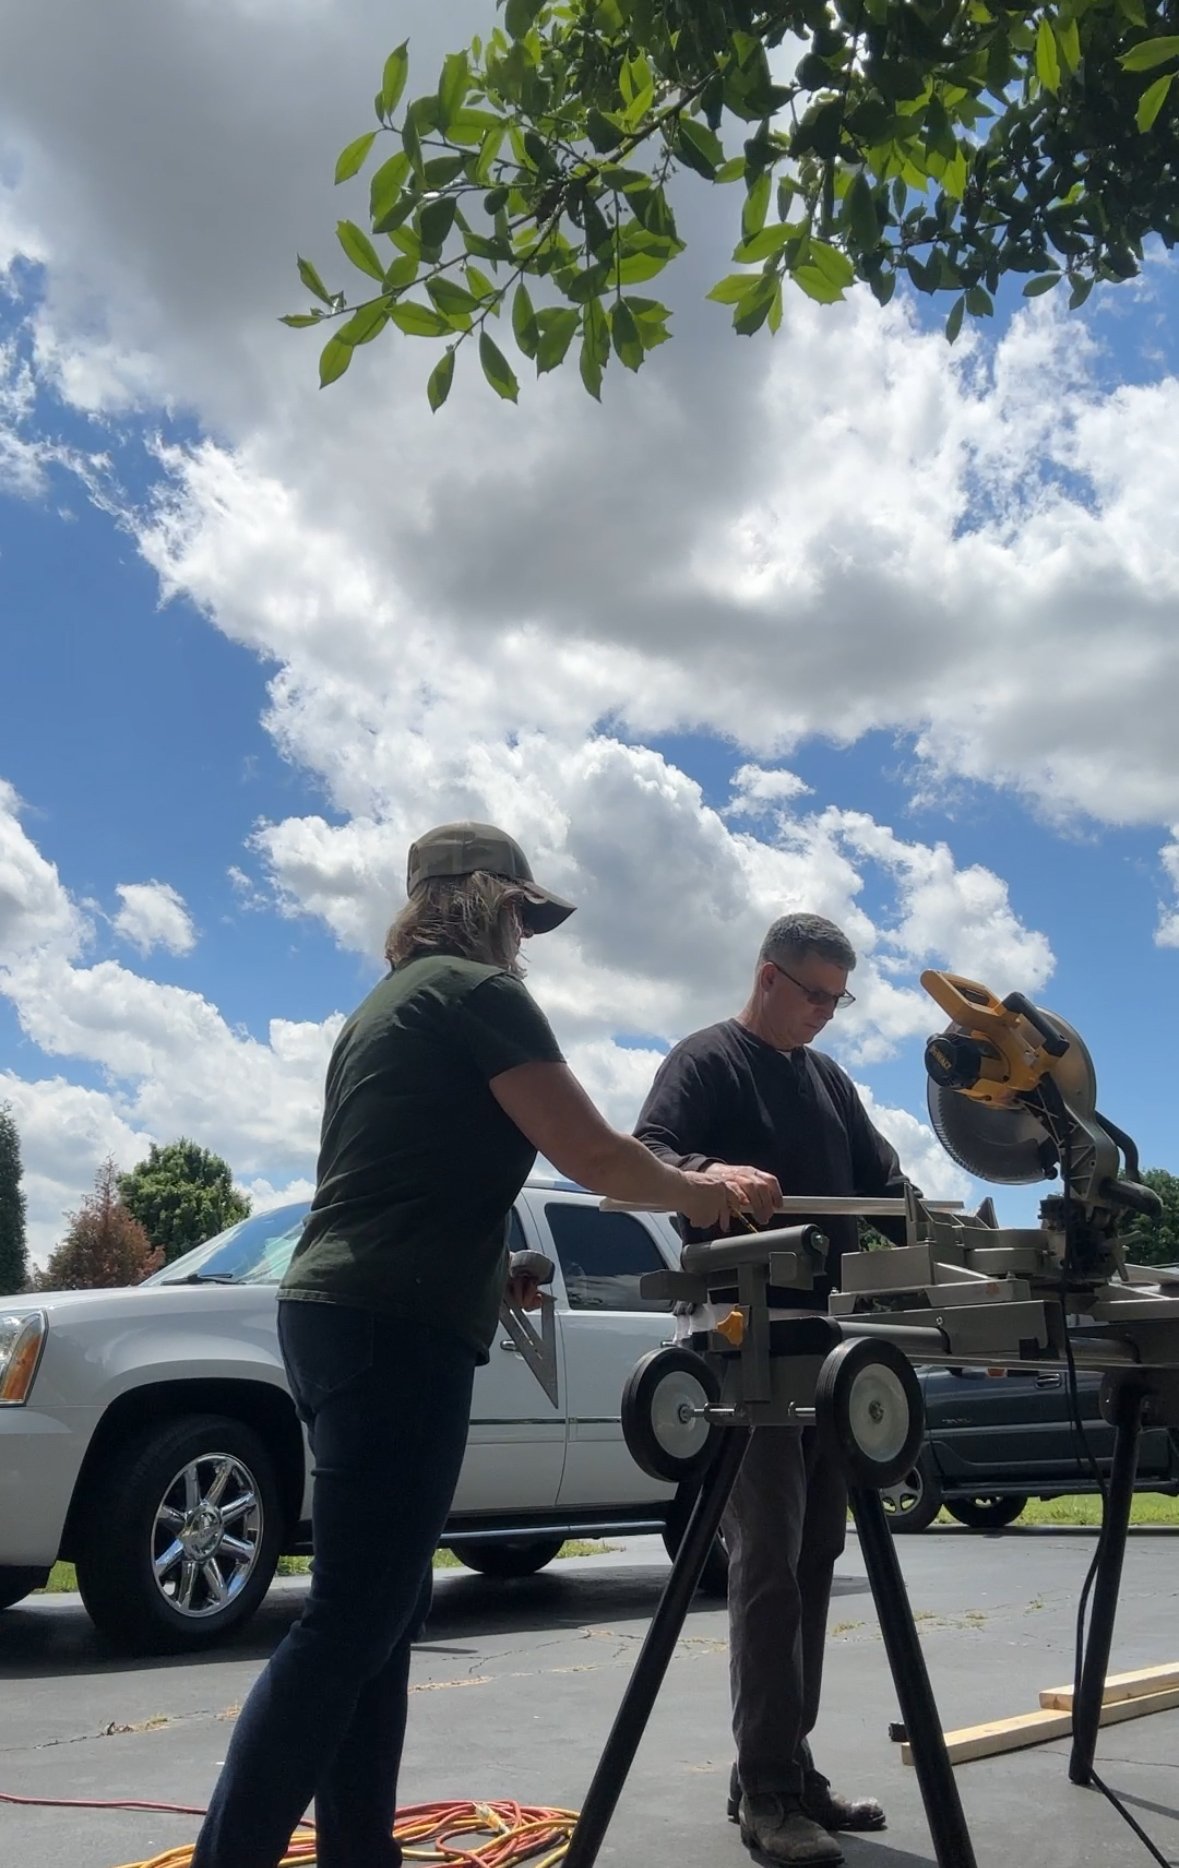
Doing a LOT of math
Are these angles working? 🤷♀️

Calculating...calculating...calculating...
Getting AFTER it!!!!
The most beautiful day in the world!
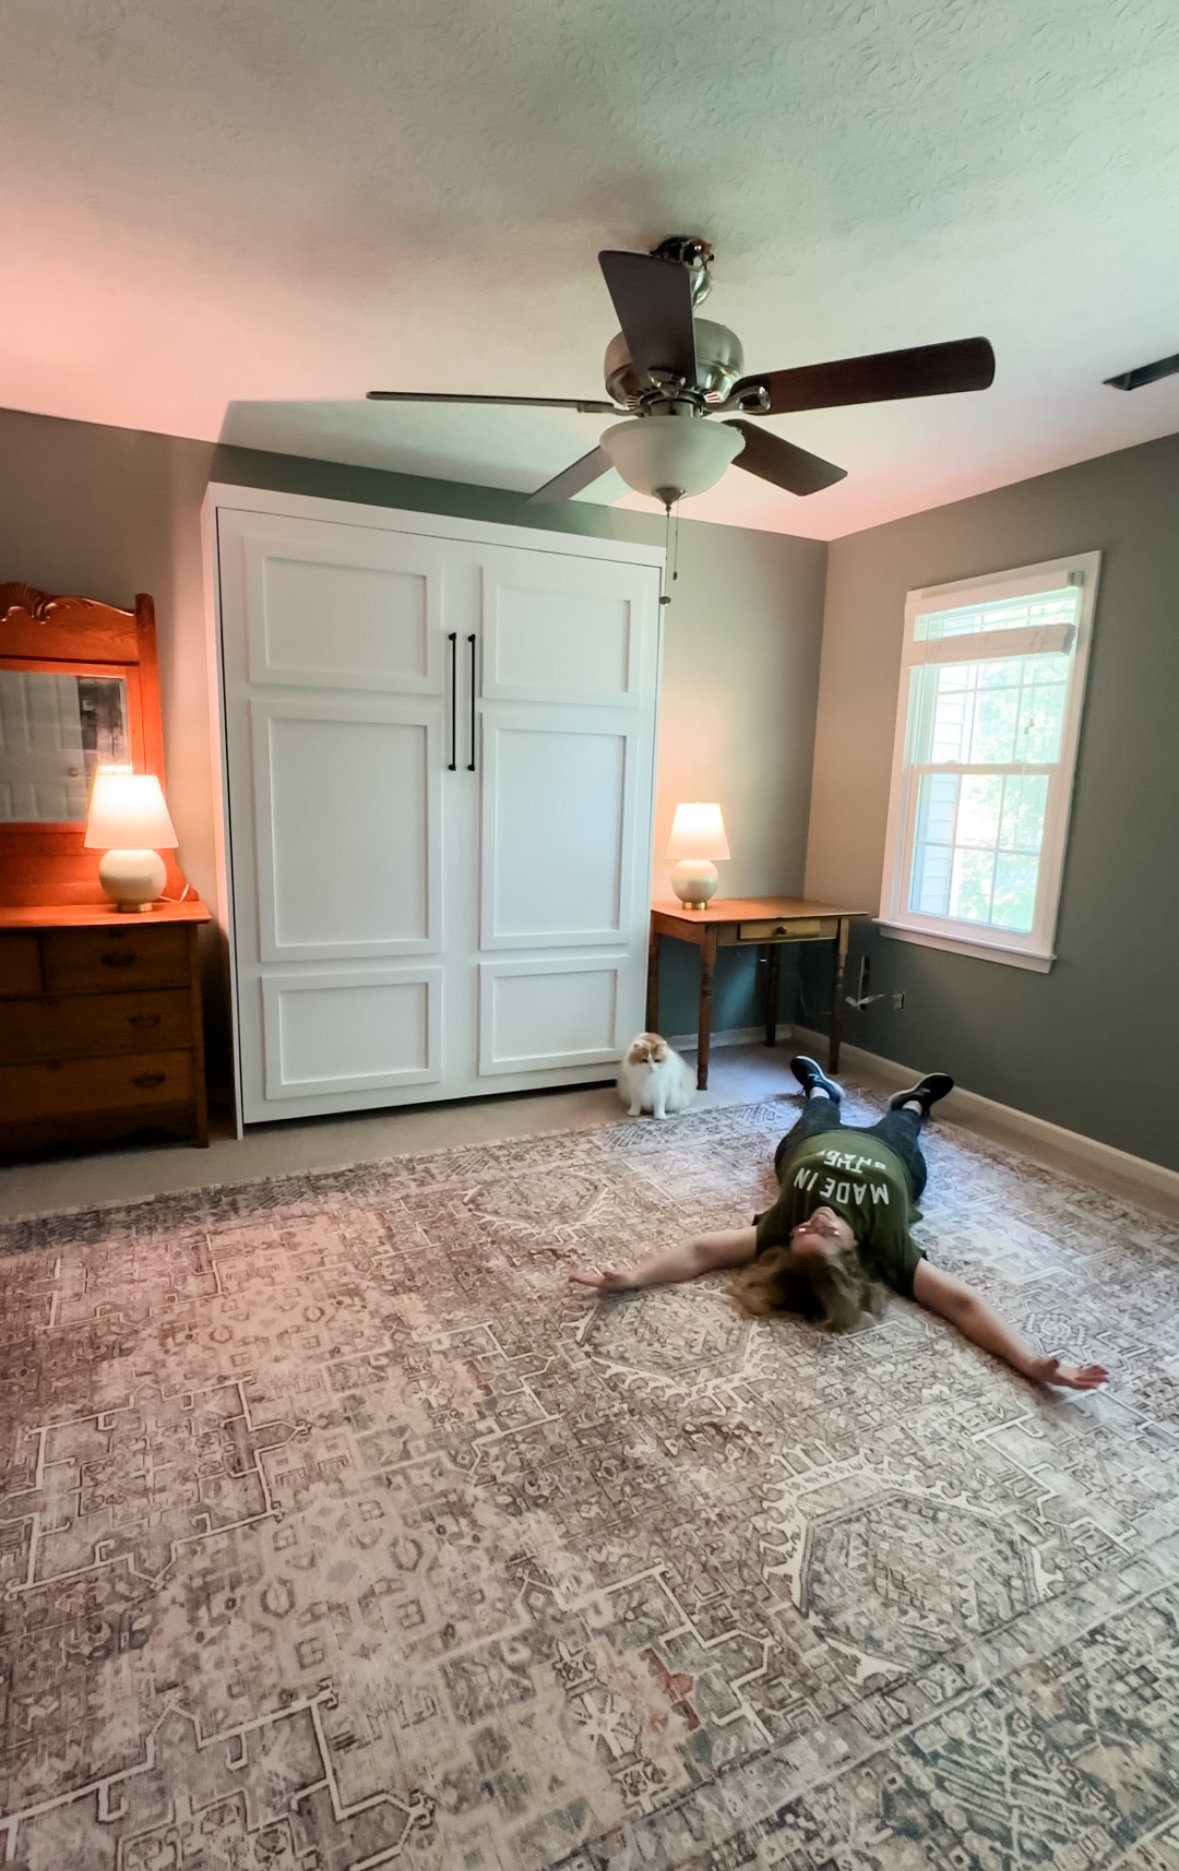
Doing carpet angels with Coco
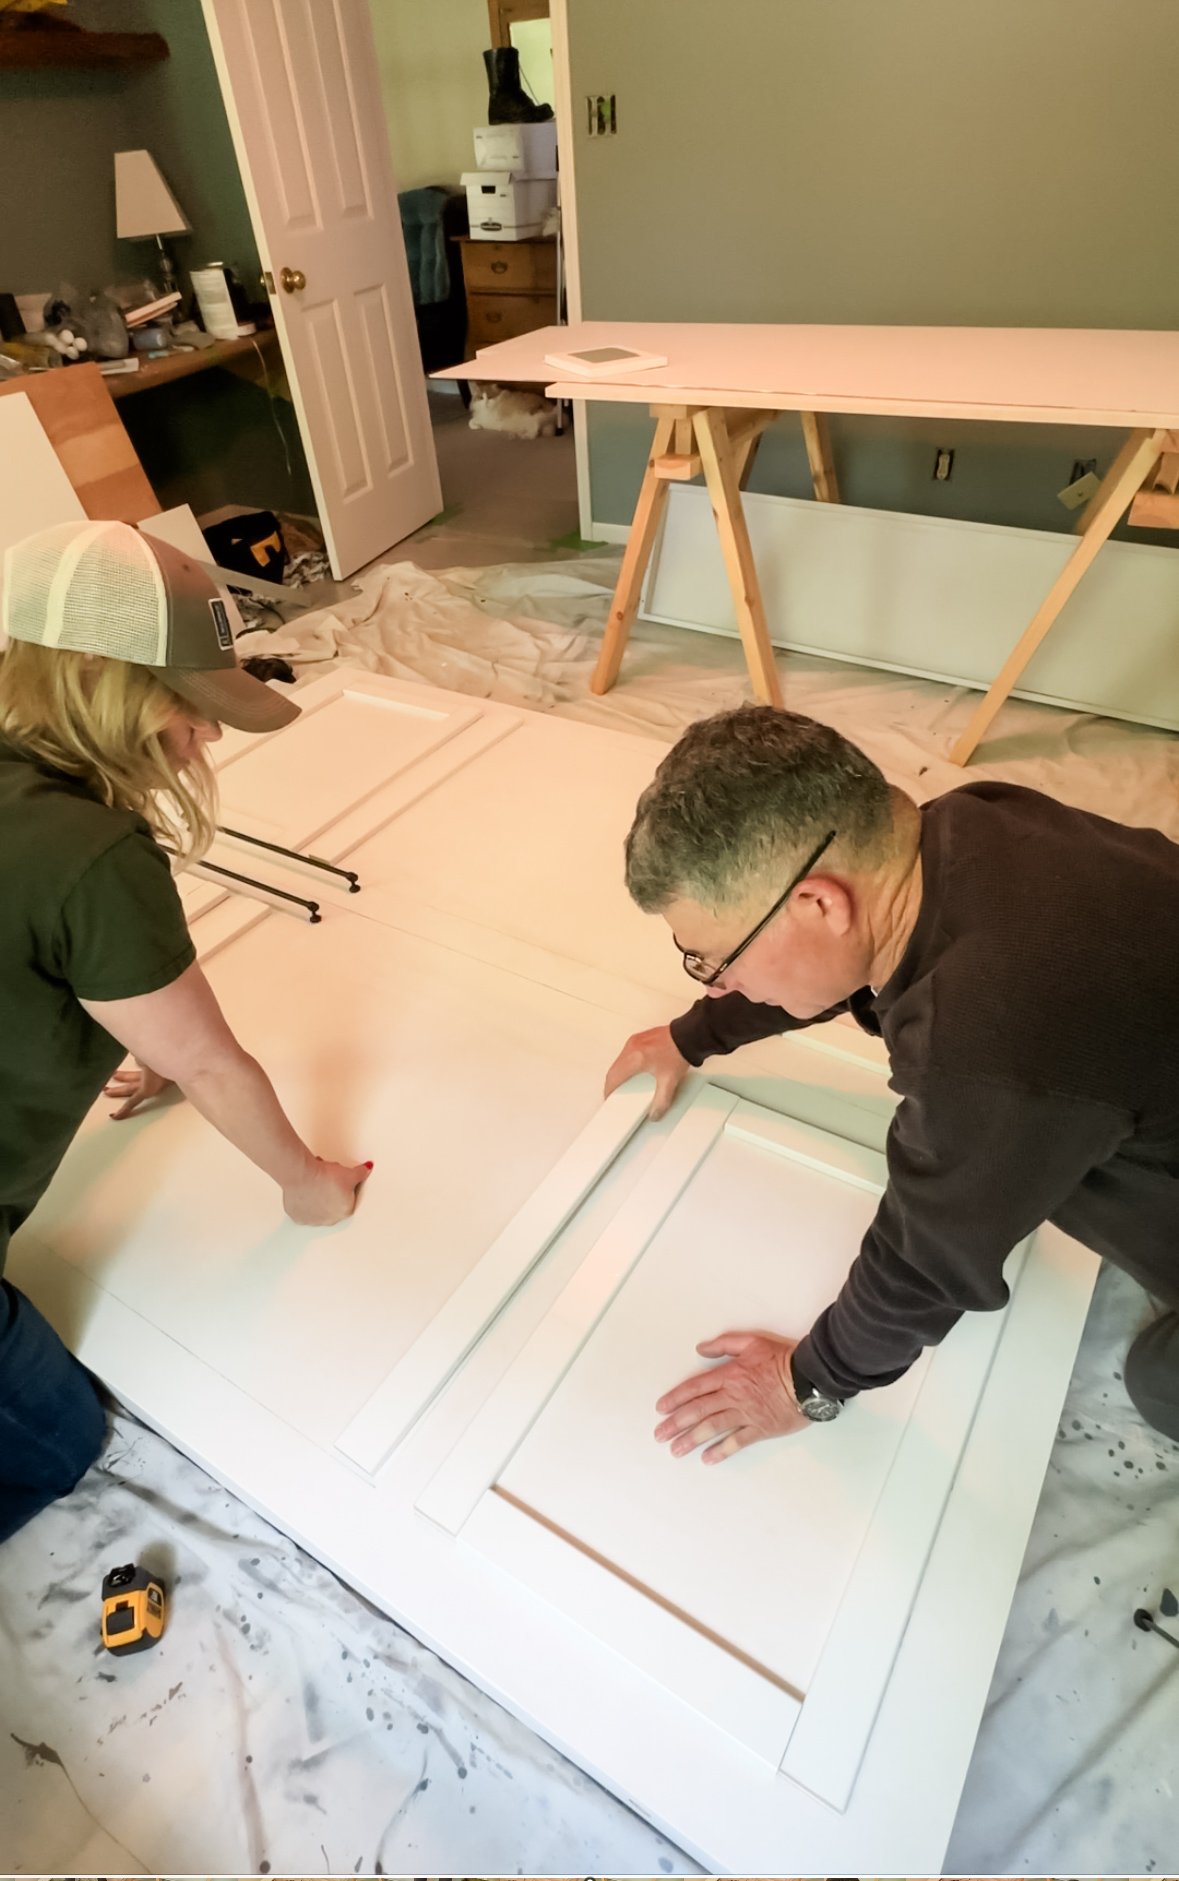
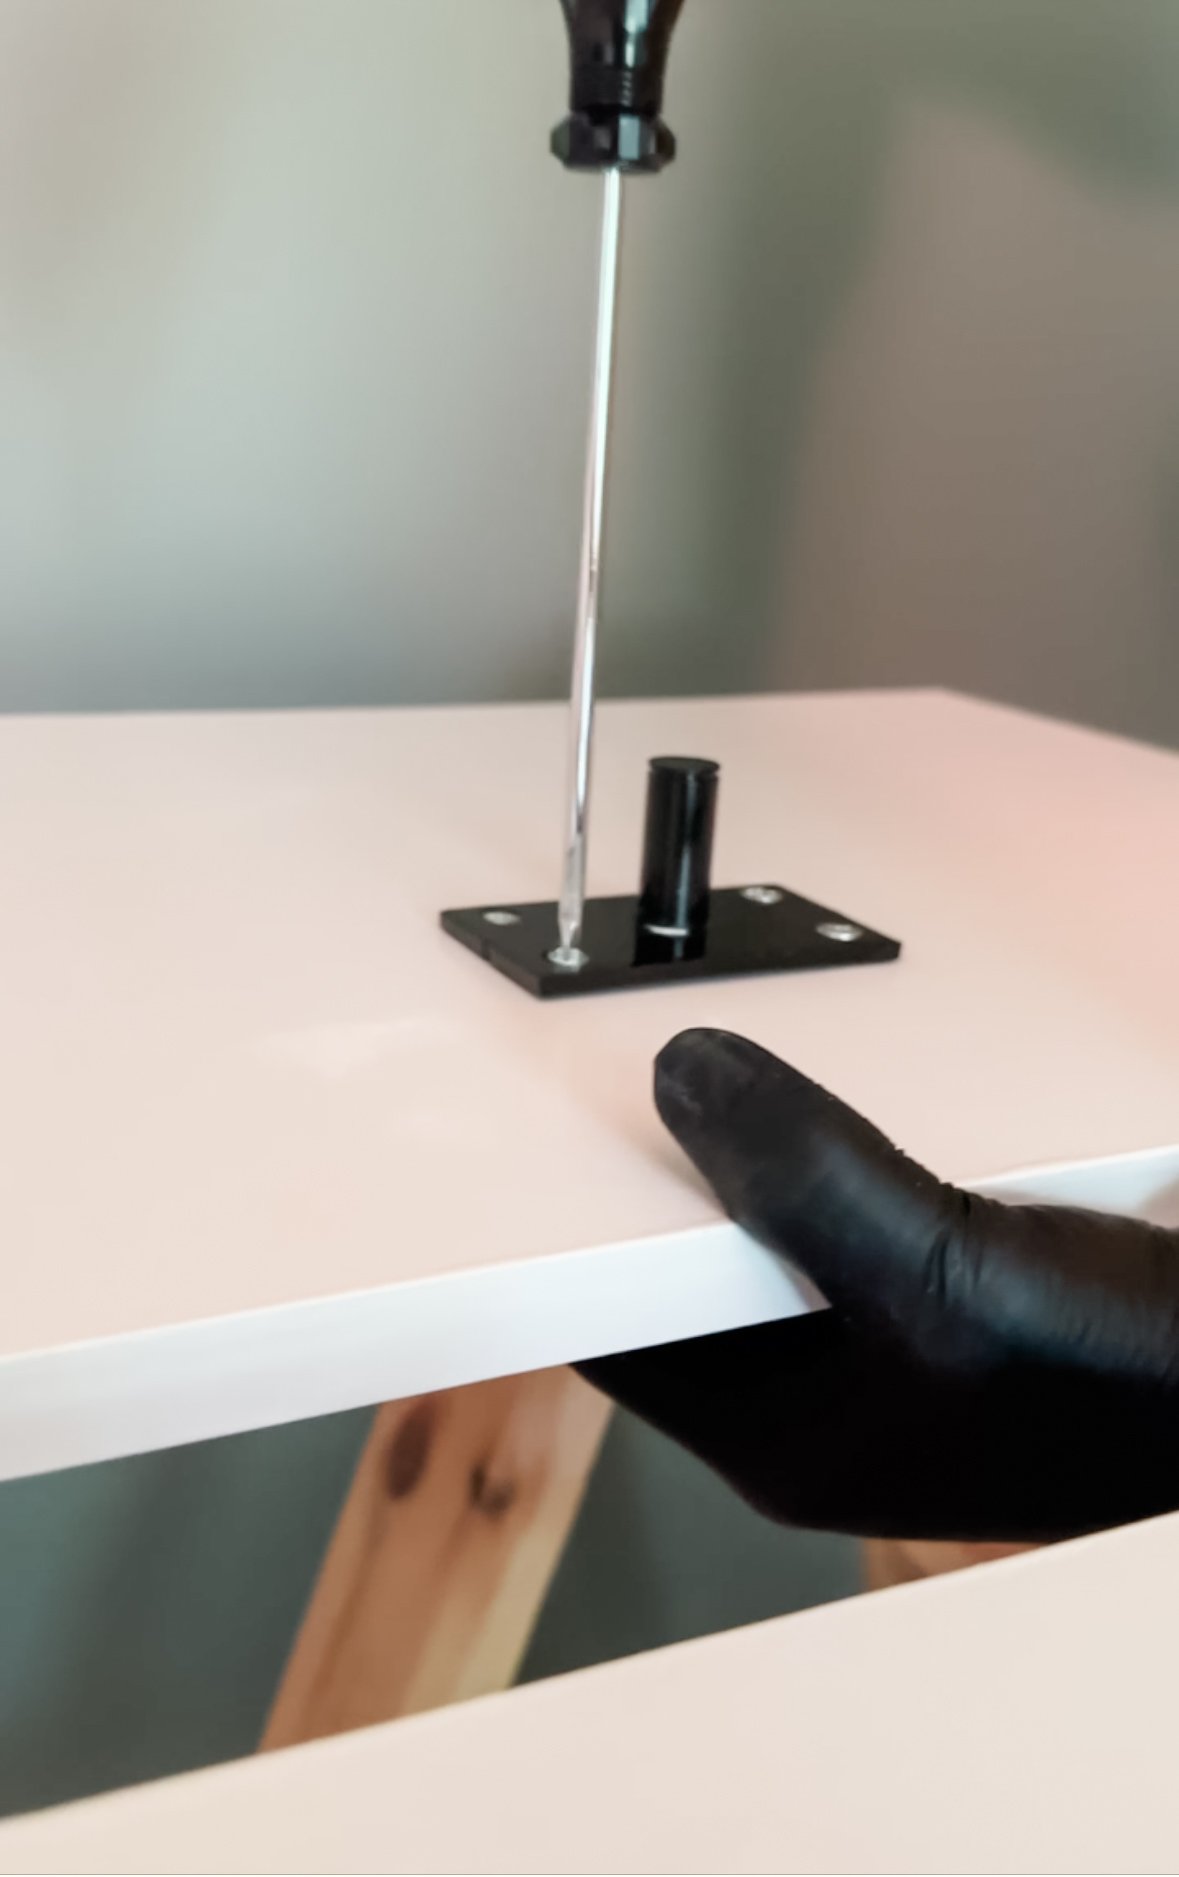
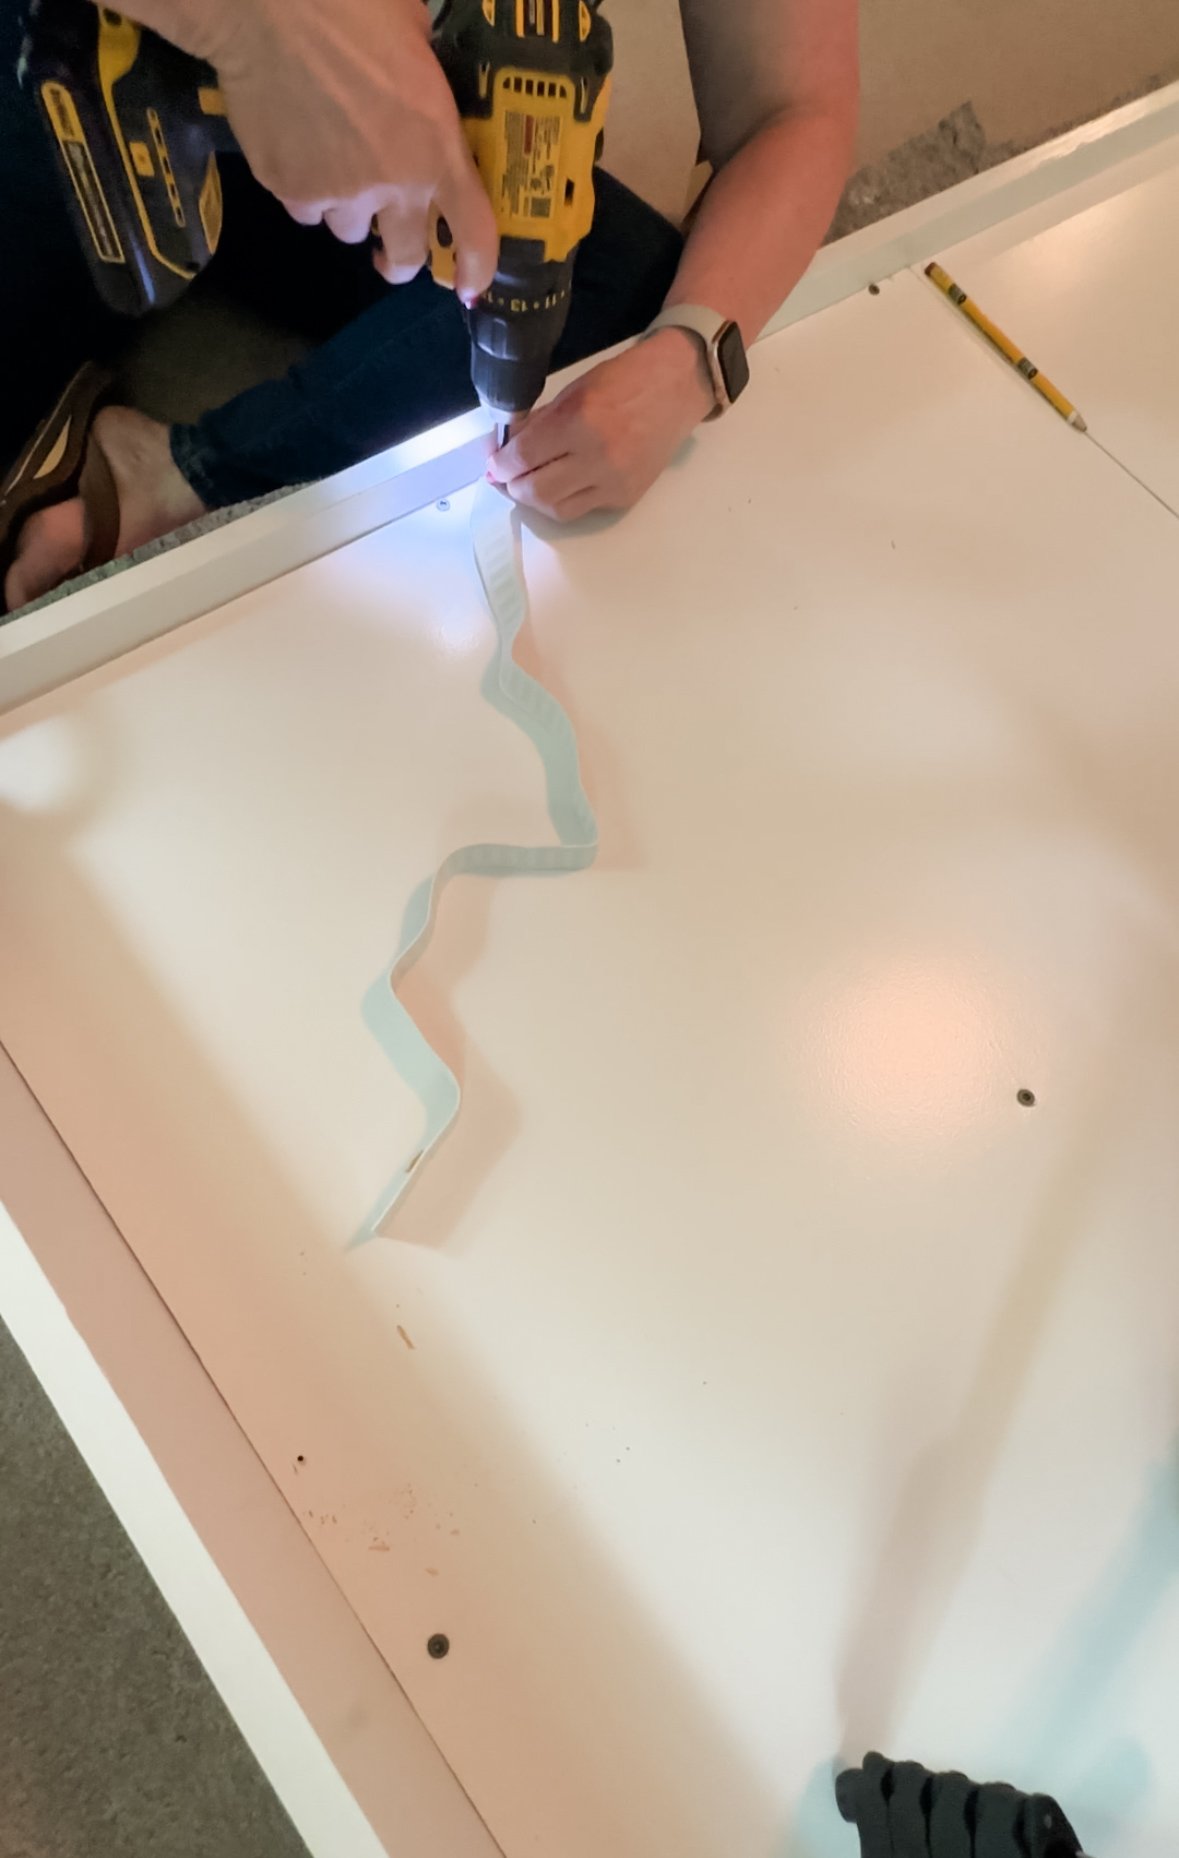
We set up the saw and started cutting. Once we had the pieces cut we marked where the pieces should go and snapped a chalkline to make sure we kept them straight. This is super important with a project like this! Everything has to line up! I also had to figure out the placement of the cabinet pulls and predrill the holes.
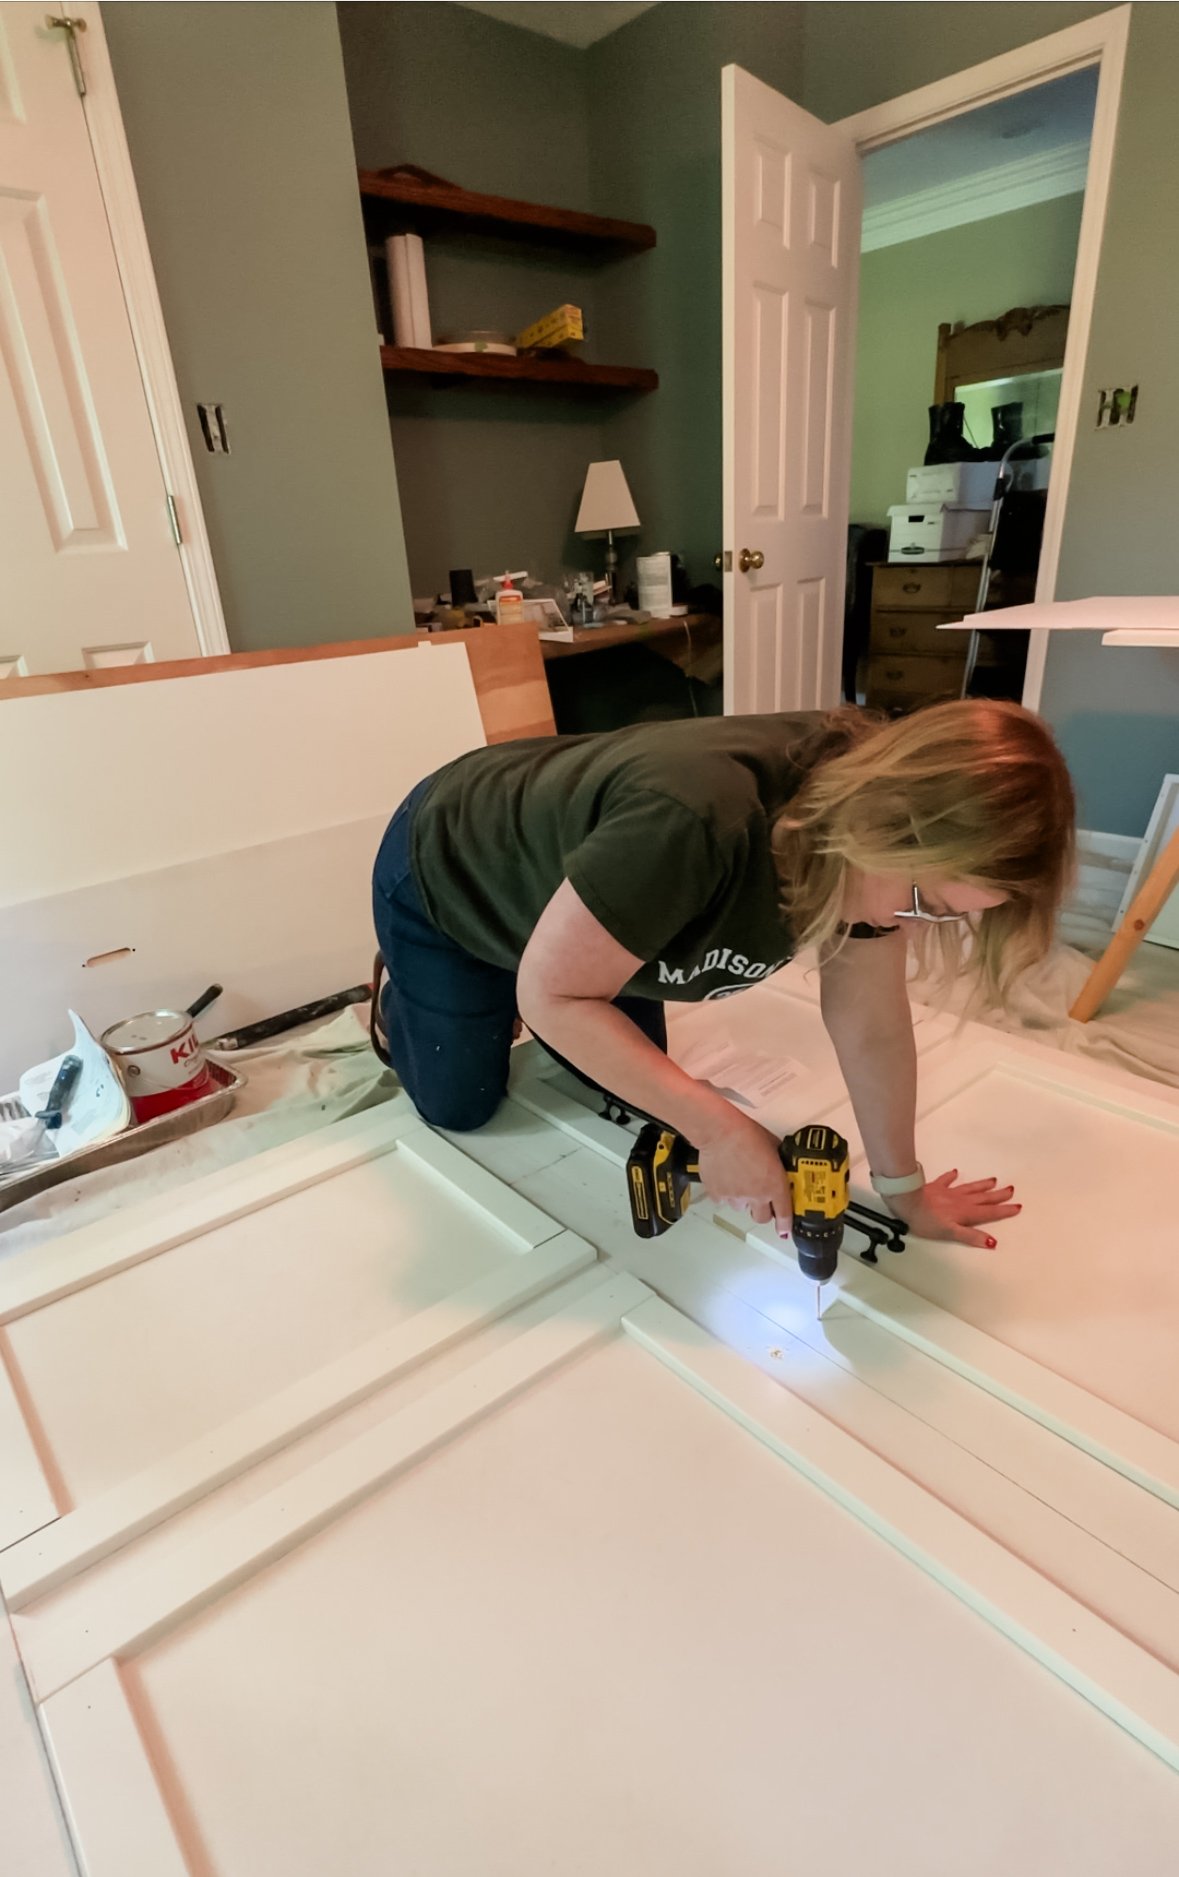
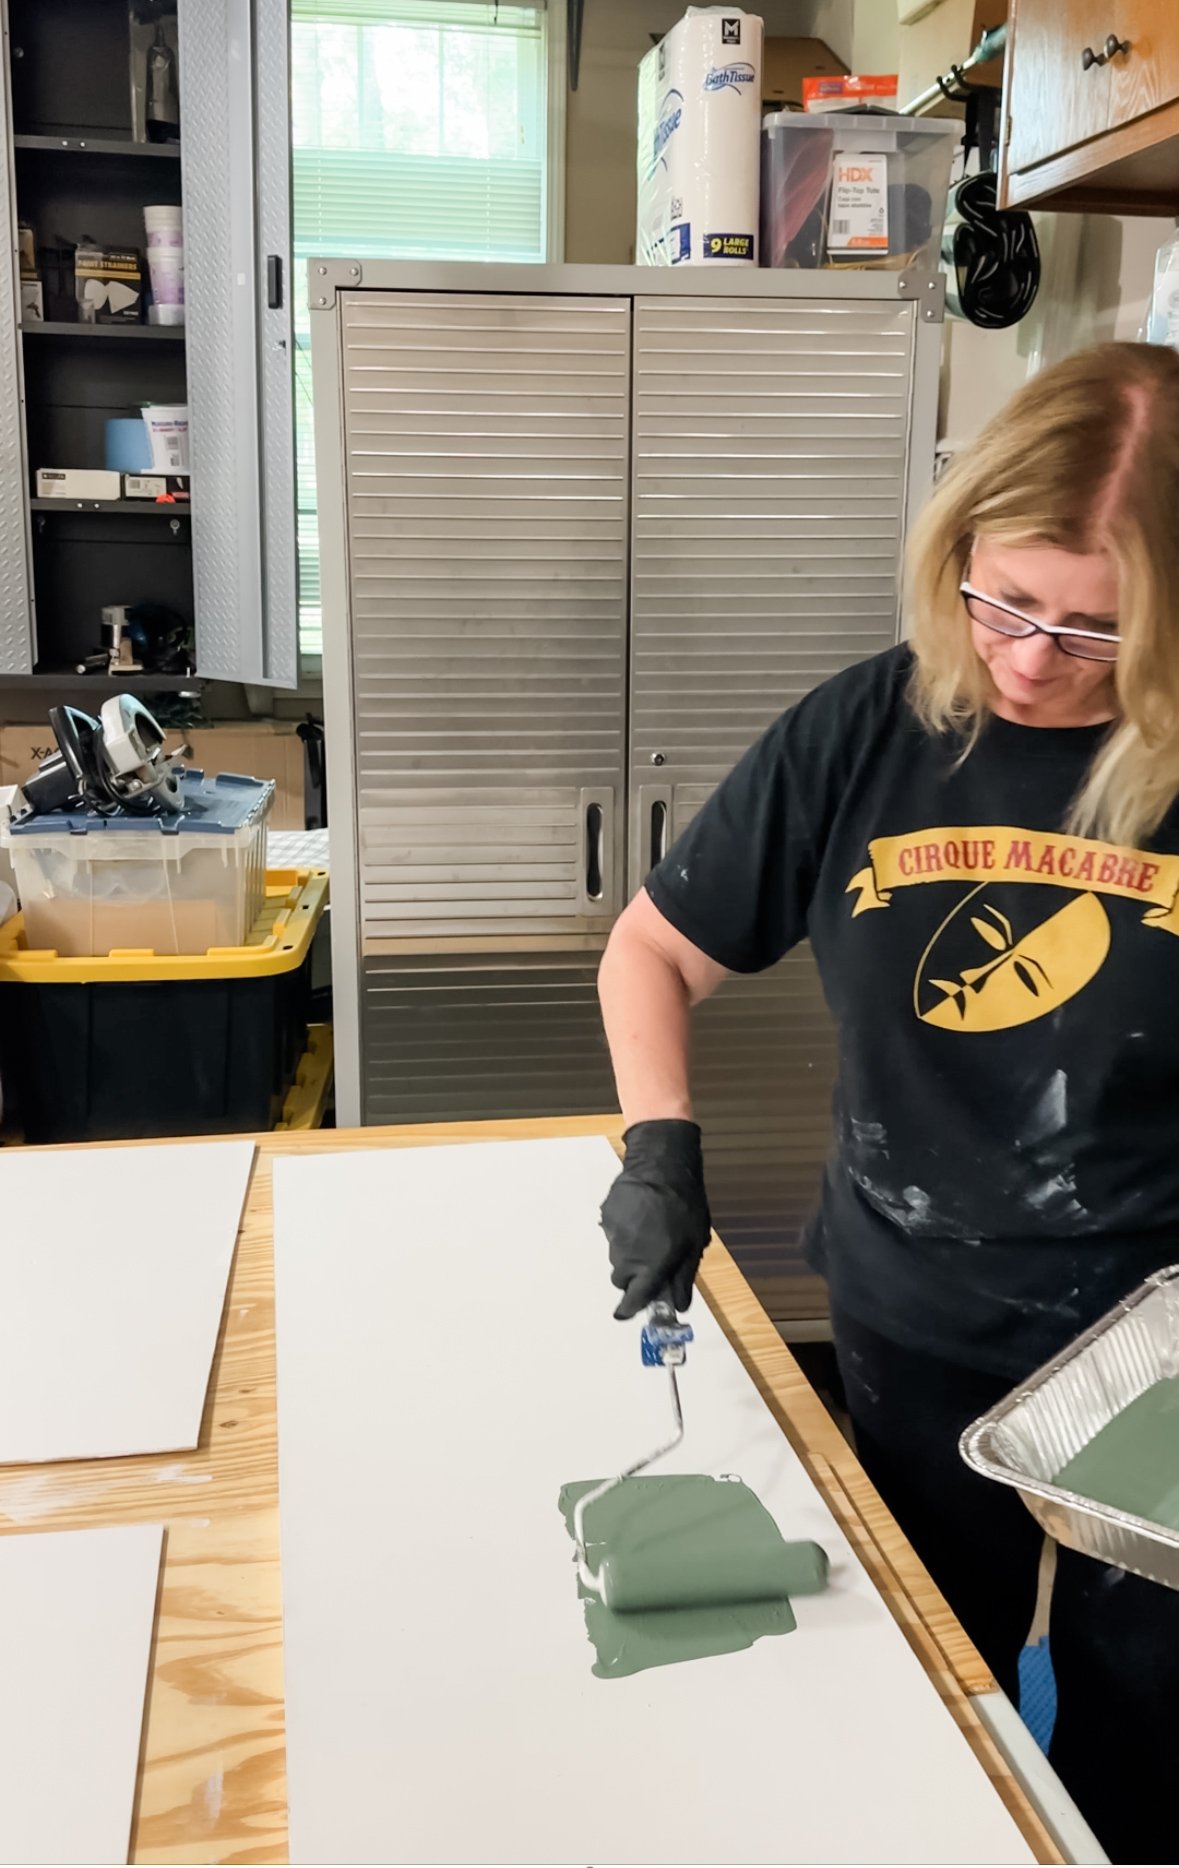
We then had to paint two coats of oil based paint on the cabinet and let it dry before flipping everything over to do the other side. With the bed, we were so worried flipping it would mess up the front, I actually crawled around and painted the other side from underneath the bed! Ha! Once the paint was dry we got busy reattaching the hardware.
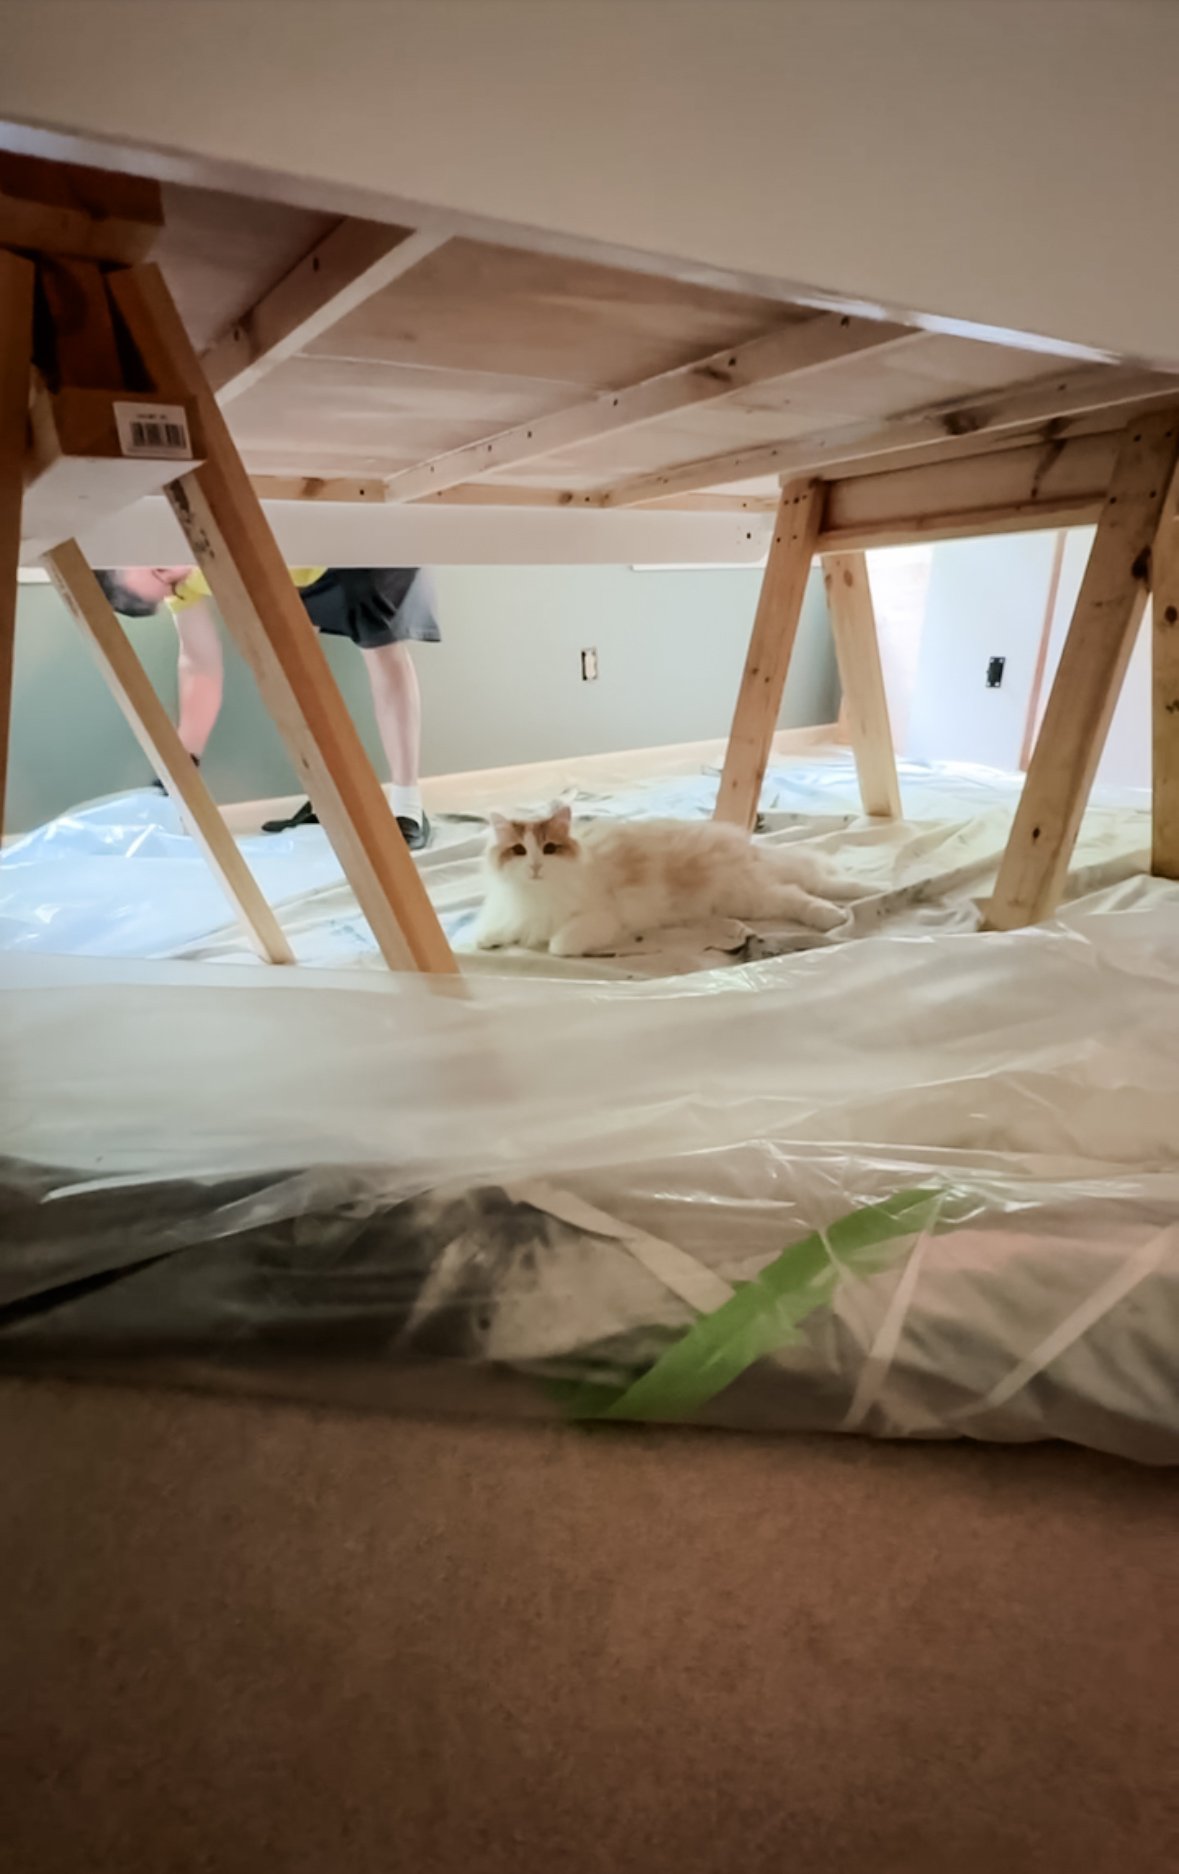
Coco's playhouse
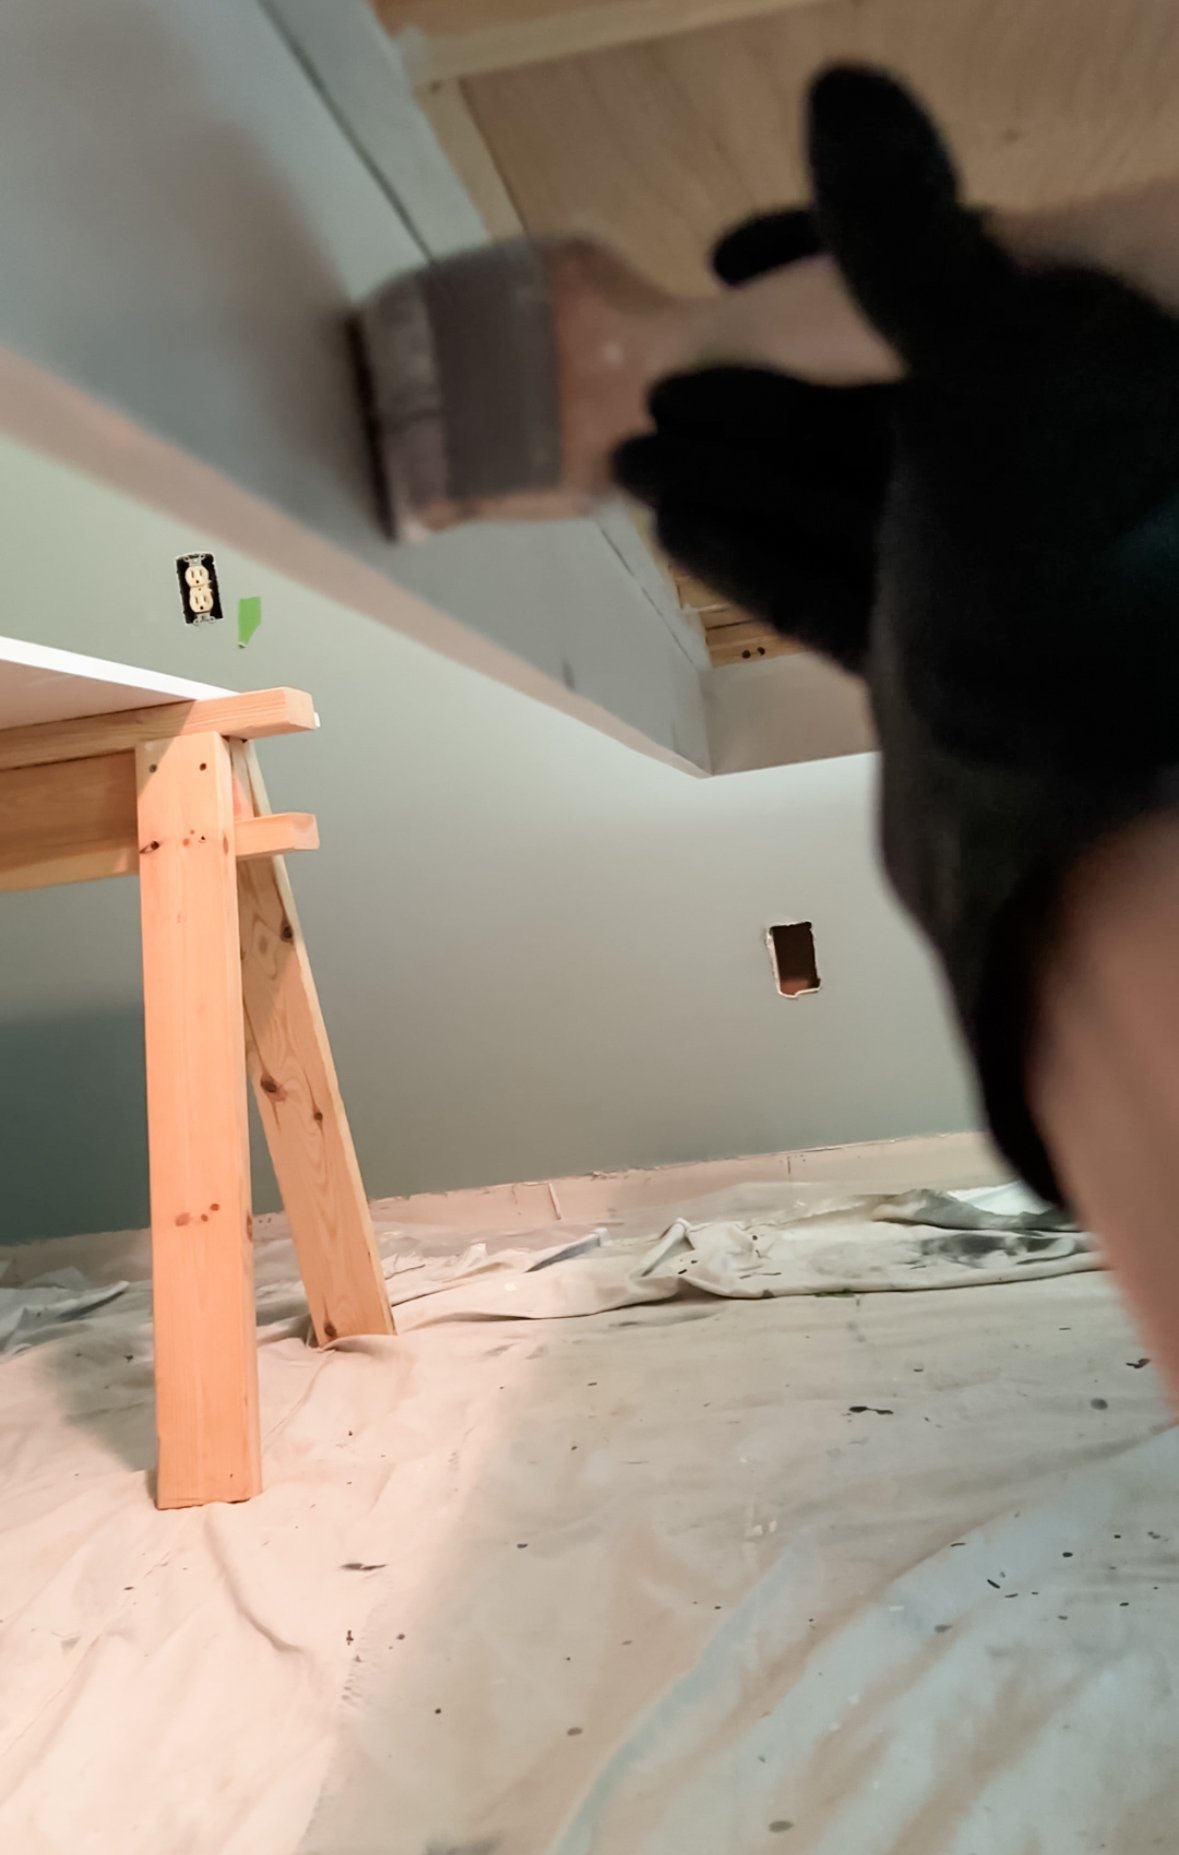
Getting under the sawhorses to paint!

Perfect placement for the pulls!
Reattaching the hardware
Reattaching the legs (and comforting Coco)

Attaching the cabinet verticles
Attaching the elastic to keep the mattress on
Painting the headboard
We then had to fit all of the pieces together and start assembling the bed. Reattaching the hardware, assembling the bed and installing it on the wall took us 2 whole days but we pushed through so we could have a reveal day for this week!
We still have a to-do list for the room but at least now it’s at our own pace. Here’s what we have planned:
Build bookcases/cabinets on either side of the Murphy bed
Add decorative trim to build up the “headboard” on the Murphy bed
Replace the ceiling fan
Hang the new curtains
Refinish the library table that will be my new desk
Refinish a Mid-Century Modern chair that we rescued from the thrift store (it was covered in fur!)
Finish styling the room
To be clear, this is a Phase 1 Room reveal. I plan to continue posting updates as we work our way through our to-do list. I hope you’ll follow along as we cross the finish line!
Will I ever do a One Room Challenge again? Yes! I love having a deadline because it keeps me from stopping midpoint! But, I don’t think my next One Room Challenge will involve building something as ambitious as a Murphy bed!😂 I have loved making new friends and getting to see other participants’ projects unfold. If you haven’t checked them out yet, please go to One Room Challenge at ORC blog and see what others have done! It’s so exciting!
Shop My Supplies:

Tuft & Needle Mattress

Belgian Flax Linen Floral Stitch Quilt & Shams

Suzanne Kasler Greek Key Bedding

Embroidered Square Trellis Panels

Milos Handwoven Storage Basket

Lucarino Drawer Pull

Casa Elite Ceiling Fan

Ivilon Drapery Treatment Window Curtain Rod

Chris Loves Julia Jules Collection Area Rug

Midcentury Blue Tufted Velvet Cane Wingback Arm Chair

Create-A-Bed Queen Size Deluxe Murphy Bed Kit, Vertical

Basket Weave Frame

Moon n Star Butter Dish

Ivilon Drapery Curtain Clip Rings

Blue & White Chinoiserie Vase

Antique French Art Nouveau Silver Plate Dresser Vanity Table Easel Back Mirror

Moon and Star Green Round Compote